Hello Stampin’ Friends ~
Today I will be sharing the two cards that I made during my Facebook Live last night, plus another card I created with the left over designer paper from the second card! I used the New Horizons suite … and highlighted how amazing the coordinating dies look with the designer paper.
Let’s start the fun off with the video …
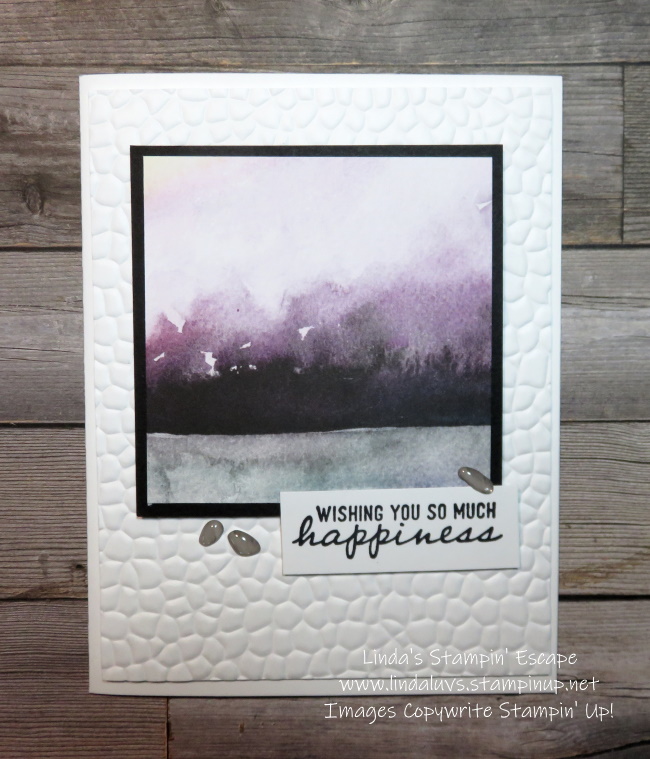
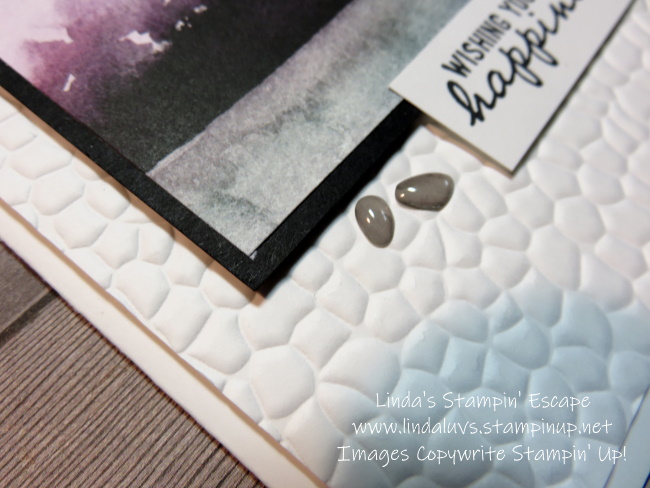
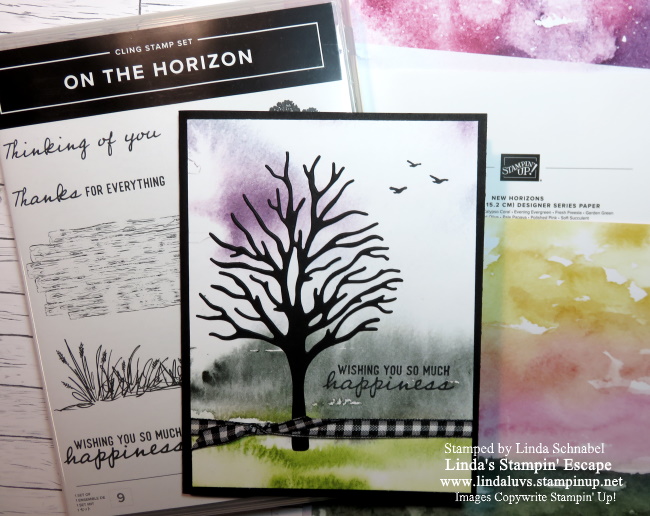
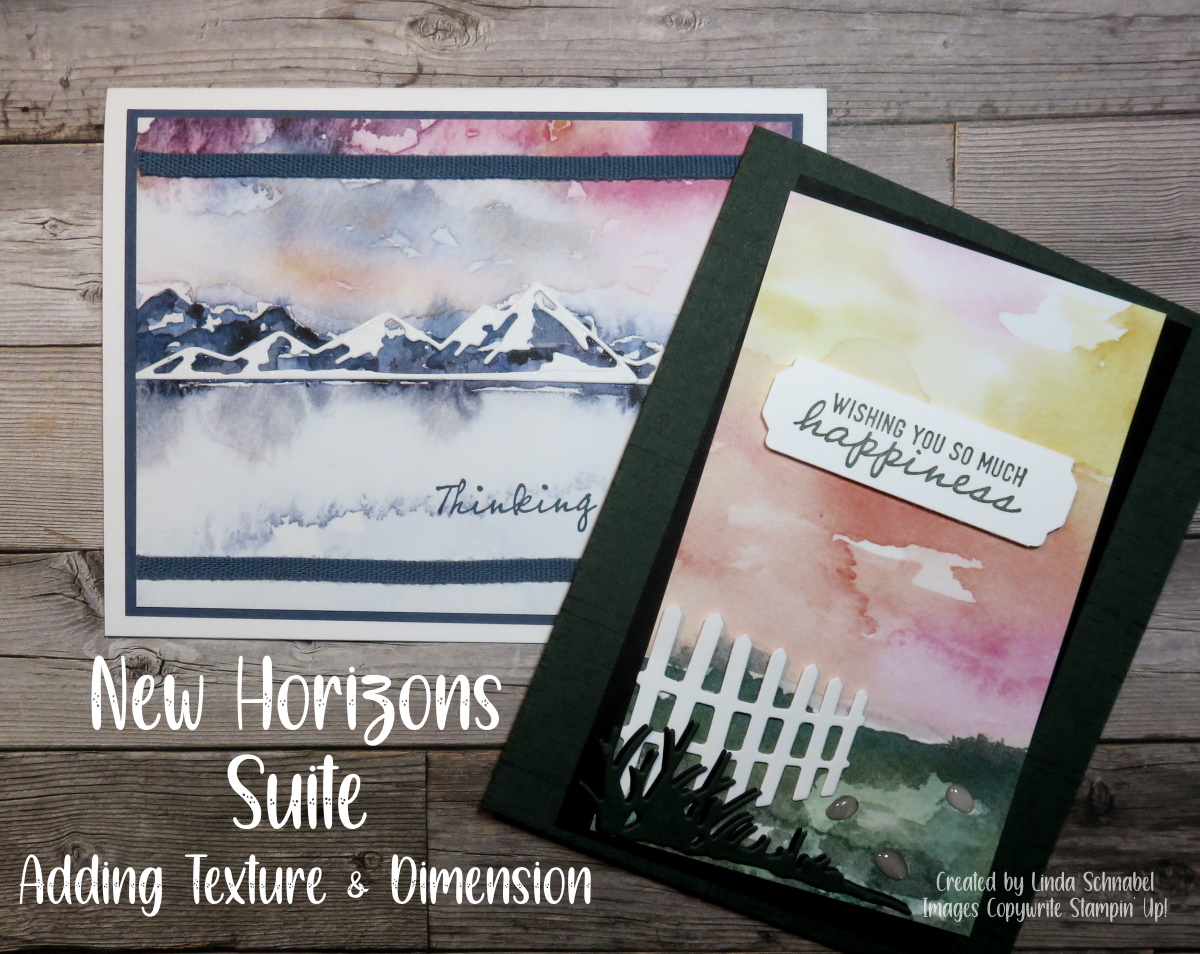
Now that you watched the video, let’s get a close up of those cards. The first card begins with a 8-1/2″ x 5-1/2″ Basic White card base. The New Horizons Designer paper was cut to 5″ x 4-3/4″ with a Basic Black mat that was cut to 5-1/8″ x 4-7/8″.
It’s amazing what a little ribbon and a die cut can do for a card … and it’s so easy to make because the “work” is already done for you with this stunning designer paper. Stampin’ Up! gets two thumbs up from me … I LOVE this Suite!
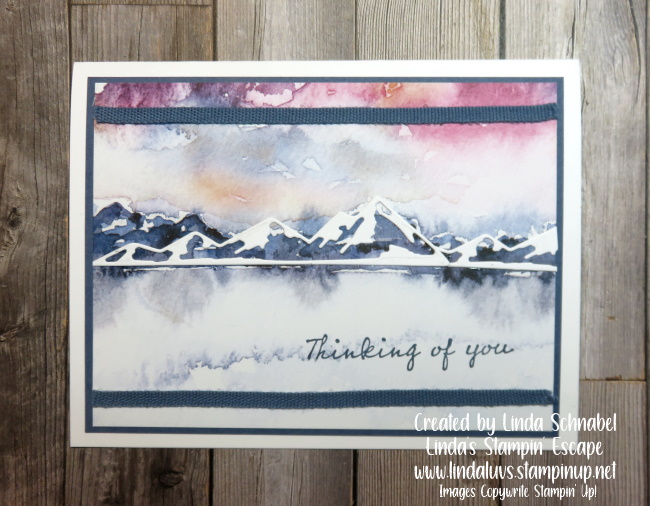
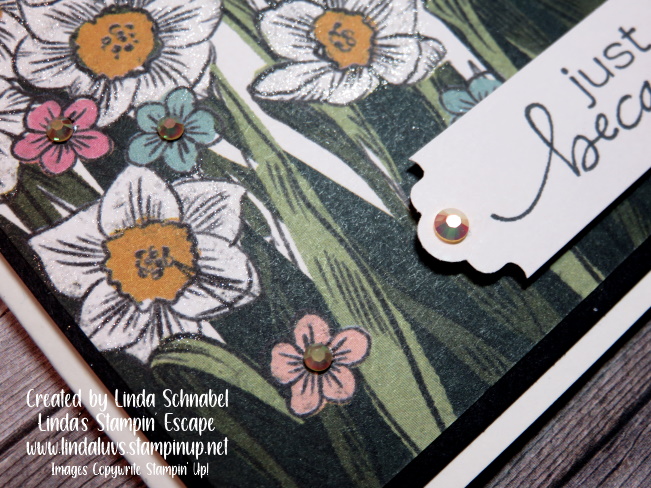
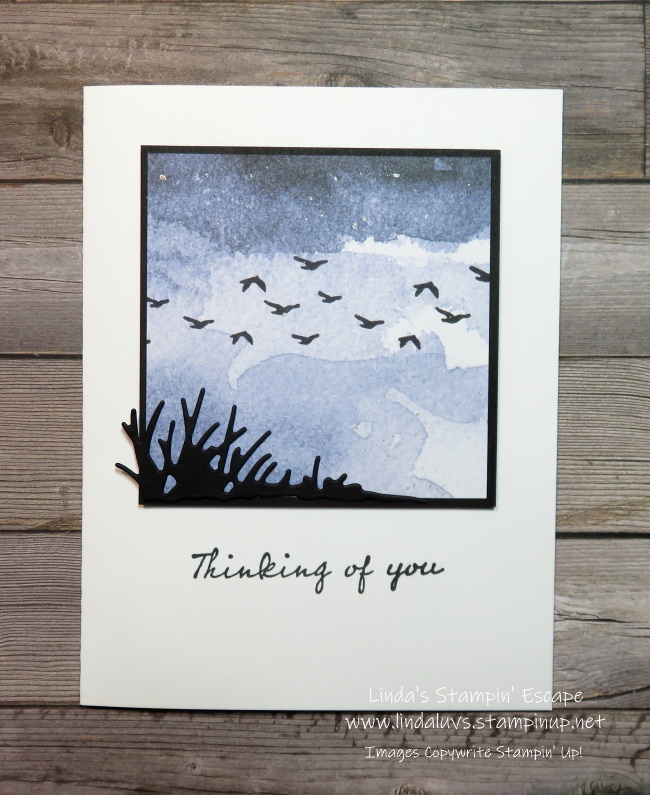
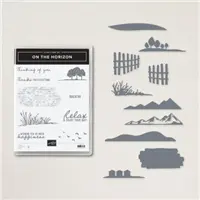
My second card highlights the fence and grasses die … It really does look like an invitation to walk into the sunset, doesn’t it!?
The stamping of the background is an old technique but one I pull out quite a bit. It really does create a sense of depth and texture without adding any bulk to your card, we’ll save that for our dies ❤

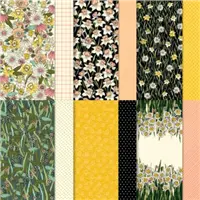
The third card is actually the other half of the designer paper from our second card, and I simple cut the 5″ x 3″ piece into equal 1″ strips. I would suggest to cut down the 5″ to 4-3/4″ as it would make a nicer border around your card instead of going almost to the bottom.

This card has a few more layers but it is not hard to do, let’s start with our base;
- The Evening Evergreen Base: 8-1/2″ x 5-1/2″ then score at 4-1/4″ and fold
- The Evening Evergreen Mat: 5-1/4″ x 4″ … Textured with the Hammered Metal Embossing Folder
- Designer Paper: Three strips of 1″ x 4-3/4″ with a mat of Basic Black (3) 1-1/8″ x 4-7/8″
These are all layered directly on top of each other but if you wanted to add additional dimension to your card, you could secure the layers with Stampin’ Dimensionals and pop them up.
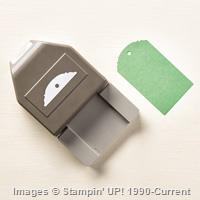
The greeting was stamped in black and punched with the Tailored Tag punch. A second punch was done with Basic Black so we could mat the greeting … this has been popped up with dimensionals and embellished with the Silver & Clear Epoxy elements. I then colored them with the Stampin’ Blends.
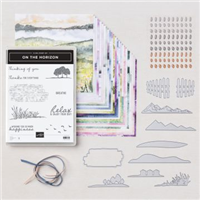
Don’t forget … Sale-a-bration is in full swing and you will receive a FREE Sale-a-bration item with the purchase of this suite … Add the Take Your Pick Tool, the Silicone mat… whatever you’d like and you’ll have enough for 2 FREE items or a Level 2 Sale-a-bration item. CLICK HERE TO VIEW CATALOG
Thank you for hanging out with me today, and I hope you are just as excited as I am for this new suite, and that I’ve inspired you to get back in your stamp room! Have fun 🙂
Have a wonderful day ~


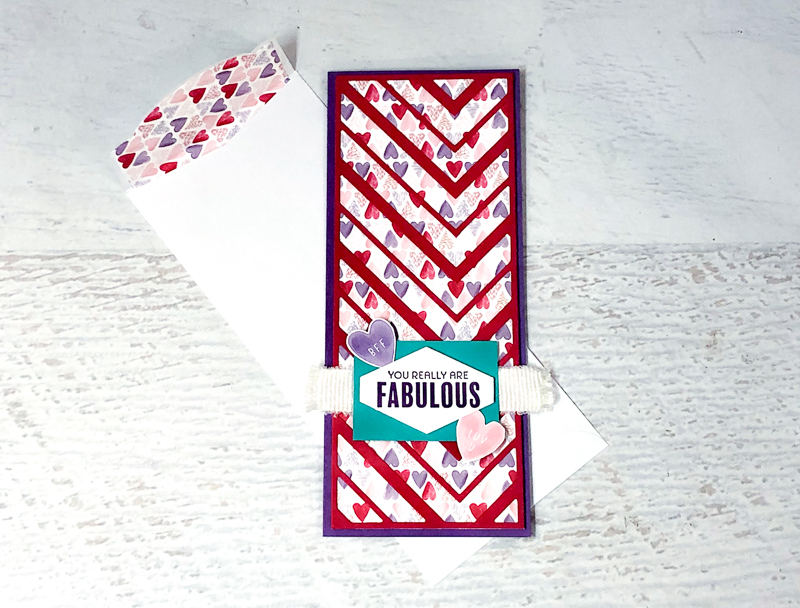
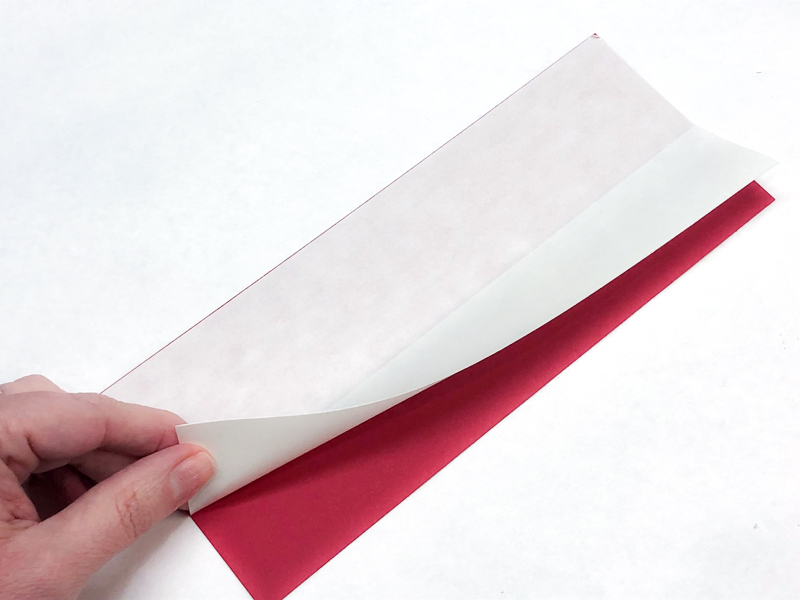 1. Add Adhesive Sheet Cut Real Red cardstock and Adhesive Sheet to 3-1/2″ x 8-1/2″. Peel backing off of Adhesive Sheet, line up, and adhere to back of cardstock.
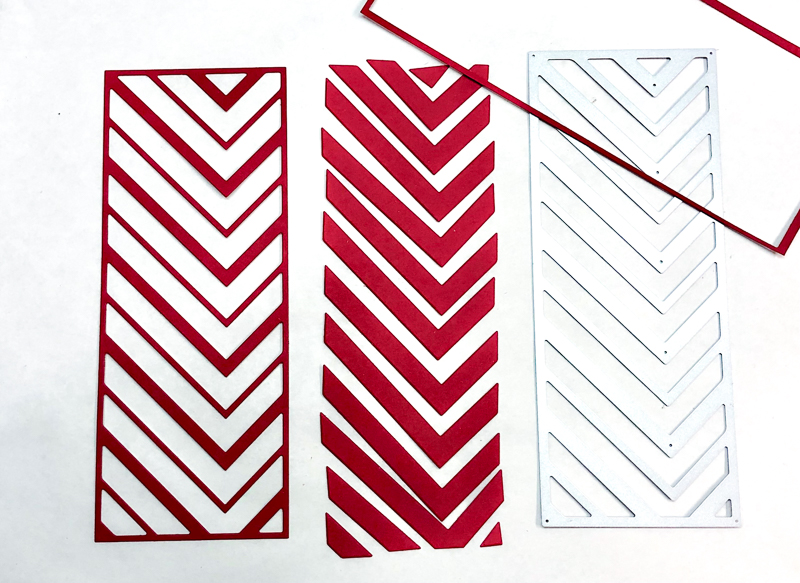 2. Slim Die Cut Center die cut on cardstock and run through Stampin’ Cut & Emboss. Pop the die cut pieces from the die. Set aside the negative pieces to use on the inside of the card and on other projects.
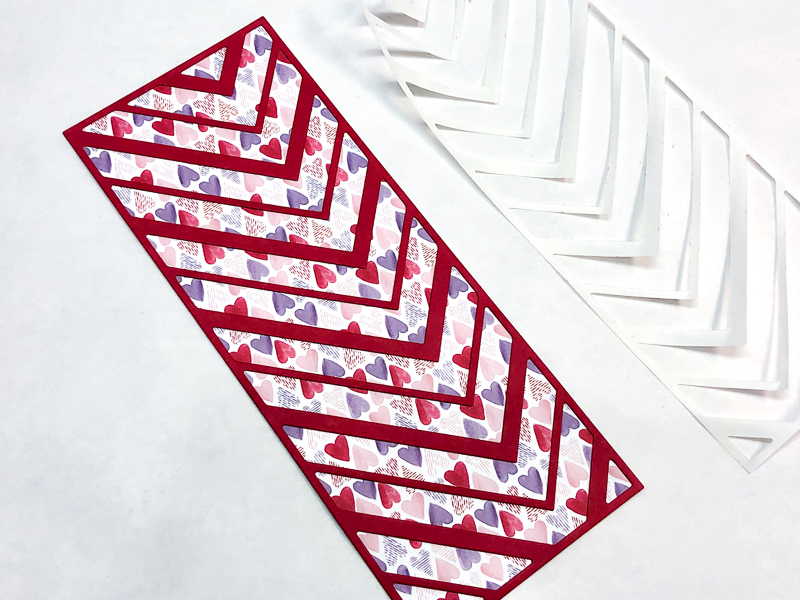 3. Adhere Die Cut Cut Sweet Talk Paper to 3-1/4″ x 8-1/4″. Peel adhesive backing off of slim die cut and carefully line up on the Sweet Talk paper and adhere. Start with lining up the bottom corners and then the top corners.
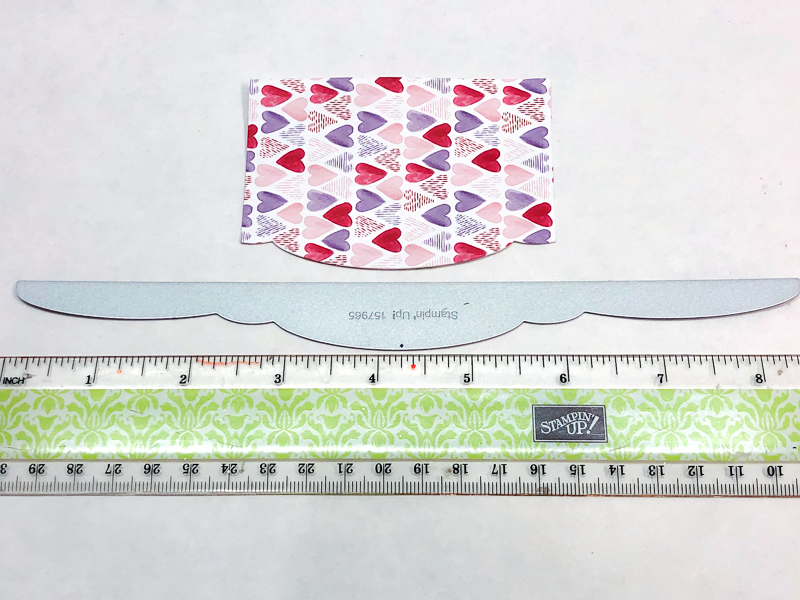 4. Die Cut Scallop Edge Pick a gray or white Slimline Envelope (#157981). Cut Sweet Talk paper to 3-1/2″ x 3″. Mark the center of the 3-1/2″ side and the center of the scalloped die (matches envelope flap) from the Slim Card Dies. Line up centers and die cut.
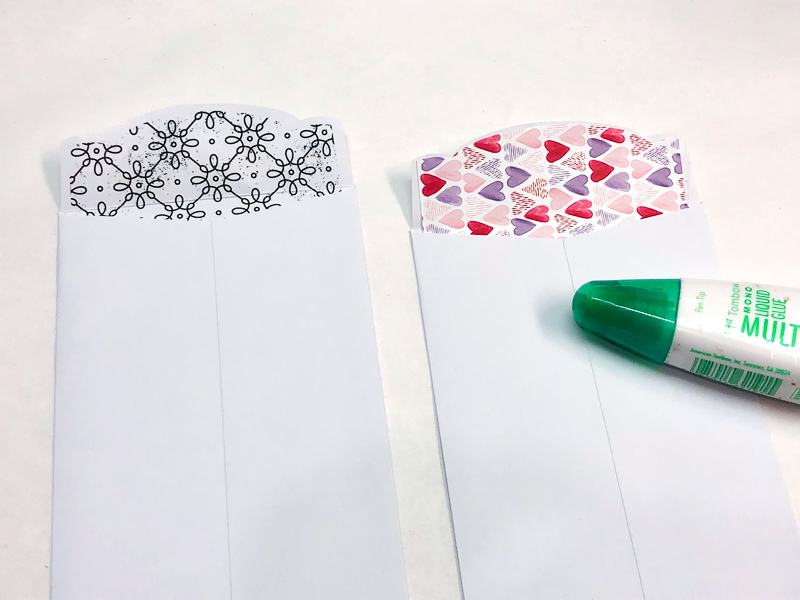 5. Customize Envelope Flap Use Multipurpose Liquid Glue to adhere the die cut paper inside the envelope flap so it matches the card. You’ll Use Multipurpose Liquid Glue or Stampin’ SEAL+ to adhere you envelope flap closed when ready to mail. Note: This end-opening envelope may require additional postage. Check before mailing.
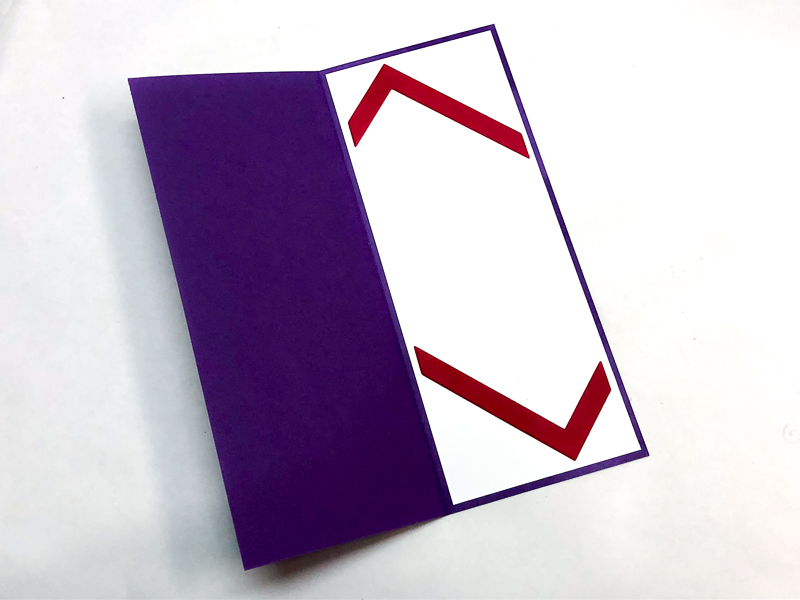 6. Cut Card Base Cut Gorgeous Grape cardstock to 7″ x 8-1/2″. Score at 3-1/2″ along the 7″ side to make the slimline card base. Adhere 3-1/4″ x 8-1/4″ Basic White cardstock inside card. Add two of the negative die cut strips inside the card as accents.
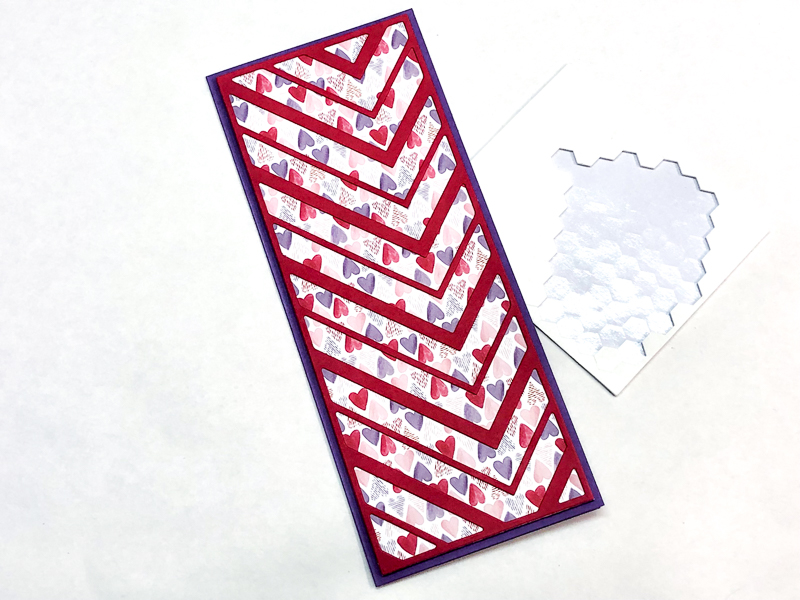 7. Layer Card Front Adhere the layered slim die cut and Sweet Talk to card front. Use Stampin’ Dimensionals if you want extra dimension.
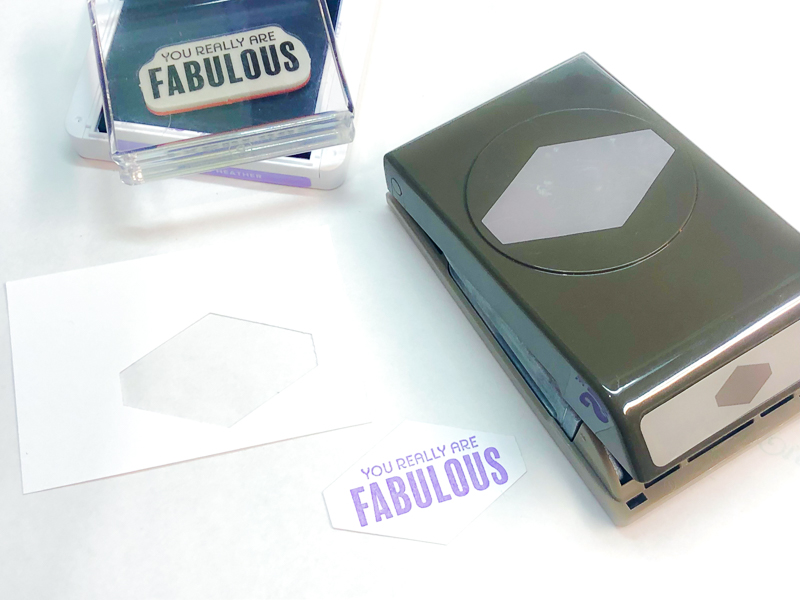 8. Stamp & Punch Greeting Stamp greeting with Gorgeous Grape ink on Basic White cardstock. Punch with Tailored Tag Punch (#145667).
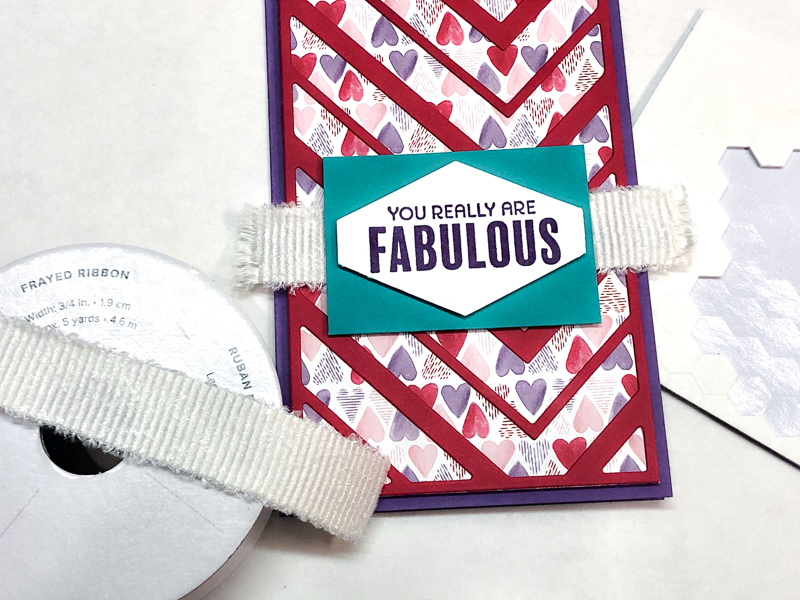 9. Add Greeting & Ribbon Cut a 4-1/2″ piece of White 3/4″ Frayed Ribbon (#158138). Pull threads on each end to fray the ribbon. Adhere to card with Multipurpose Liquid Glue or Glue Dots. Layer punched greeting onto 2-1/2″ x 1-3/4″ Bermuda Bay cardstock with Stampin’ Dimensional. Adhere over ribbon with Stampin’ Dimensionals.
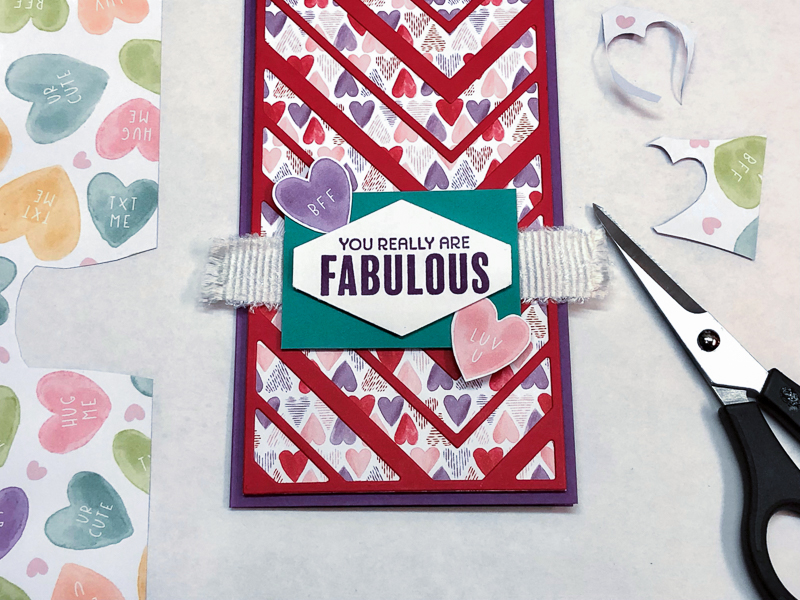 10. Hand-cut Hearts Hand-cut two hearts from the Sweet Talk Designer Series Paper with Paper Snips. Adhere to greeting background with Glue Dots.