Hello Stampin’ Friends ~
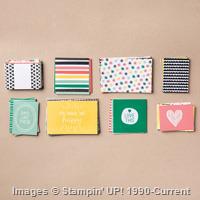
I’m finally back up and running and here to share my “Project Life” creation with you. My last post shared the “Celebrate Everyday” Project Life video so you could see all the goodies tucked inside.
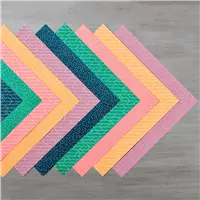
If you ever need a really quick card, just pull out your project life kit!! I began with choosing a card for the front of my card. I just love this cute little flower pattern so I picked it and trimmed it down the sides to fit my base.
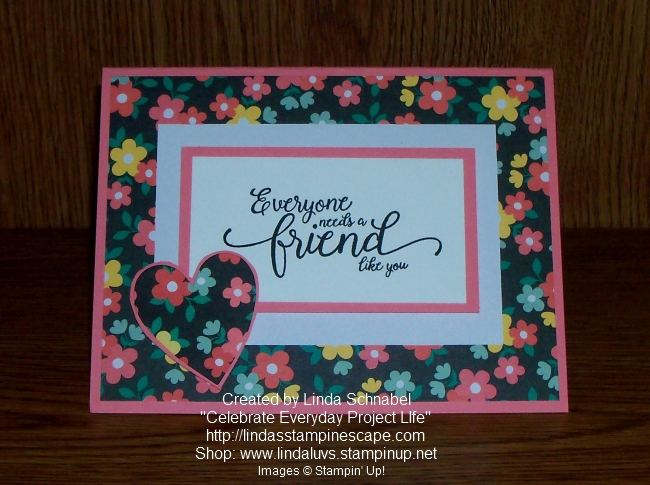
My base color is Flirty Flamingo and coordinates with the colors in my Project Life kit. They have a list of the colors right in the catalog … so it’s easy to choose your color pallet. I then mounted my Project Life card onto the front of the base.
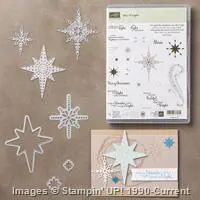
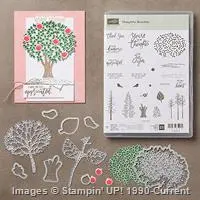
I love stamp sets with multiple greetings and the new “Suite Sentiments” has a little bit of everything so I had to add it to my collection. I thought the “Everyone needs a friend like you” worked so well with the flower pattern but I wanted it to stand out more so I stamped it on some Whisper white and matted it with a little bit of Flirty Flamingo. You can see the stamp set at the end of my post.
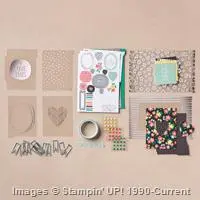
The “Celebrate Everyday” Project Life also has a fun accessory pack that you can get to coordinate with the card collection … this is where I got the heart that matches the pattern on my card. I also backed that with a bit of Flirty Flamingo so it would stand out.
Both the greeting and the heart were popped up with the Stampin’ dimensionals. It’s a great inexpensive way to add some dimension to your cards and scrapbook pages.
Hope you enjoyed … I’m glad to be back. I’ve been shopping for a new computer and hope to have one soon so I can share all the neat projects I have made for you.
Thanks for hanging in there with me.
Enjoy your day ~

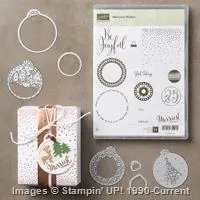
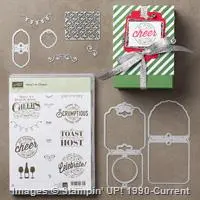
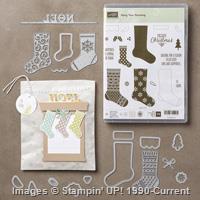
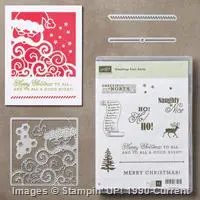
STAMPIN’ SUPPLY LIST …