Hello Stampin’ Friends ~
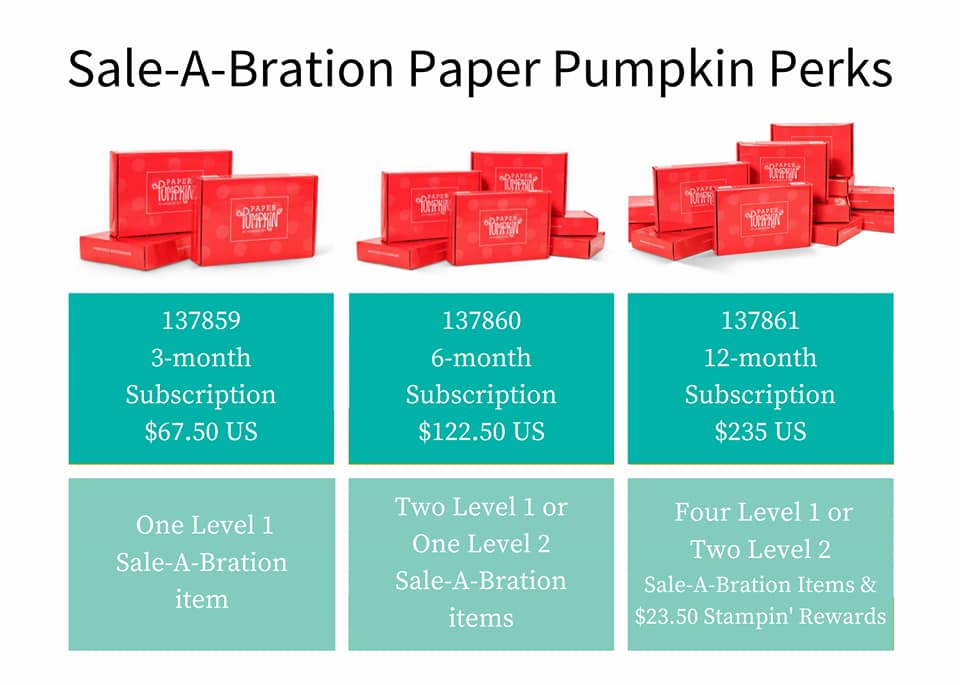
With Sale-a-bration ending Tuesday, February 28th, I’d like to reflect on just some of the creations I have shared with you. There are two levels of FREEbies you can earn and there are NO LIMITS to how many Sale-a-bration items you can earn … WoooHooo!
I’m happy to share that Stampin’ Up! did an amazing job of securing the Sale-a-bration items, we have only run out of the Dainty Designs Designer paper so far …. So I won’t tease you with those samples.
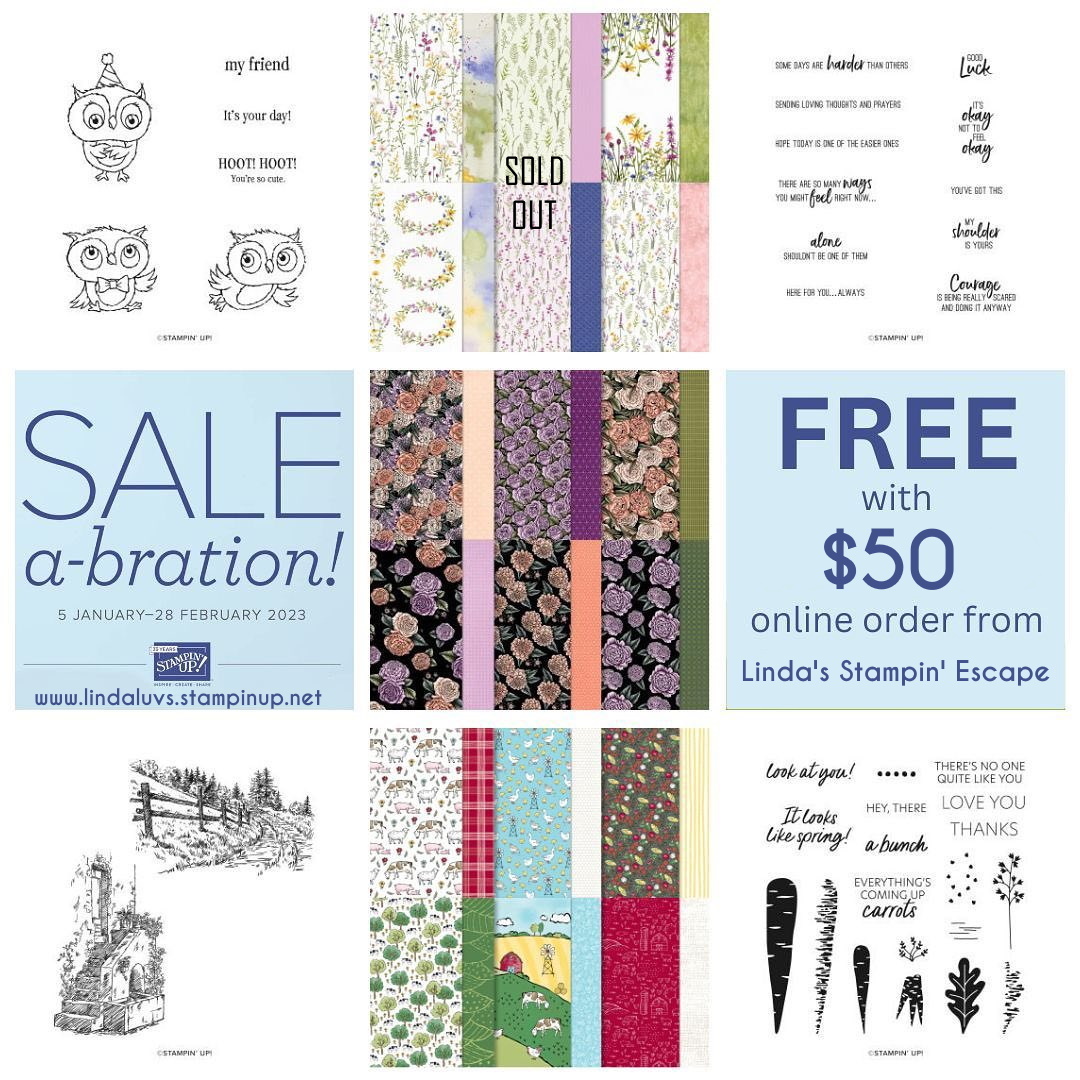
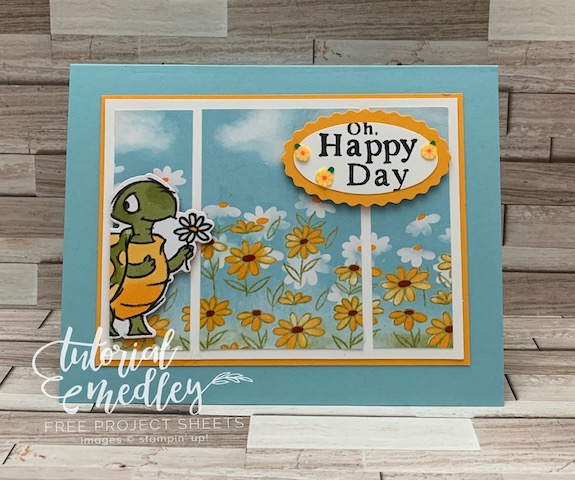
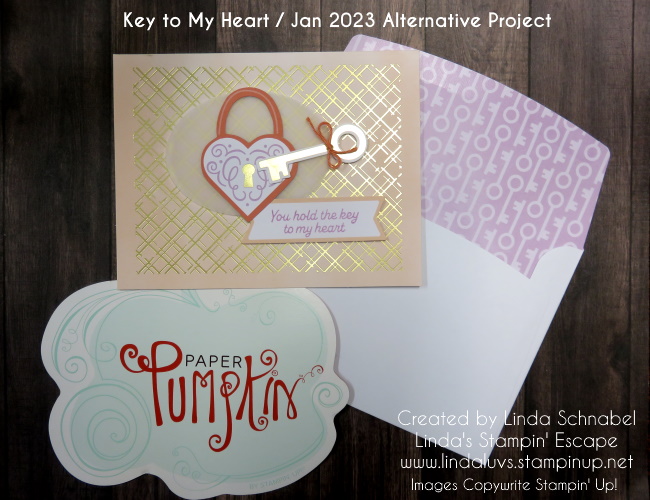
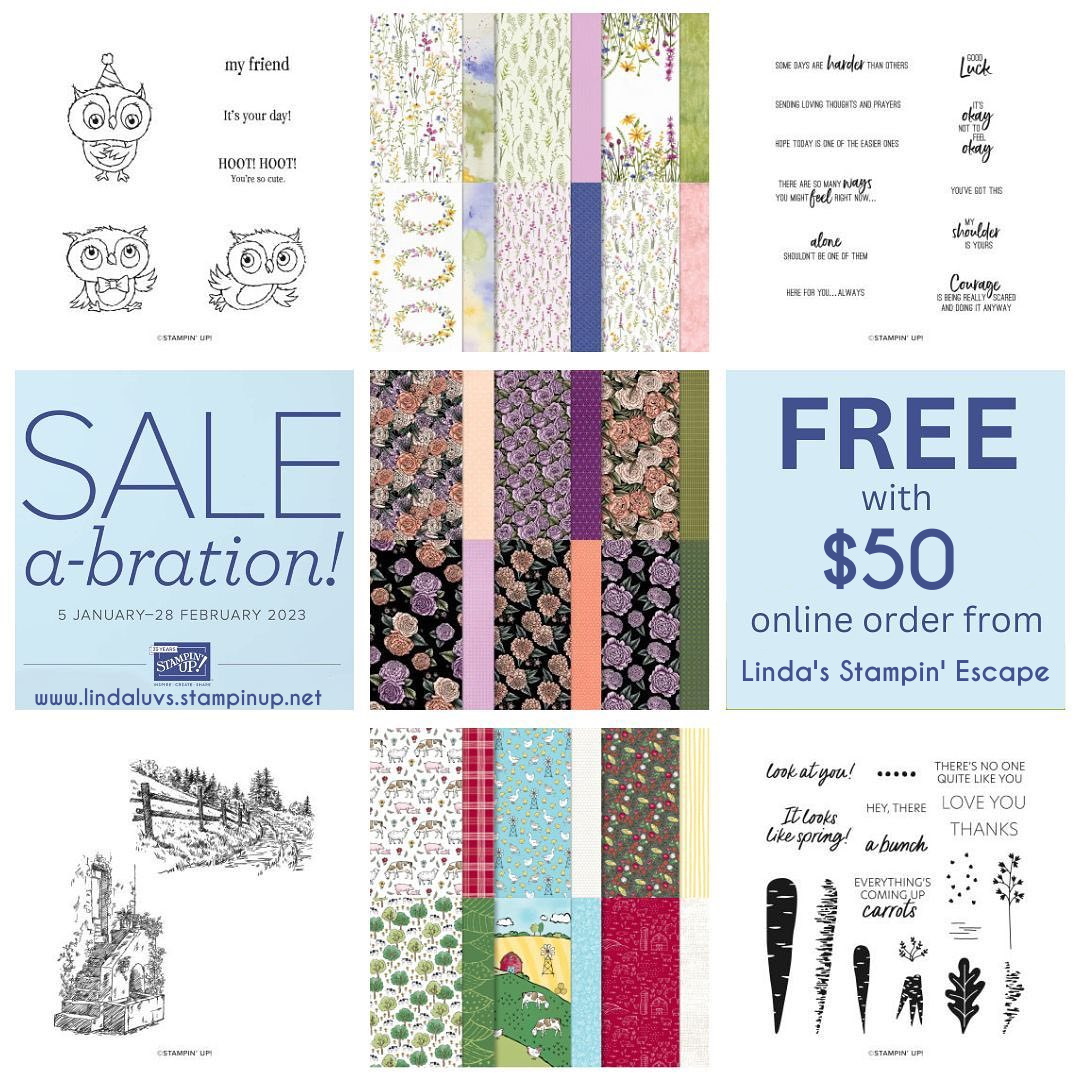
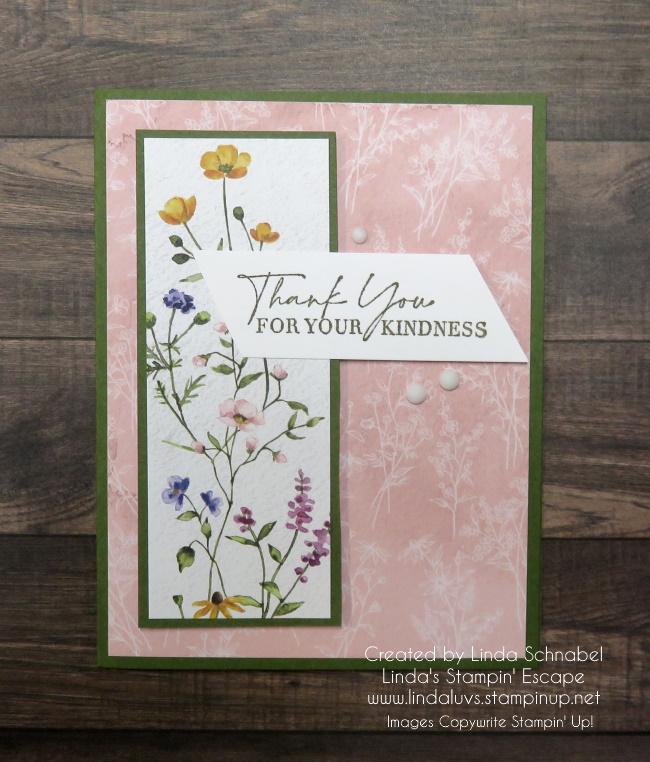
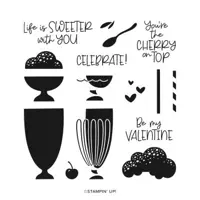
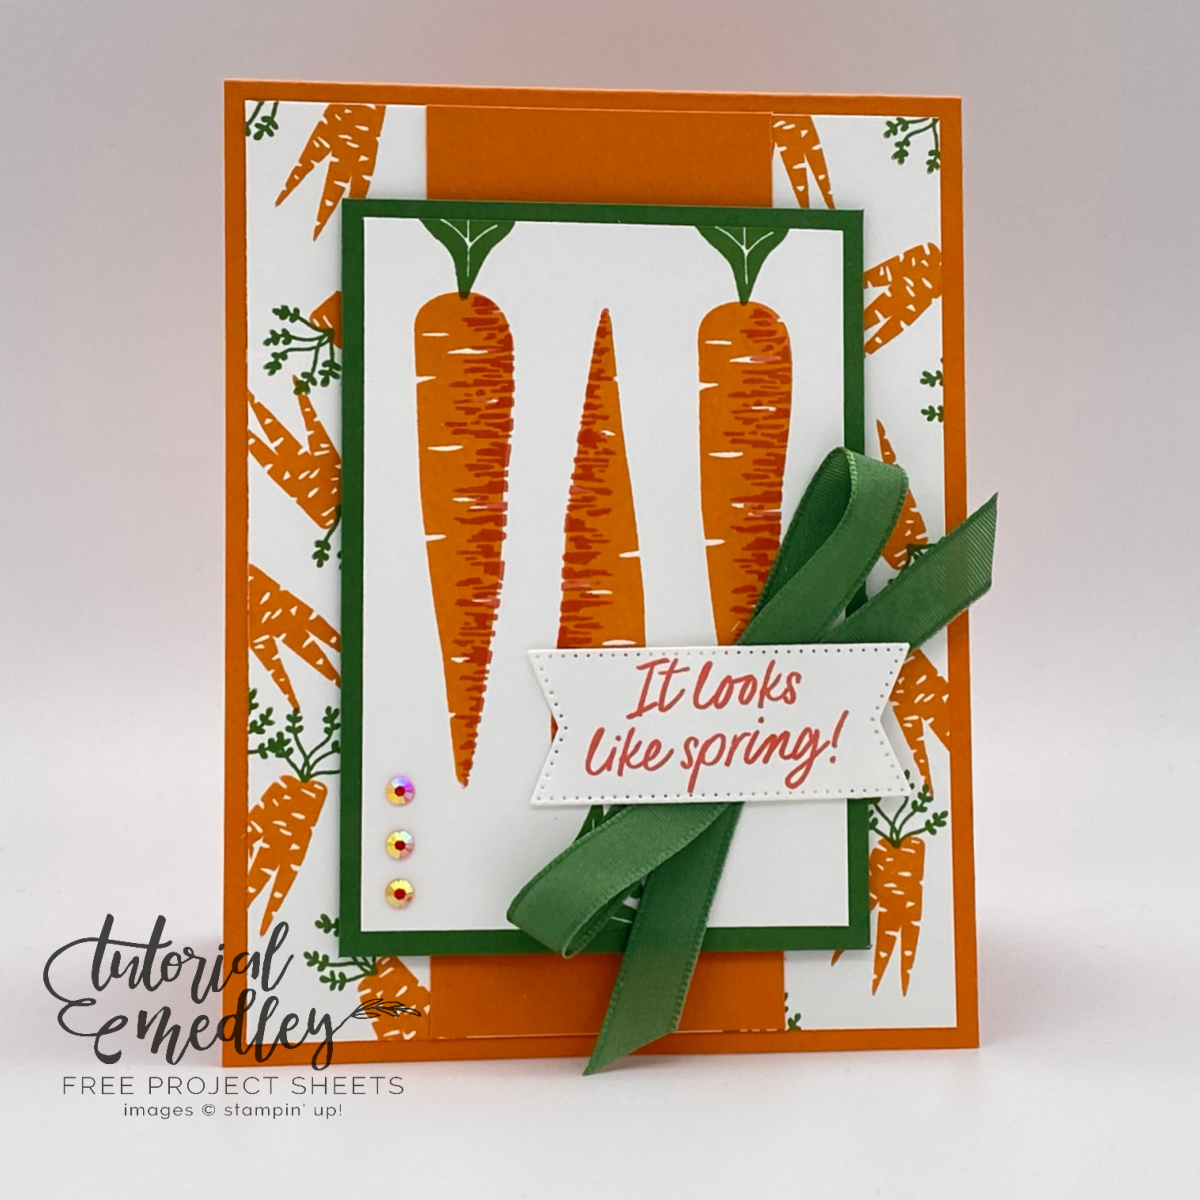
Let’s take a look at some of the cards created with a few of the Sale-a-bration items …. These items are FREE with a $50 purchase (before Ship/Handling).
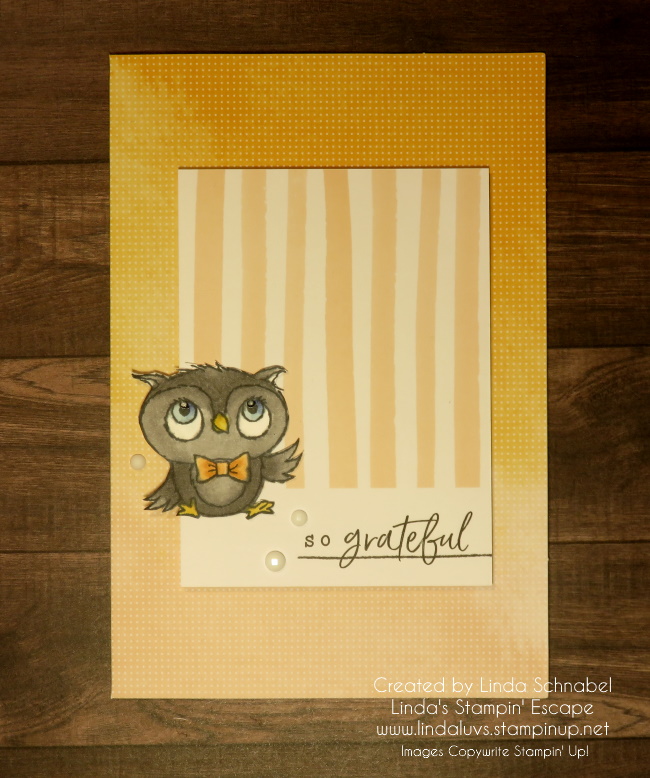
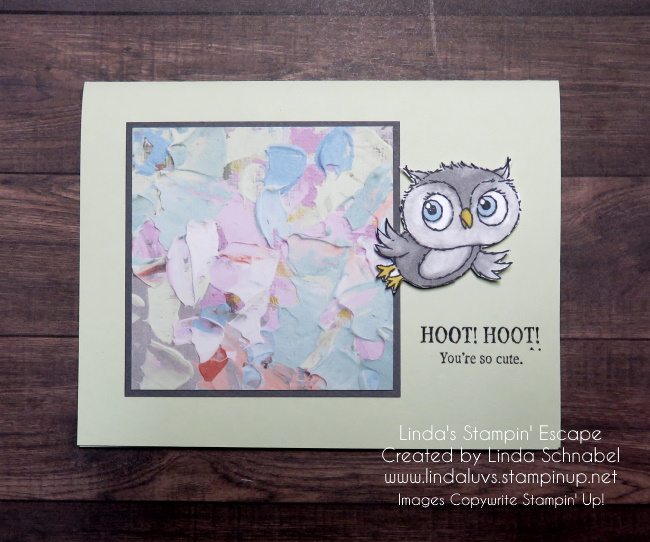
Owl YOUR Ready? Here’s the Adorable Owls Stamp Set …

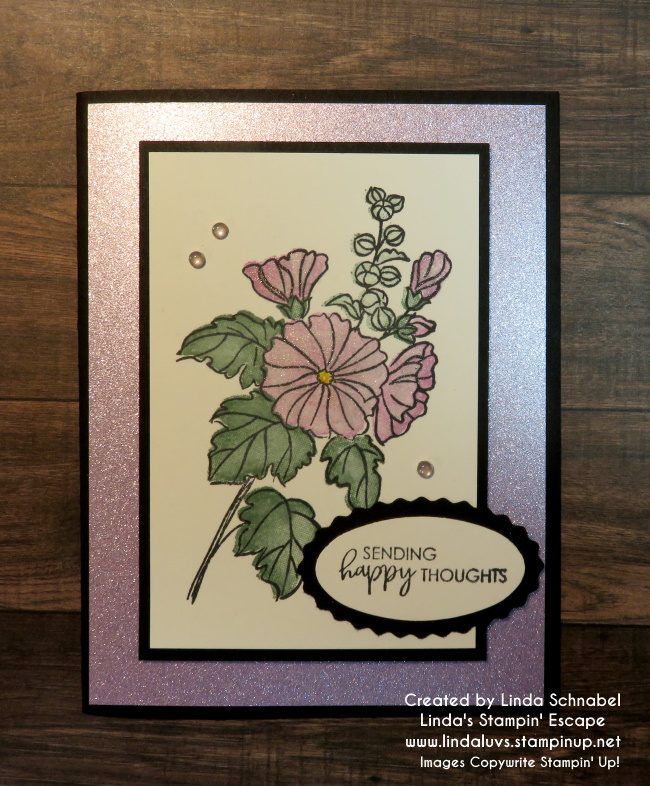
Favored Flowers 12 x 12 Designer Series Paper ….
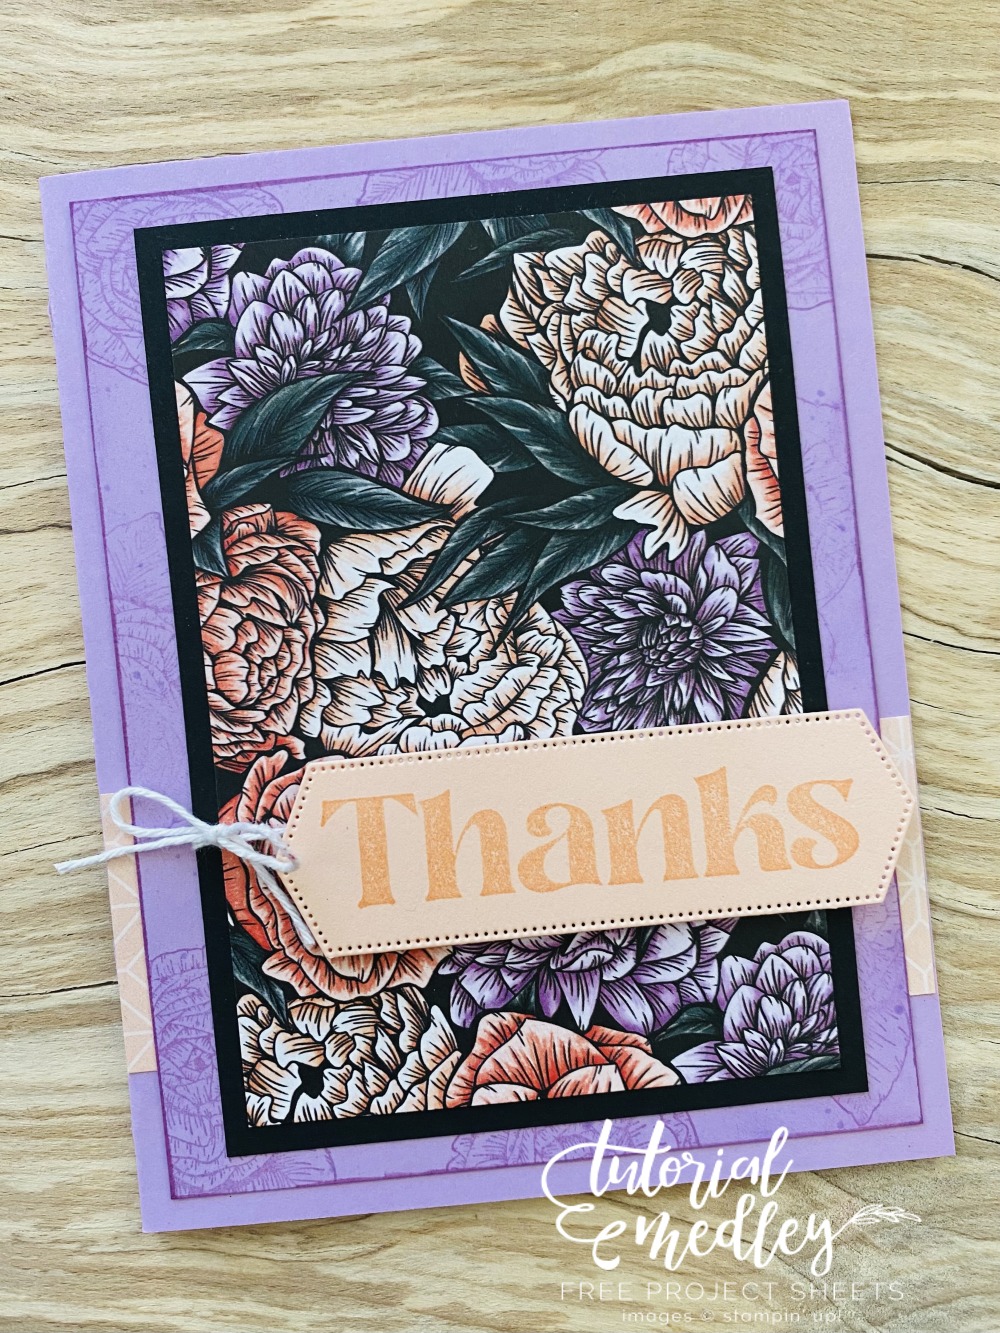
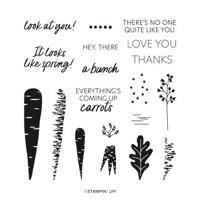
Thanks a Bunch Stamp Set …
Oh Wait …. they added MORE!!
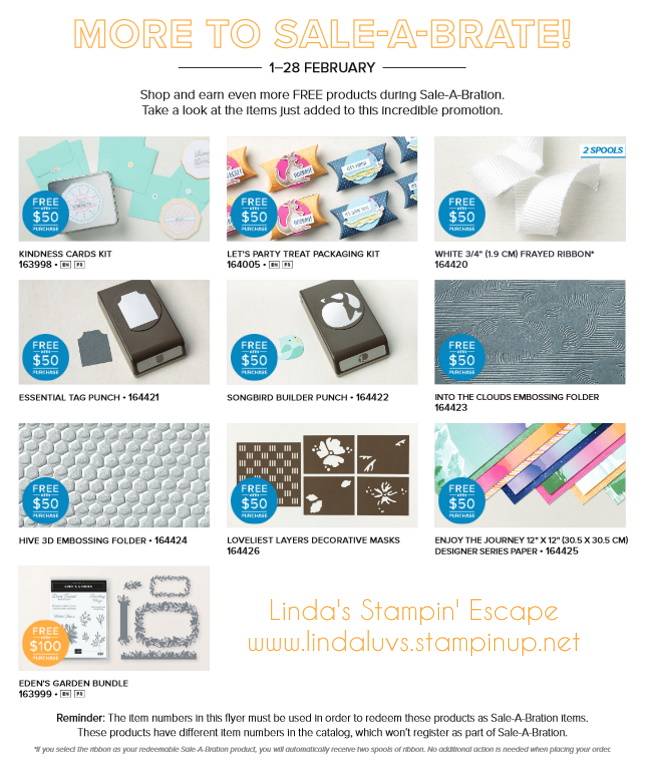
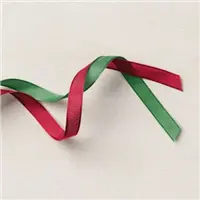
Still in the $50 range … The White Frayed Ribbon (2 Spools) …

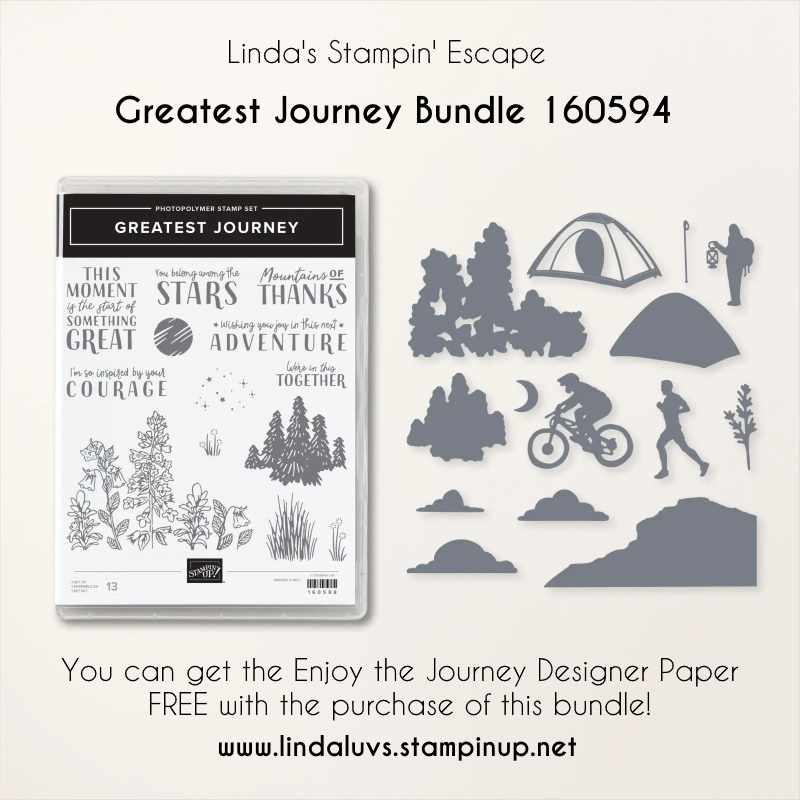
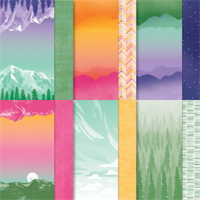
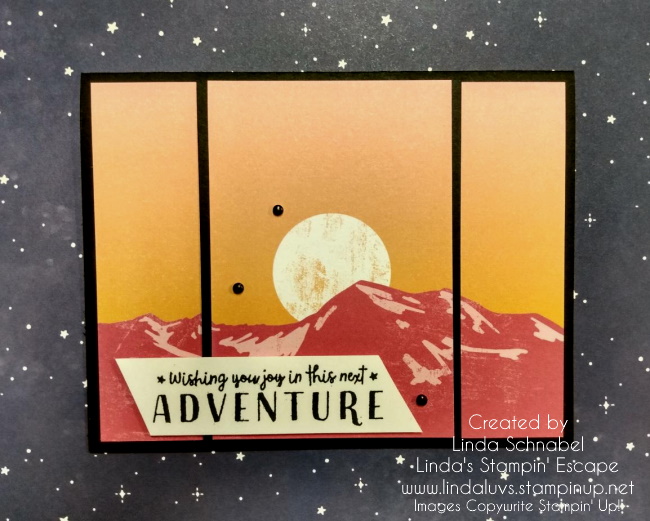
Enjoy the Journey Designer Series Paper ….
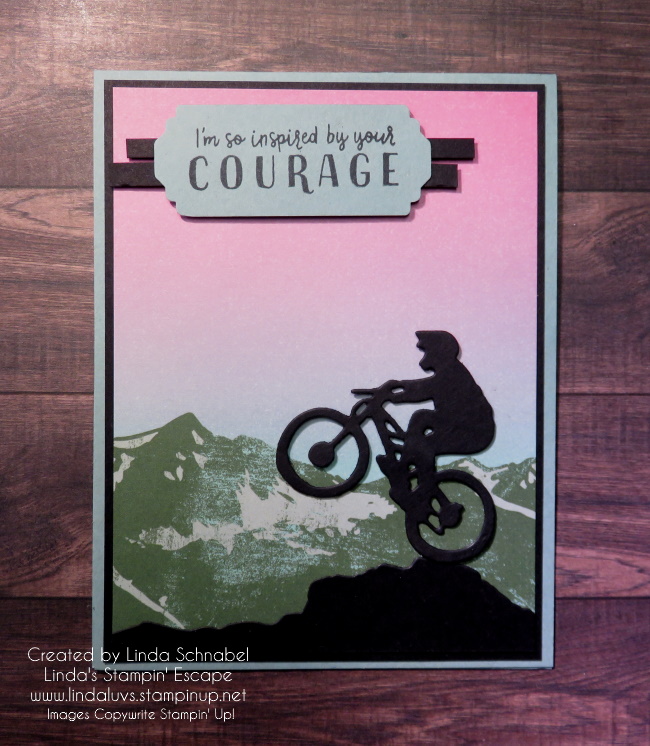
Now let’s take a look at some LEVEL 2 / $100 items. This year I feel the choices were AMAZING!!
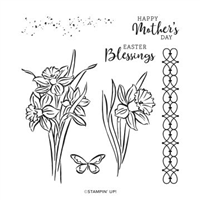
Beautifully Happy Stamp Set

The Dandy Designs 12 x 12 Designer Paper / 48 Sheets!

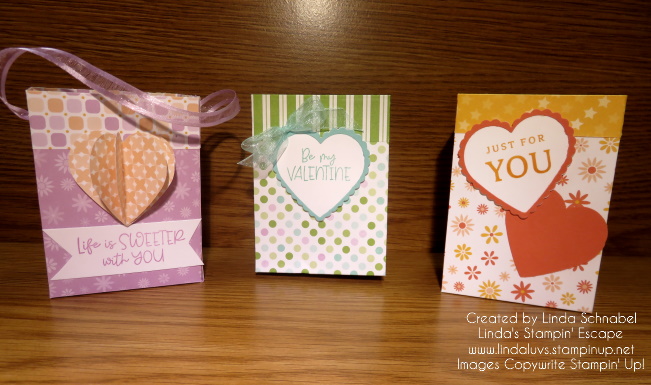
Here is a quick video to show you more of my samples using Dandy Designs. I just fell in love with this paper. It’s just so versatile and can be used for ANY occasion!
There are so many exclusive and fun items you can earn for FREE with a qualifying purchase but the clock is ticking …. time is running out, Sale-a-bration end at midnight on Tuesday!

As mentioned before, there will not be another Sale-a-bration this year … this is it.
Thank you for checking out my blog today. If you need any help or have any questions, just comment below and I will get in touch with you. There are links to the catalogs on the right column of this blog.
Have a great day, Linda