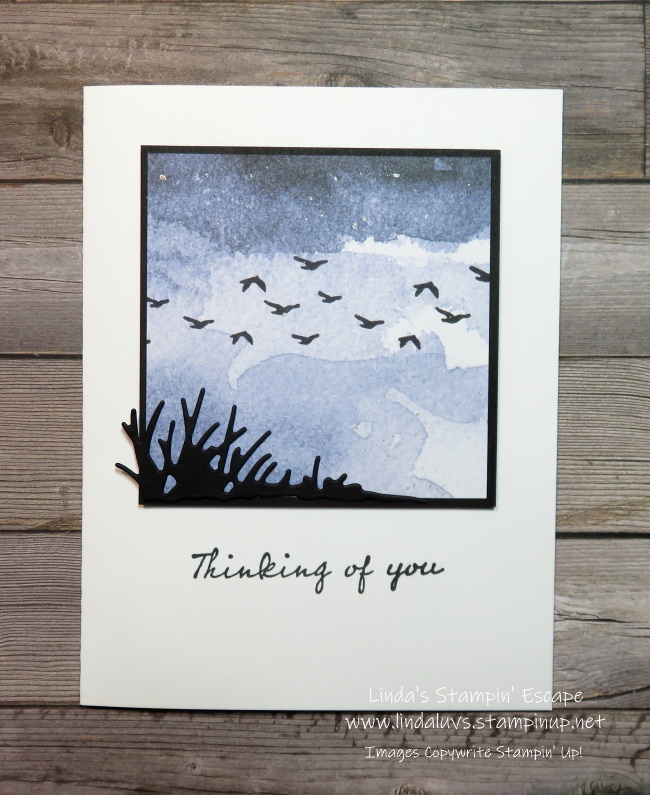
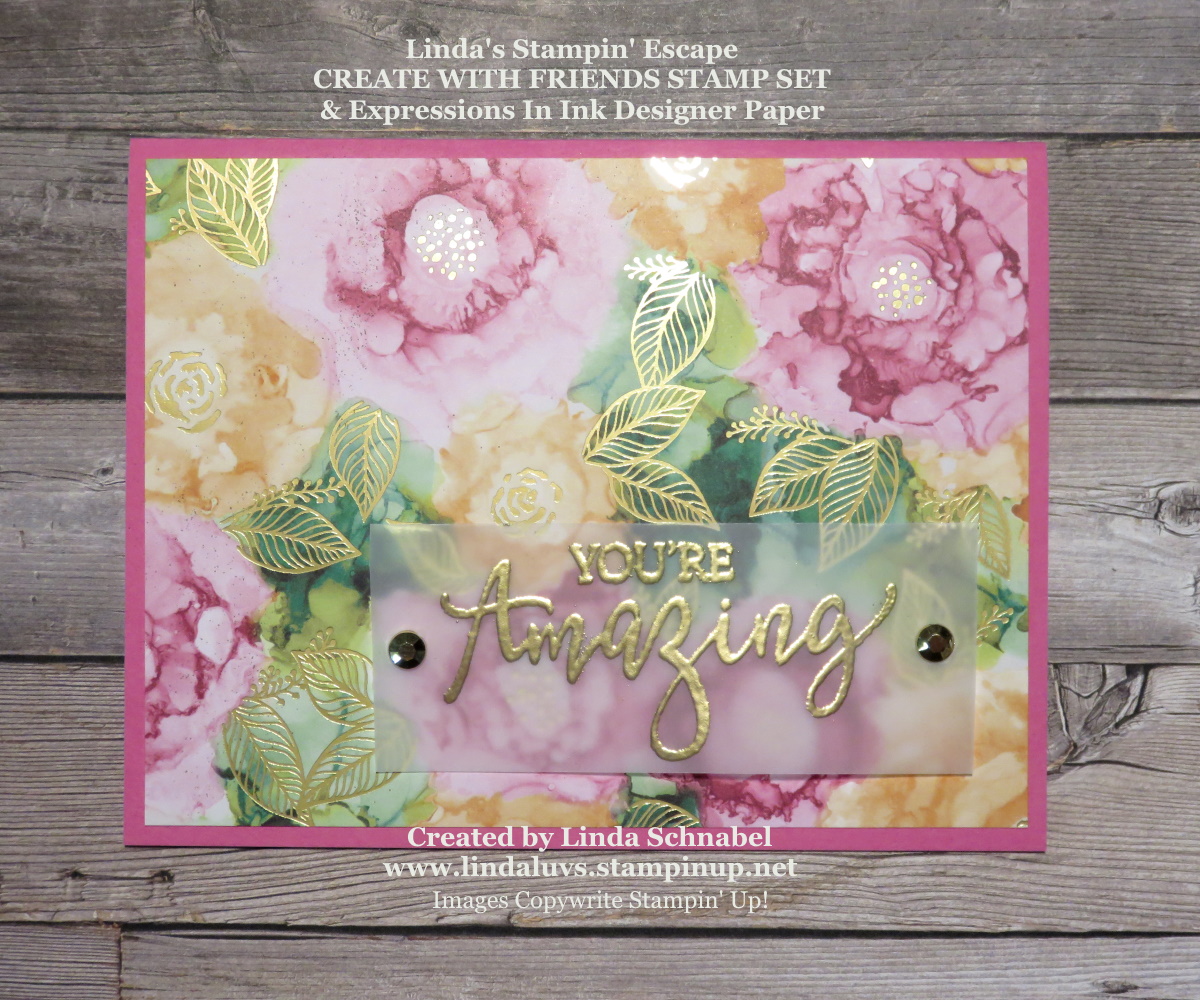
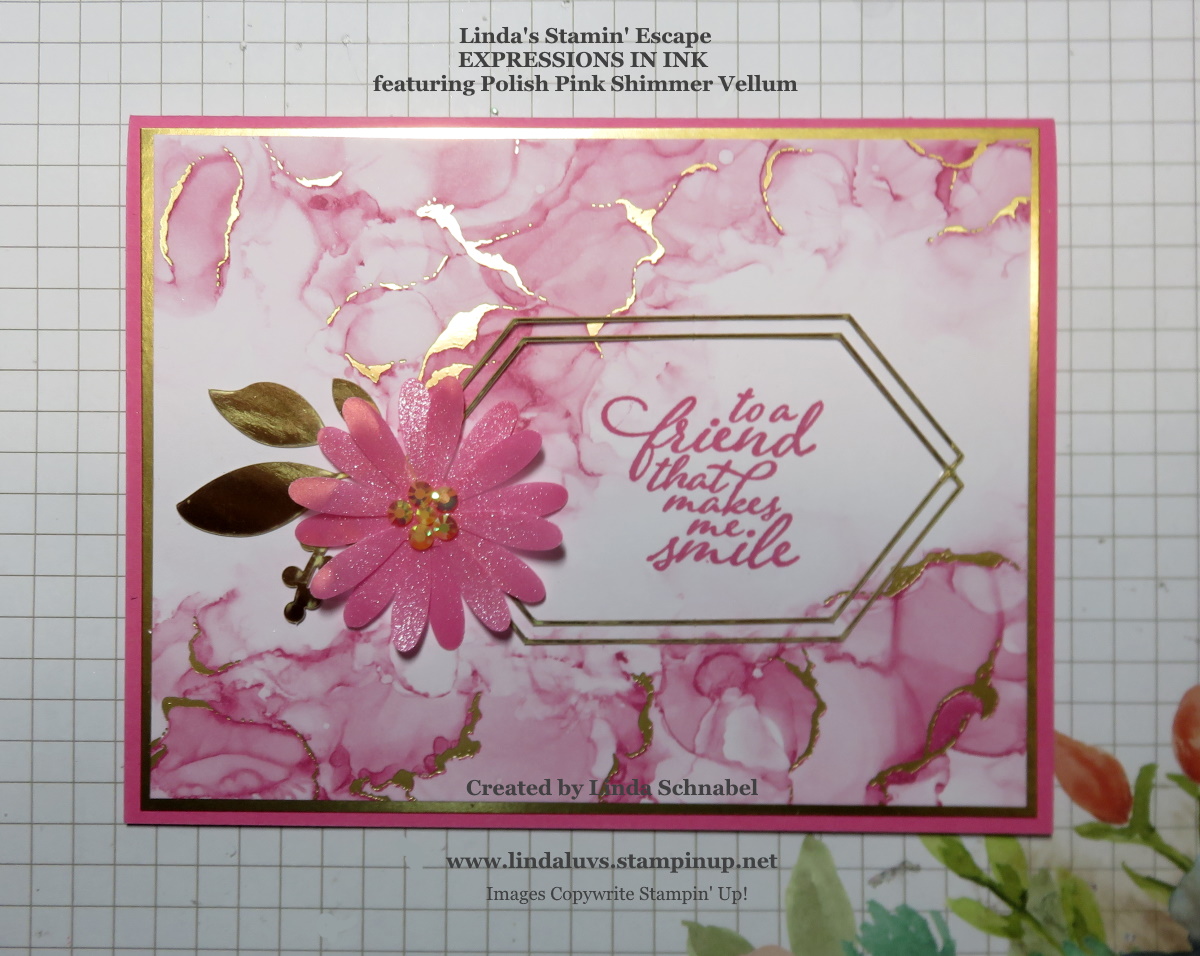
Hello Stampin’ Friends ~
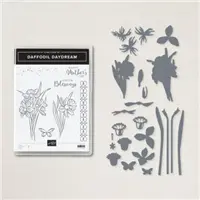
Today I’m going to share a pretty twist to the Daffodil Daydream stamp set as we turn it into an Easter Card. Not only will you see the sample of this pretty card, but you’ll get step by step instructions. This soft and sweet card comes direct from Stampin’ Up!

1. Before you start stamping, cut the following paper pieces:
• 8-1/2″ x 5-1/2″ (21.6 x 14 cm) from Pool Party Cardstock
• 3-1/2″ x 5″ (8.9 x 12.7 cm) from Pool Party Cardstock
• 2-1/2″ x 4″ (6.4 x 10.2 cm) from Basic White Cardstock
• 2″ x 3/4″ (5.1 x 1.9 cm) from Basic White Cardstock
2. On the center of the 2-1/2″ x 4″ (6.4 x 10.2 cm) Basic White piece, stamp the single daffodil image from the Daffodil Daydream Stamp Set in Tuxedo Black Memento ink. Repeat this step, stamping onto a sticky note. This will be the mask you use to try the masking technique!
3. From the Daffodil Dies, pick the die that coordinates with the single daffodil image. Align the die with the daffodil stamped on the sticky note and run it through a Stampin’ Cut & Emboss Machine to cut. (Either of our machines will work.)
4. Stick the die-cut daffodil on top of the daffodil stamped on Basic White Cardstock. Using a Blending Brush, gently apply Daffodil Delight ink in a circular motion over and around the daffodil. When done, remove the sticky note from the daffodil.
5. With Calypso Coral ink, stamp the set’s “Easter Blessings” sentiment onto the 2″ x 3/4″ (5.1 x 1.9 cm) Basic White piece. Create the card base by folding the 8-1/2″ x 5-1/2″ (21.6 x 14 cm) Pool Party piece in half and scoring at 4-1/4″ (10.8 cm), then use Stampin’ Dimensionals® to adhere the 3-1/2″ x 5″ (8.9 x 12.7 cm) Pool Party piece to the center of the card base. Adhere the remaining pieces to the card front, then embellish with a few Brushed Brass Butterflies!
I hope you enjoyed this pretty card with it’s soft and sweet simplicity. I fell in love with this bundle so keep an eye out for even more samples!
I thank you for joining me today. Enjoy ~

TODAY’S STAMPIN’ SUPPLY LIST … If you liked the products used in today’s projects, I have links for you below. Just click on the item you would like more information on, or to begin your shopping. It will take you directly to my website. Thank you ❤