Hello Stampin’ Friends ~
It’s a Three Day Stampin’ Sale …
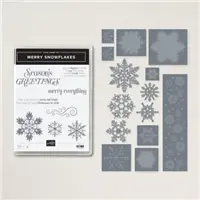
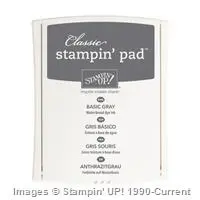
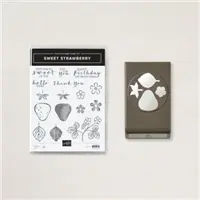
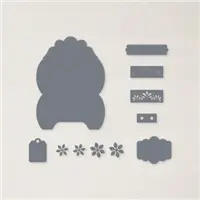
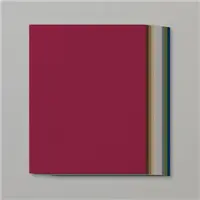
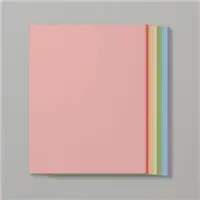
Instead of a “Black Friday” Sale, Stampin’ Up! is doing a “Seasonal Sale” and it begins tomorrow, Tuesday November 16!!! You can get these sale prices on Tuesday, Wednesday & Thursday!!!! 10% off card stock 15% off ink pads (excluding ink pad bundles & 3rd party ink pads) 20% off dies (Annual Catalog only)

AND That’s Not all … Join Stampin’ Up! for Only $75 during the month of November. Choose any products totaling up to $125 (the sale prices can be used toward your order) Plus you’ll receive a complimentary Paper Pumpkin kit, catalogs to share, FREE Shipping and you’ll become a member on my Stars by Design Team!!
Here are some helpful links for you …
To Shop Seasonal Sale: CLICK HERE
To Shop all products: CLICK HERE
For More Information about Joining Stampin’ Up! & My Team: CLICK HERE
To Join My Team: CLICK HERE
I invite you to join me tonight at 6:30 pm (central time) CLICK HERE to get to my page …

Let me know if you have any questions about the Sale, Joining my Team, or my Facebook Lives. You can contact me at lindaluvs2stamp@aol, message me below, or you can contact me through Facebook Messenger.
Thank you for stopping by today.
Enjoy your day ~


")
")
")
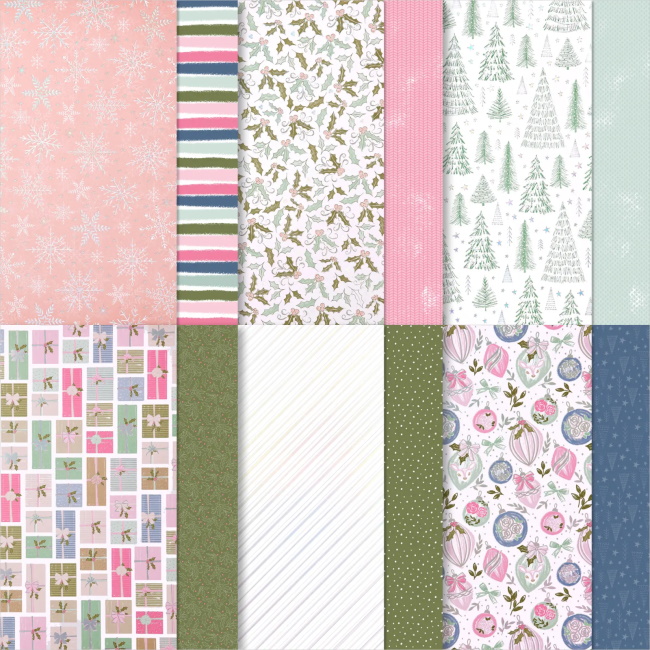
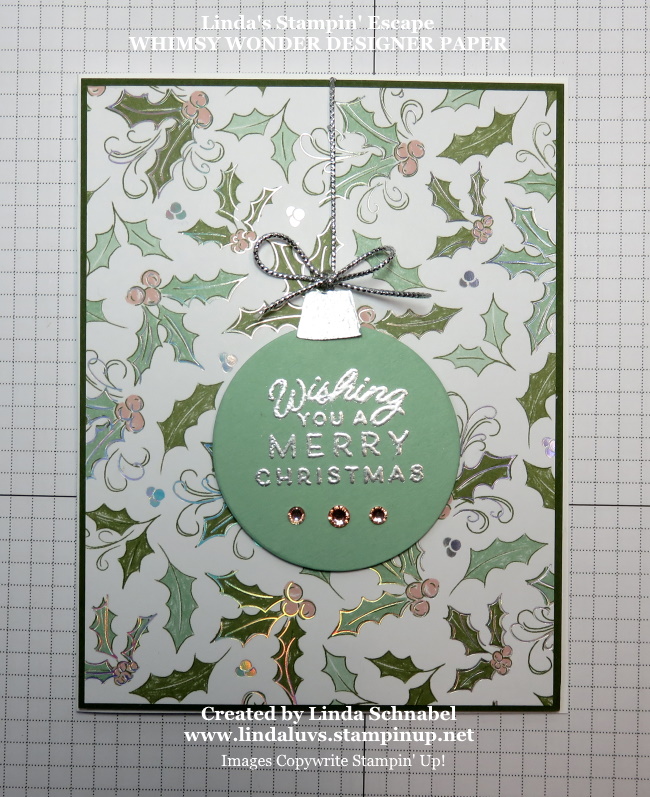
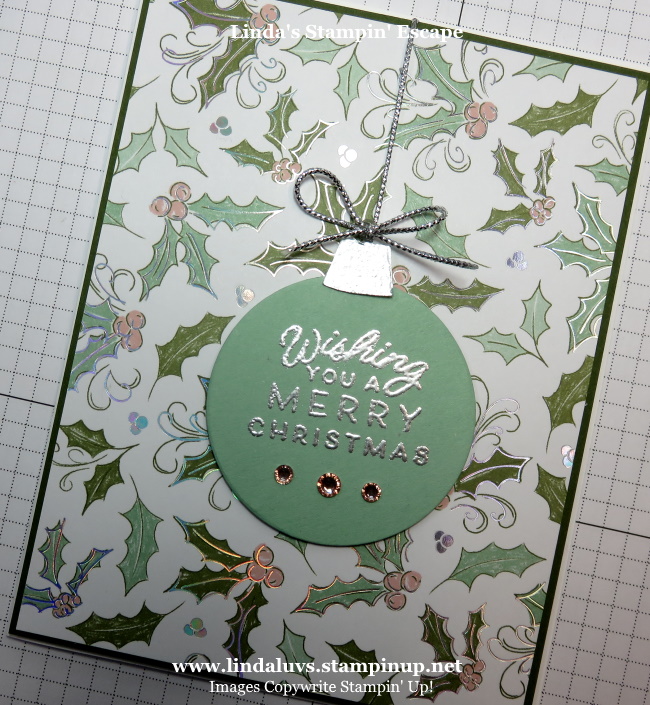
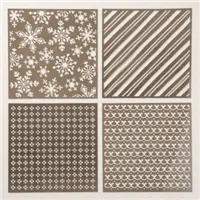
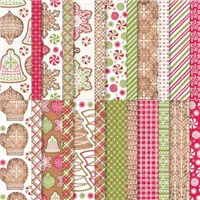
 Specialty Designer Series Paper")


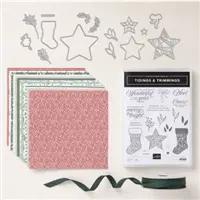
 Specialty Pack")

 Glittered Organdy Ribbon")
 Velvet Sheets")