Hello Stampin’ Friends ~
Today I’ll be sharing my short video on the Magic of Heat Embossing … this simple technique probably dates back many years. I’ve been stamping and a demonstrator (Yes, I was not a cardmaker before I signed up!!) for 20 years, and heat embossing is what caught my attention!
I will be showing you how amazing a VersaMark pad and Clear embossing power is in transforming your projects. Grab your favorite beverage and sit back for a short video as I show you three (3) different items to emboss …
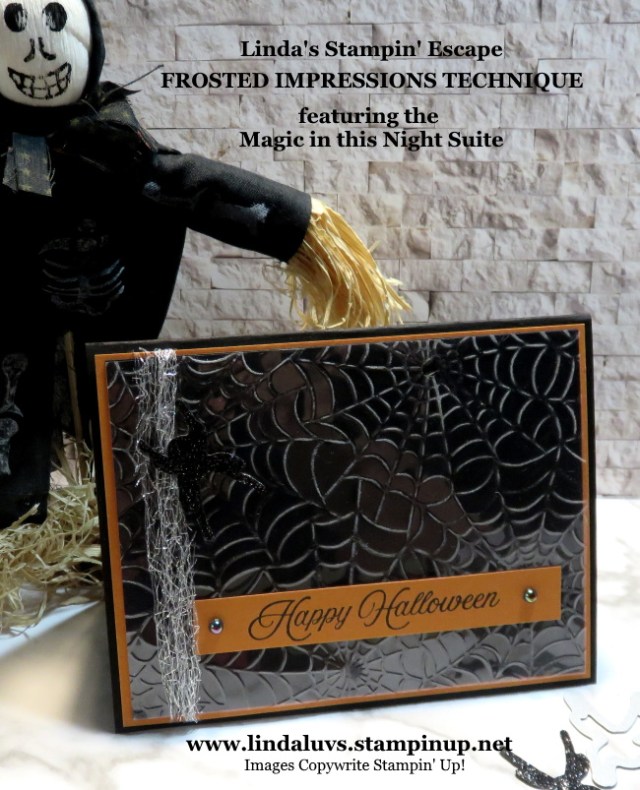
I must admit … not my best presentation but I hope you saw the magic in the technique. Here’s the the first card that I made on the video …
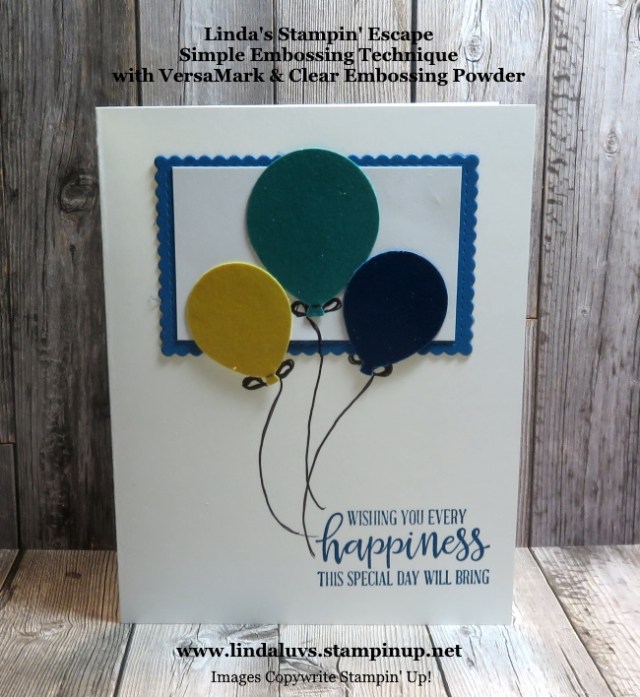
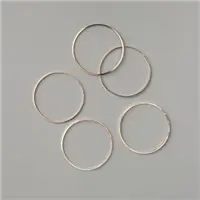
but I’ll also be sharing the two cards that I promised. Lets begin with the balloons ….
The balloons were created as shown in the video. In the video I said I prefer the “strings” on my balloons versed the hand drawn strings so I found some Bakers Twine and added them to my balloons.
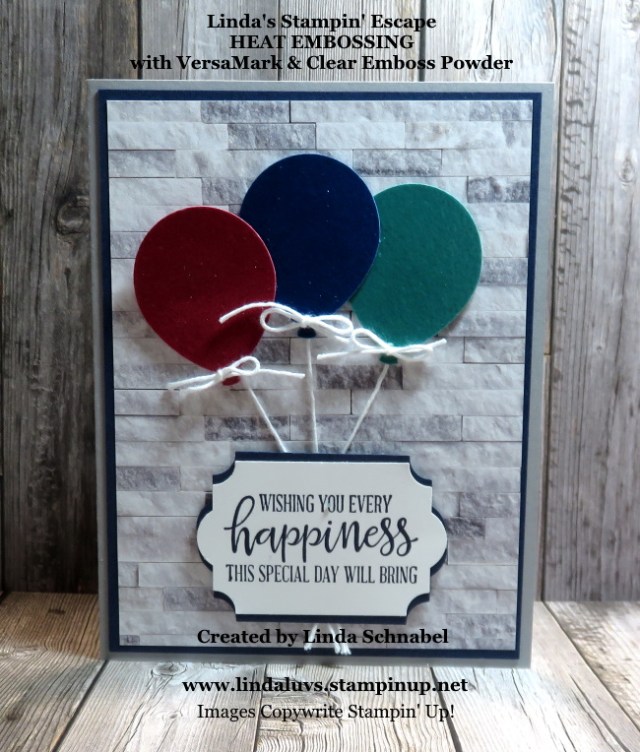
Since we I shared the upcoming Designer Paper Sale with you, I thought I would use one of them for a background. I’m using the “In Good Taste” Designer Series paper on this card …
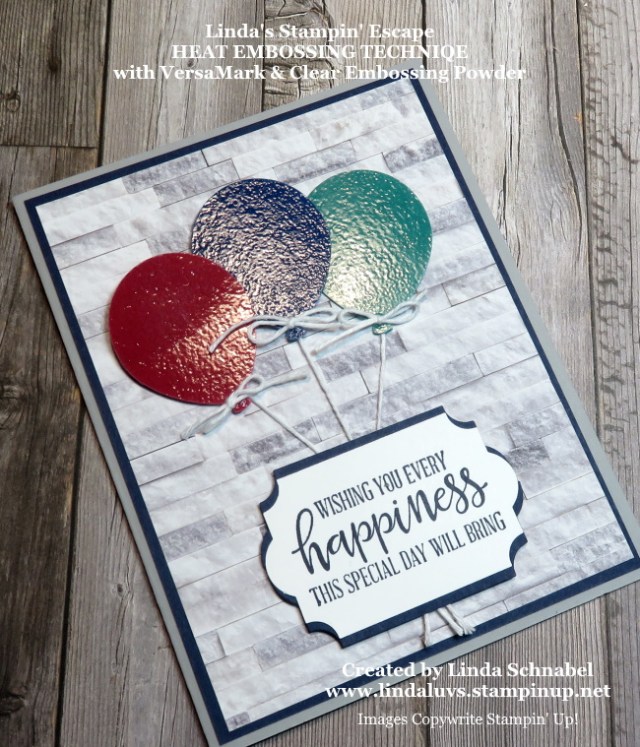
In fact, I have been using the “In Good Taste” Designer Series paper as my backgrounds for all my photo shoots for posting my cards right here!! All of those beautiful wood patterns, brick and tiles all come from this package, including this rustic wood which is probably my favorite!
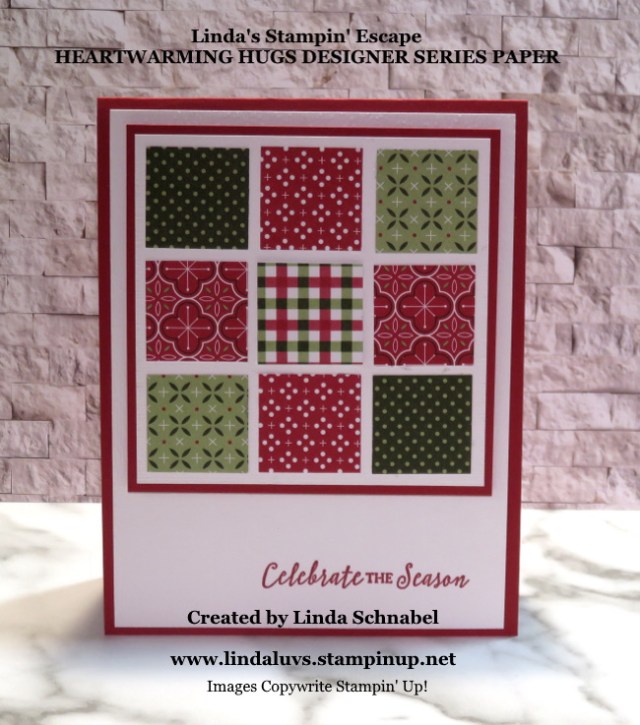
Let’s move on to the Heartfelt Hugs designer series paper we embossed …
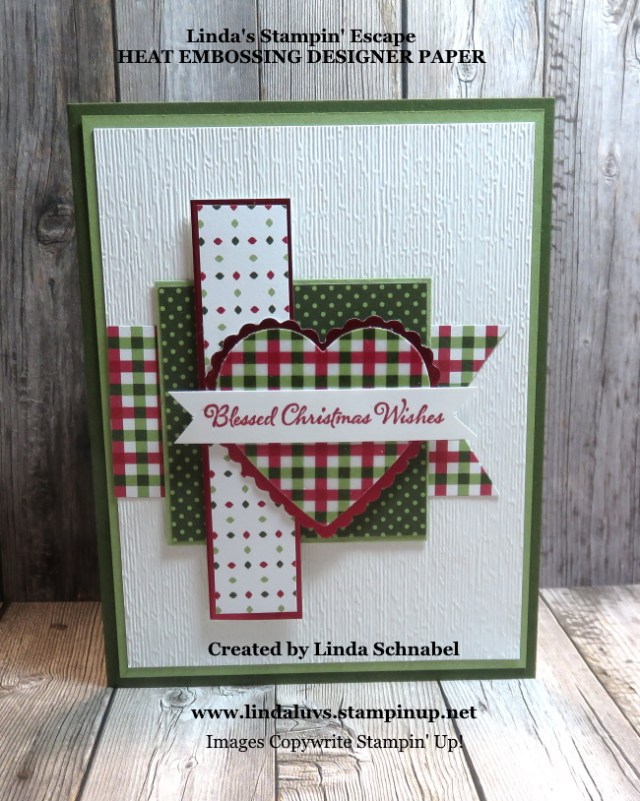
I love the look of the Heartwarming Hugs Designer paper, and embossing it created a stunning new look. When I punched it out with the heart (Heartwarming Hugs paper … get it! lol) I knew exactly where I was going with this card. Create layers of this designer paper to highlight the heart.
In the video you can see how lovely the designer paper is embossed so I decided to mat the heart with the new Red Foil from the Mini Catalog. The shine on both of these creates an amazing focal point to the card …

The only thing I would add to this card is “Red Rhinestones” … might add a little balance on the right side. BUT … I still love the way this card turned out.
Hope you enjoyed the video and the final cards created with this simple and fun technique … there truly is magic in heat embossing!
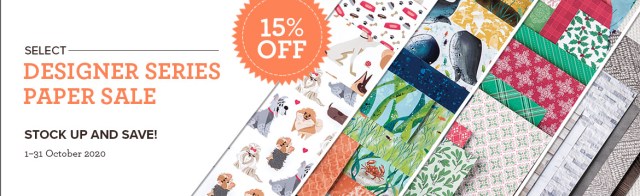
Here is a list of the Designer Papers on Sale starting tomorrow …


Thank you for joining me today, I’ll be back tomorrow to share the “Sunflower” card with you!! Till then …
Have an amazing day ~

TODAY’S STAMPIN’ SUPPLY LIST … If you liked the products used in todays projects, I have links for you below. Just click on the item you would like more information on, or to begin your shopping. It will take you directly to my website. Thank you ♥