Hello, Stampin’ Friends!
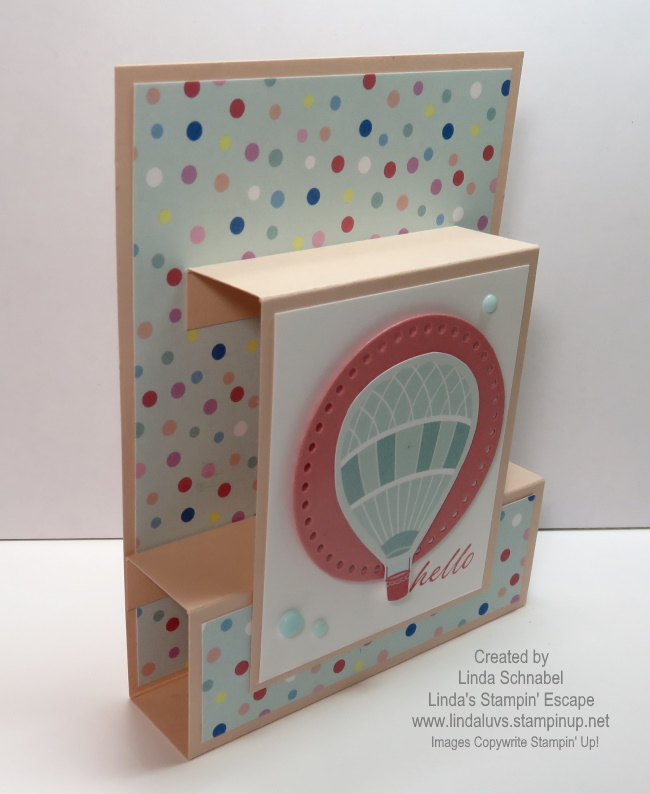
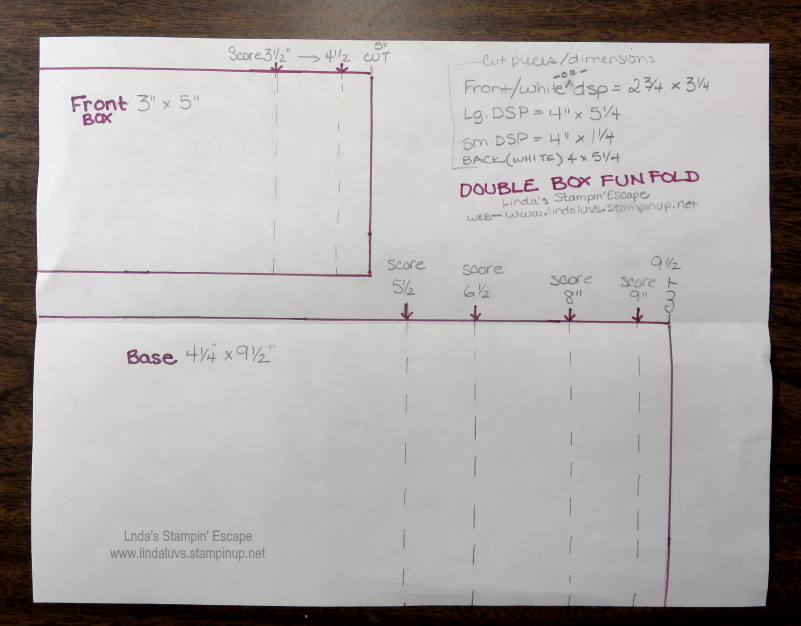
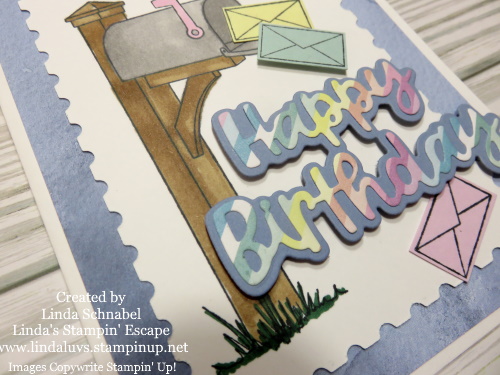
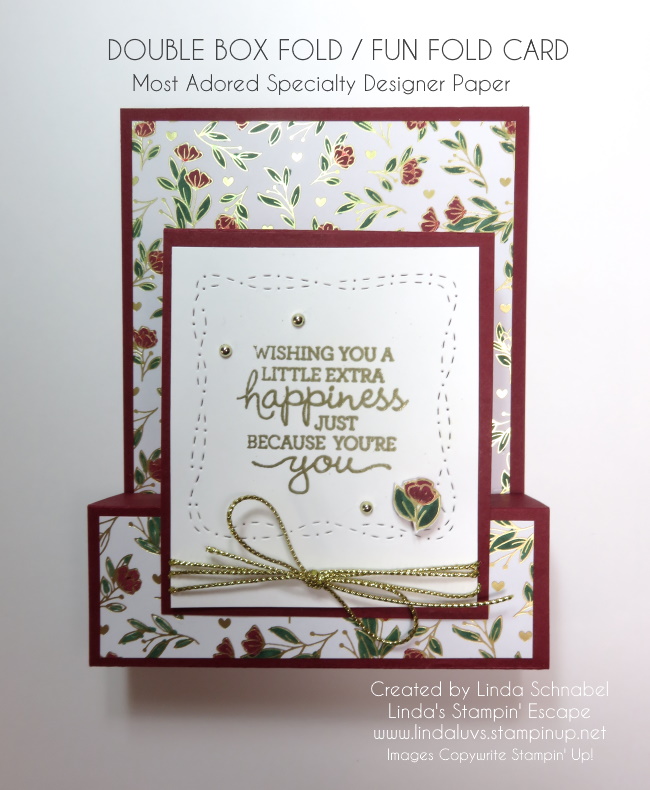
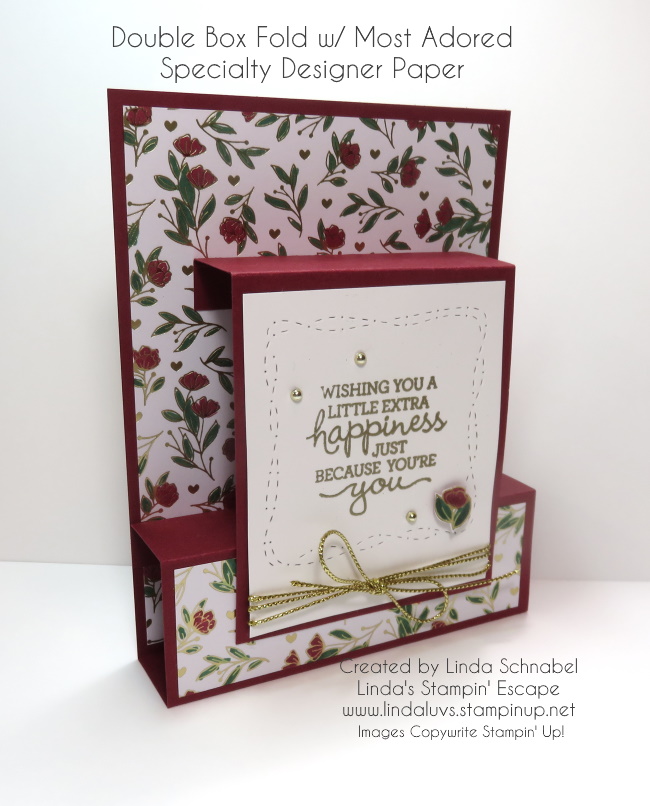
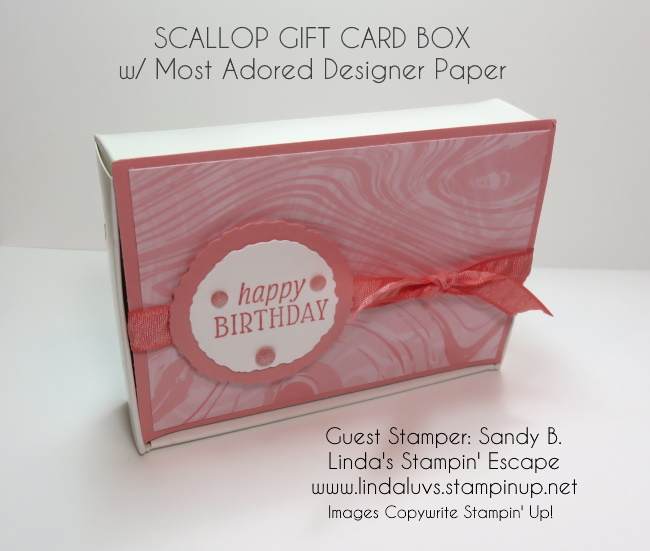
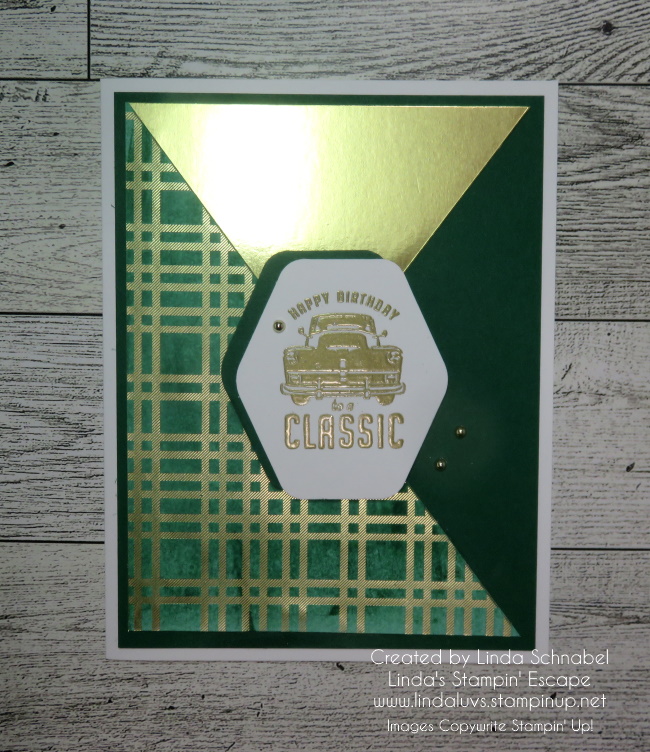
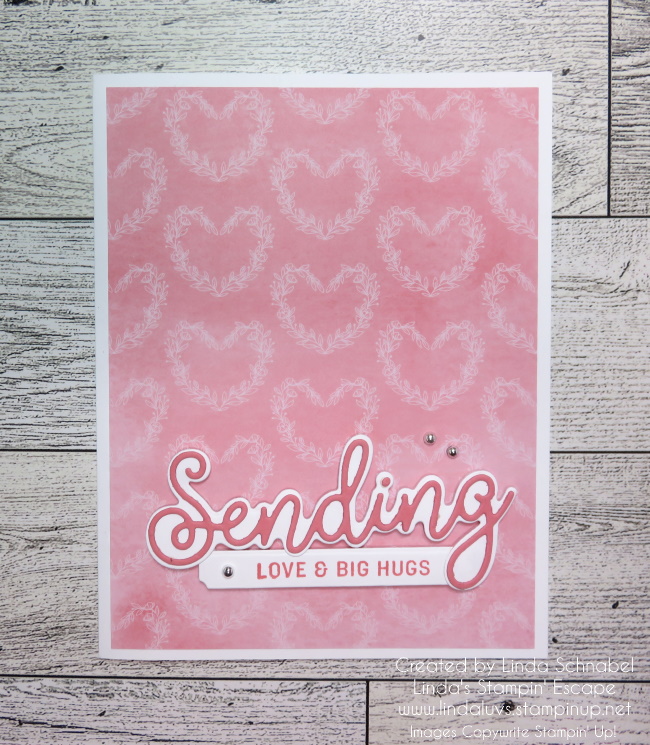
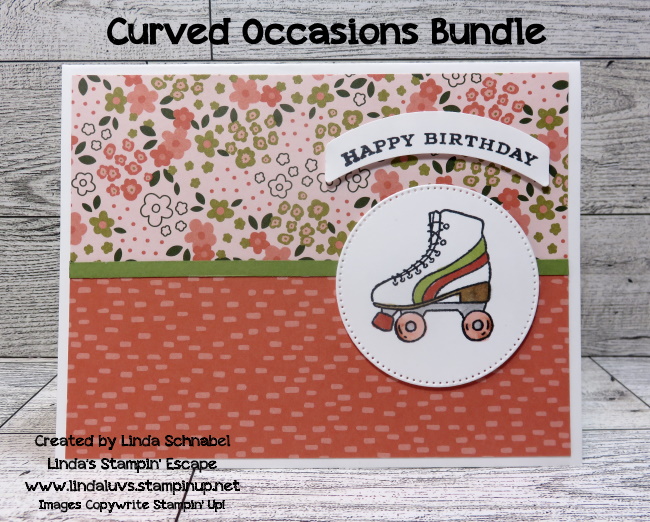
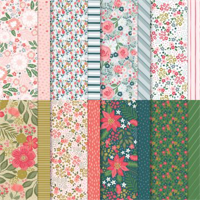
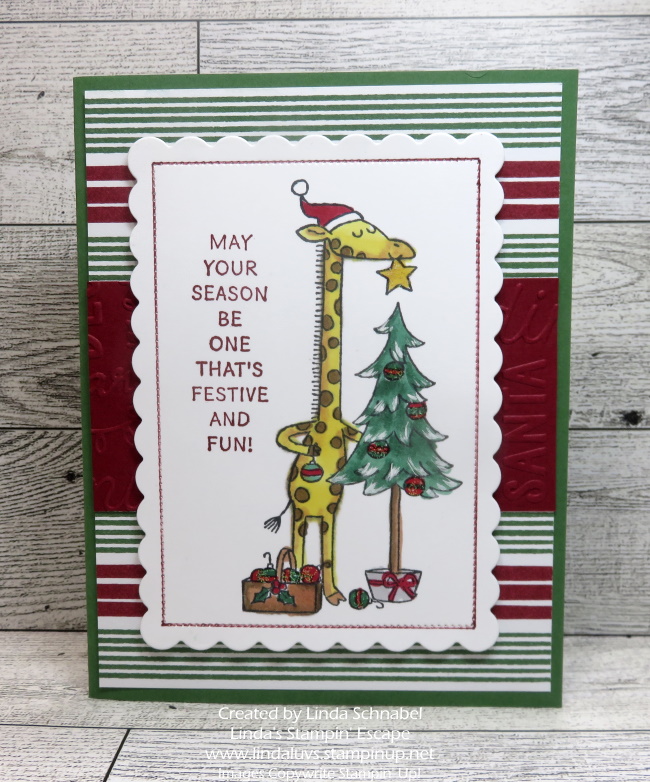
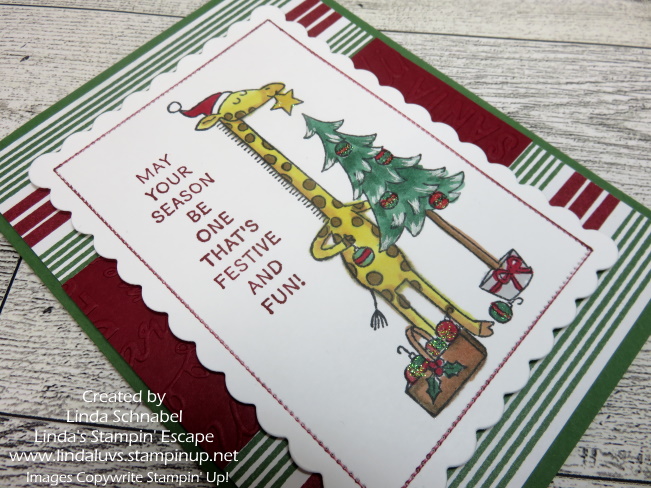
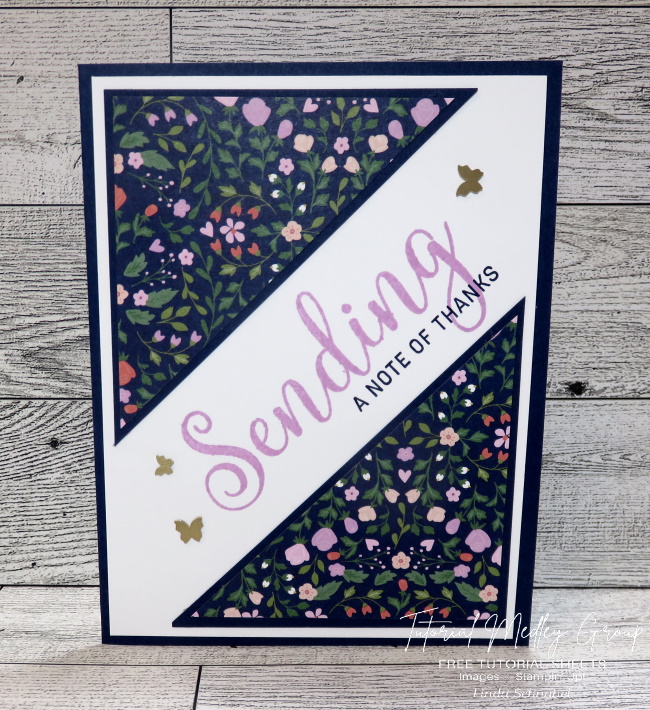
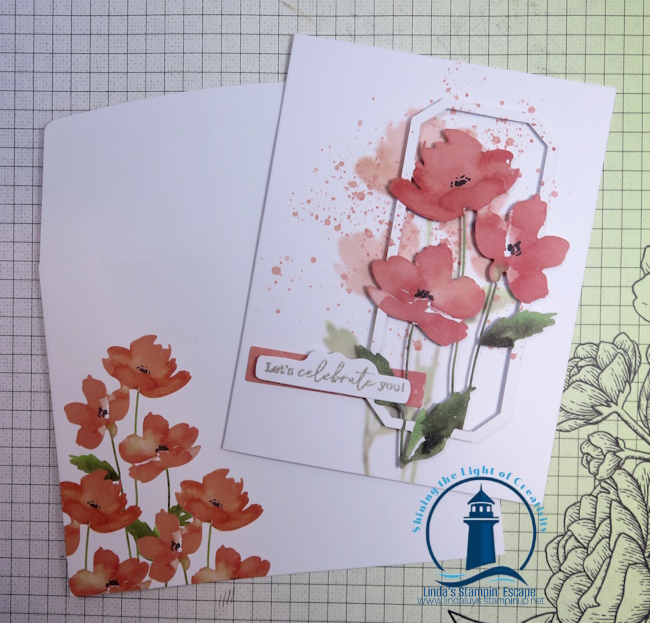
🌸 I’m excited to introduce the beautiful Painted Petals Paper Pumpkin kit from Stampin’ Up! This kit is bursting with vibrant colors and delicate floral designs, perfect for creating stunning cards and projects. Today, I’ll be showcasing the three cards included in the kit, along with a unique alternative card I designed using the kit’s stamp set.
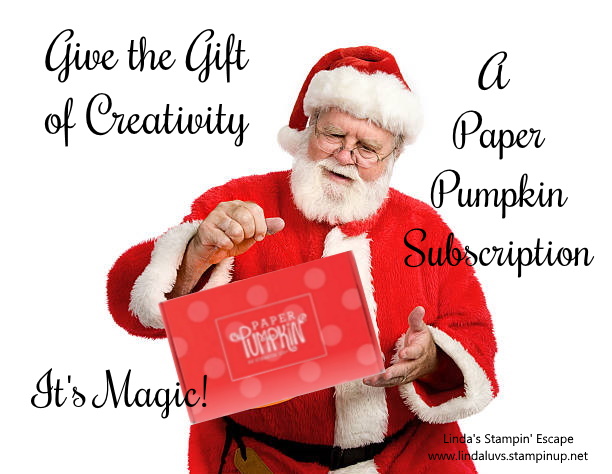
Let’s dive into the world of Paper Pumpkin and explore why being a subscriber is so much fun and beneficial! Paper Pumpkin is a monthly subscription service from Stampin’ Up! that delivers a delightful crafting kit right to your doorstep.

Each kit is thoughtfully curated with all the materials you need to create beautiful projects, from cards to gift bags and more. Whether you’re a seasoned crafter or just starting, Paper Pumpkin is a fantastic way to enjoy a relaxing creative escape.
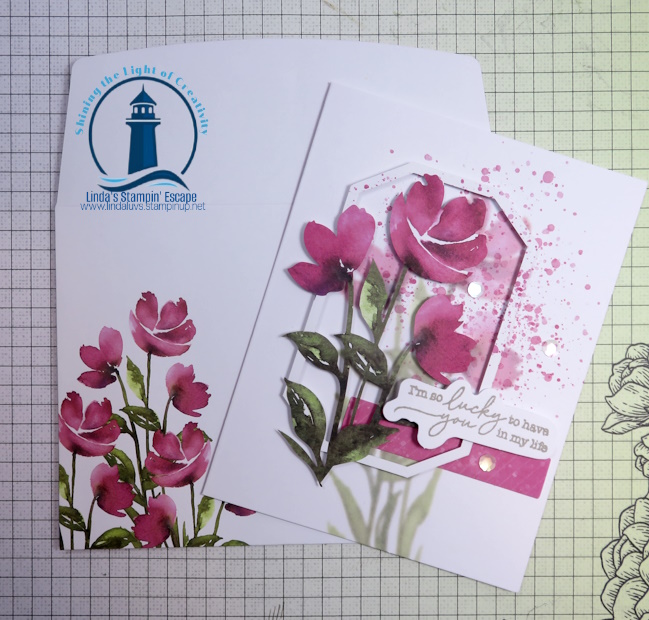
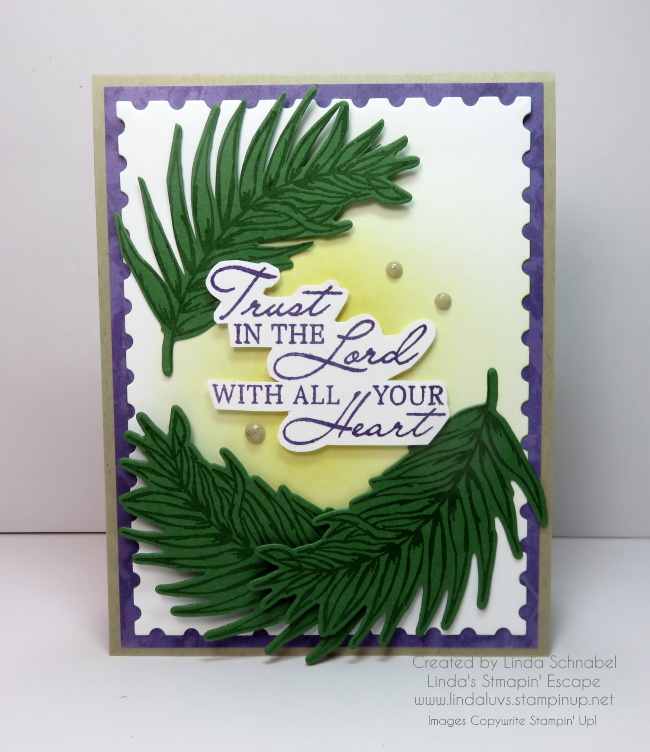
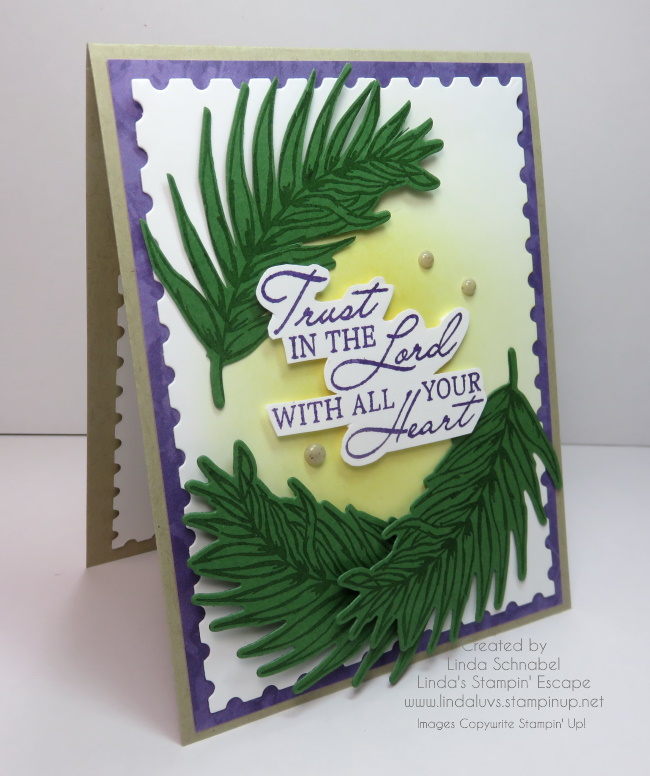
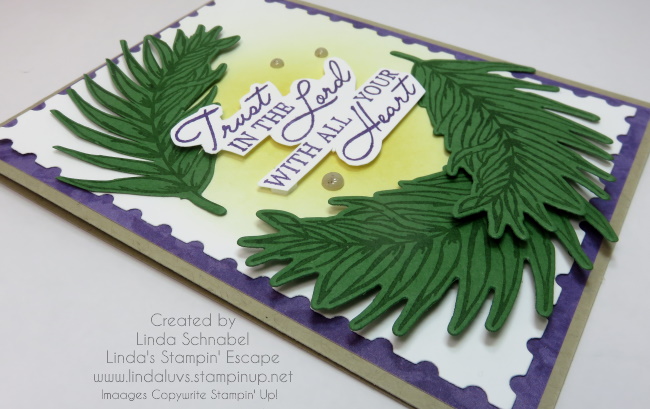
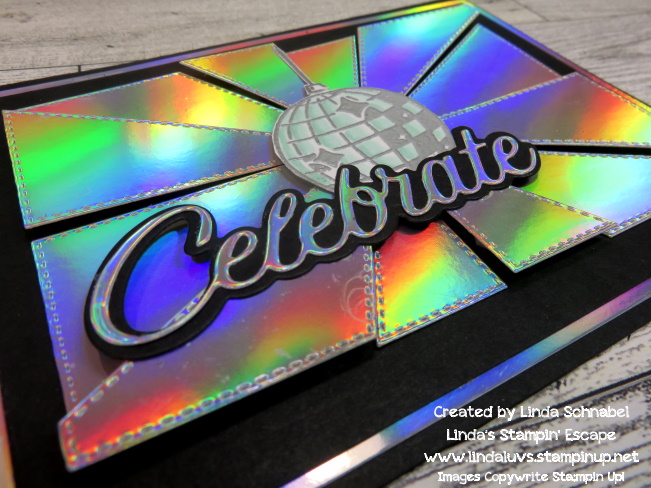
Did you enjoy the three beautiful cards from the Painted Petals kit? Here is my alternative creation. Whether you’re new to Paper Pumpkin or a longtime subscriber, this kit is sure to spark your creativity and bring joy to your crafting experience.

Why Subscribe to Paper Pumpkin?
Convenience: Each month, a new kit arrives at your door, ready to inspire your creativity. No need to search for supplies or plan projects—it’s all done for you!
Variety: With each kit featuring a new theme, you’ll never get bored. From holiday-themed projects to everyday cards, there’s always something fresh and exciting.
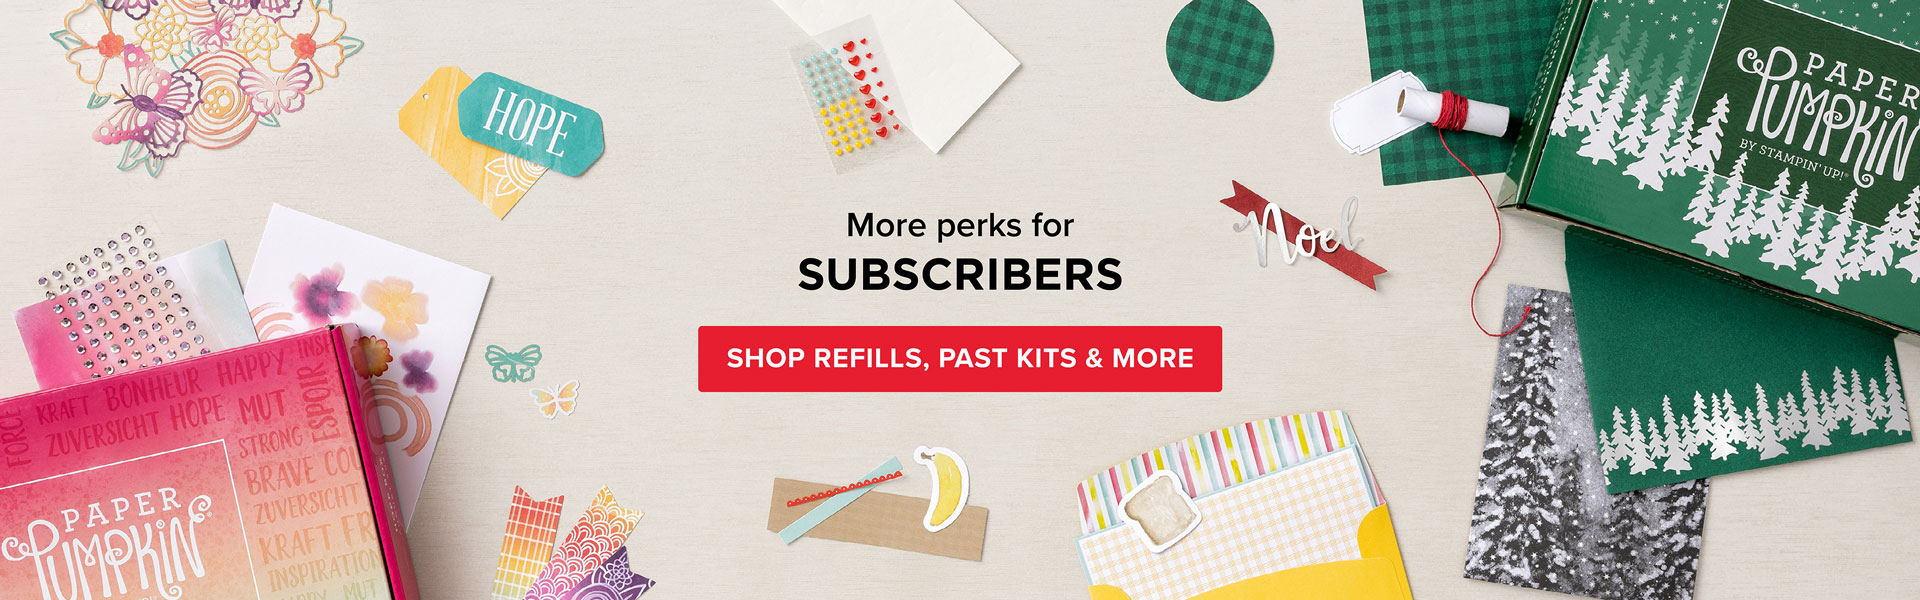
Exclusive Access: Subscribers get exclusive access to past kits, refills, and more. It’s a great way to stock up on your favorite kits or catch up on ones you missed.
Community: Join a community of crafters who share their creations and ideas. It’s a wonderful way to connect with others who share your passion for crafting.
Special Offer for Subscribers!
Now is the perfect time to subscribe to Paper Pumpkin! Current subscribers can take advantage of a sale on past kits, refills, and more.

Here’s a peek into next months Paper Pumpkin ….

This month’s “Time for Cake” kit is all about celebrating life’s sweetest moments with beautifully designed cards and gift tags that are as delightful as they are fun to make. Celebrate birthdays with elegant cards detailed with rose gold foils, delicate icing designs, and charming cake motifs that will make every recipient smile. Whether you’re crafting for birthdays, weddings, anniversaries, or just because, this kit has you covered.
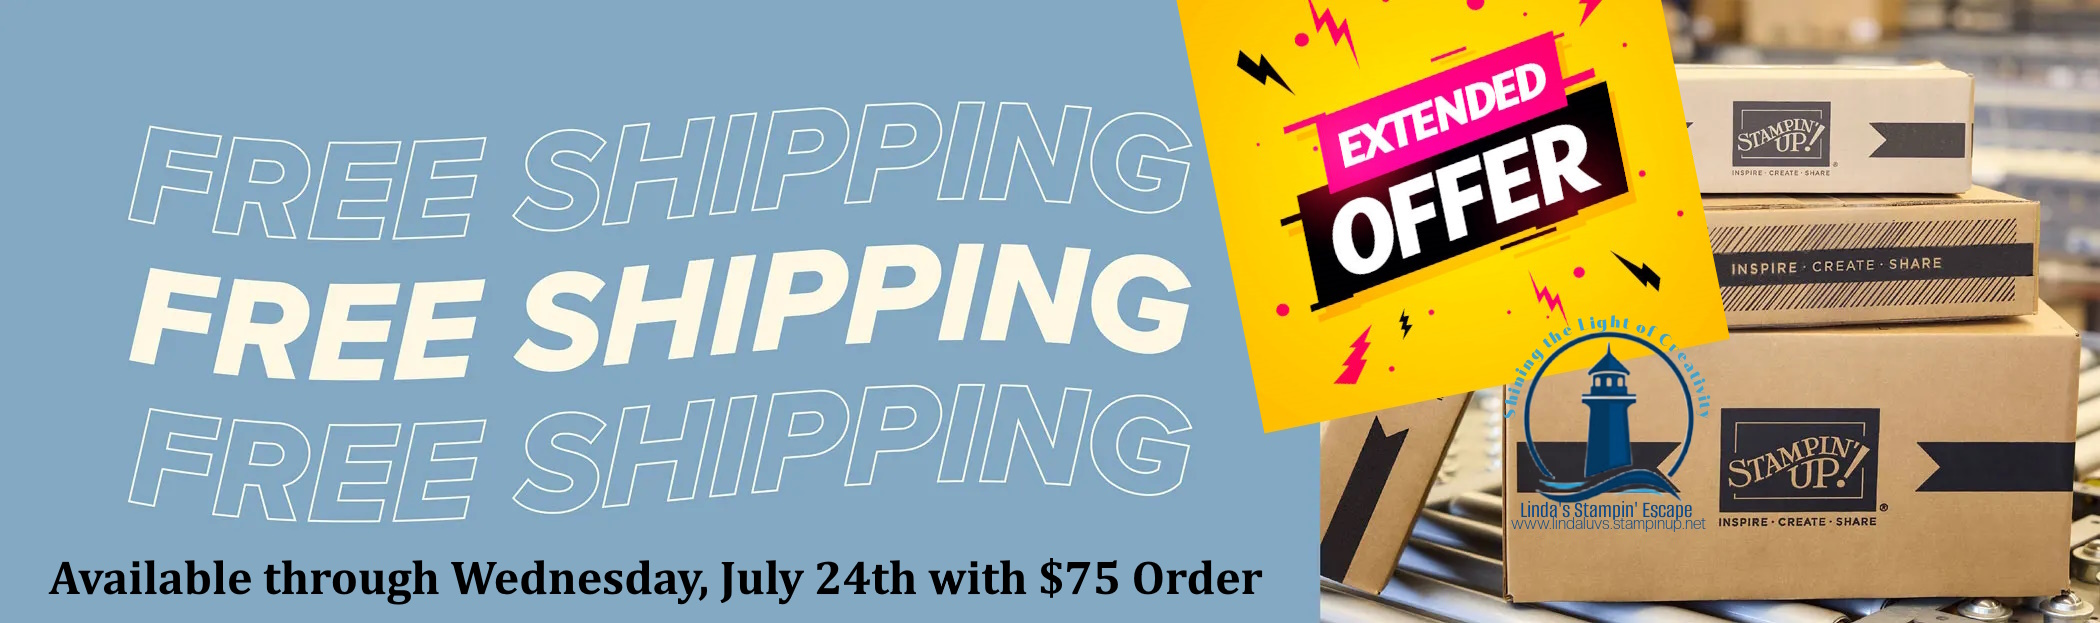
Before you go, I want to let you know that Stampin’ Up! extended the FREE Shipping offer, so if you missed it yesterday … Today is your lucky day
Don’t forget, July is Bonus Days! For every $50 you spend, you’ll receive a $5 coupon to use in August. This is the perfect time to stock up on your favorite Stampin’ Up! products and earn some extra savings.

So, what are you waiting for? Subscribe to Paper Pumpkin today and start enjoying the benefits of this wonderful crafting subscription! Happy crafting! ✨