Hello Stampin’ Friends,
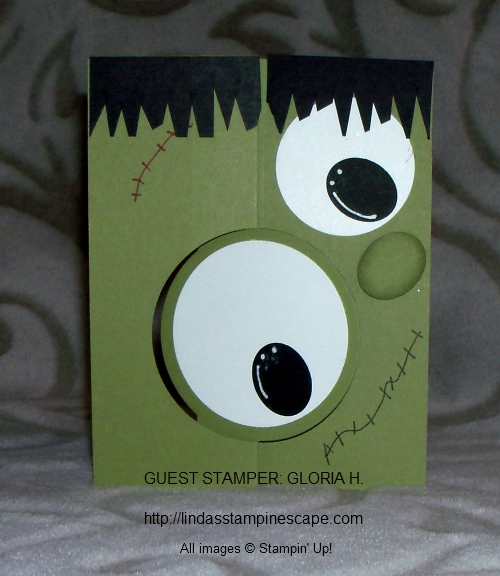
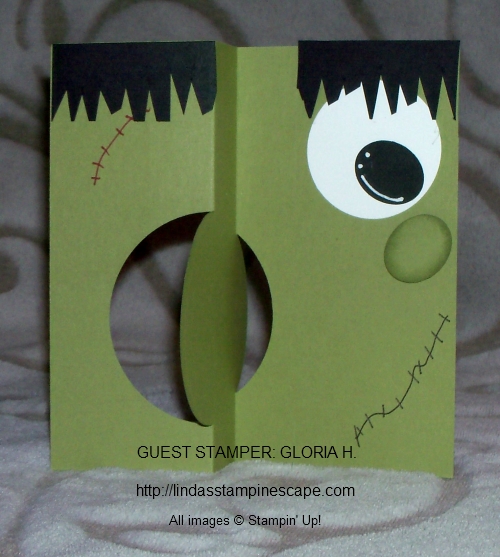
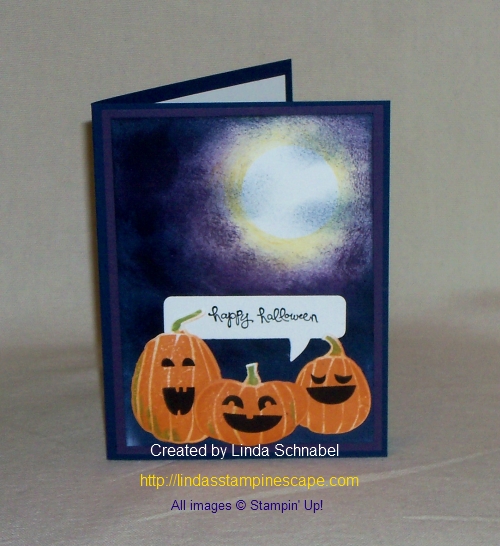
Today I have a cute, super simple Halloween card for you…

I used the “Freaky Friends” stamp set – I just had to have that little skeleton! Look at him just standing there … isn’t he just the cutest!
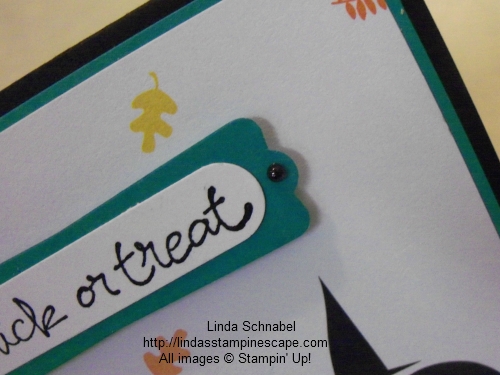
The “Happy Halloween” comes from that tried and true greetings set … Tiny Tiny Wishes. One of my go-to stamp sets.
I simply stamped my skeleton and greeting with Whisper White “CRAFT” ink and embossed it with white embossing powder. Most people use the VersaMark for embossing, but I love the way the “white on white” works.
The majority of my stampers who have done this technique, have purchased a White Craft pad. You can find it on the bottom of page 210 in the Stampin’ Up! catalog or just click on the link in my Stampin’ Supply List at the bottom of this post.
I layered it on Elegant Eggplant and mounted it onto the Pumpkin Pie cardstock.
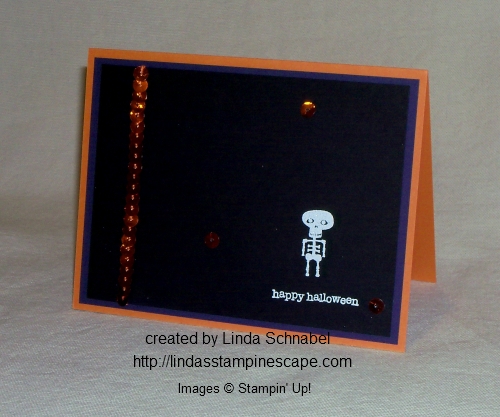
I used a bit of bling from the September Paper Pumpkin kit to finish off my card … SIMPLE.
Thank you for dropping by today! Stop back tomorrow for my last post of my Halloween Series. I will be highlighting the Freaky Friends and Motley Monsters Designer paper.
Have a wonderful day ~

STAMPIN’ SUPPLY LIST …