Hello Stampin’ Friends,
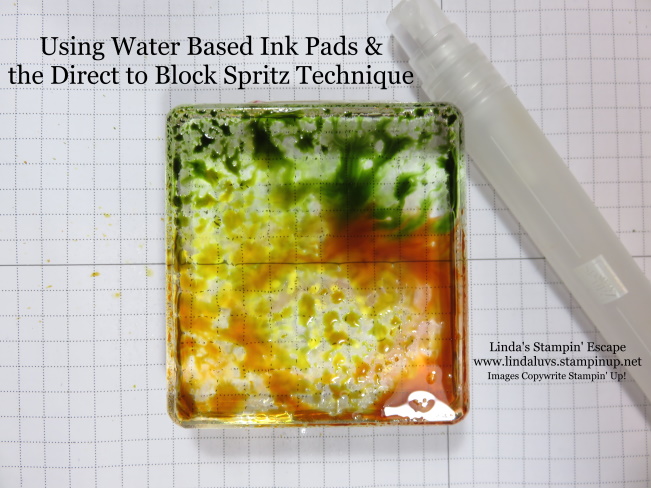
It’s time to Create Magic with Water-Based Inks with some tips and techniques to help you in your cardmaking and scrapbooking! Previously I shared the differences between three of our most popular inks (Click Here to View) Whether you’re a seasoned crafter or just starting on your creative journey, water-based inks offer a world of possibilities to enhance your projects.
Today, we’ll explore the exciting world of water-based inks with share tips and a fun technique that will take your card making and scrapbooking to the next level.

Why Water-Based Inks?
Water-based inks are immensely popular in the crafting community for several reasons:
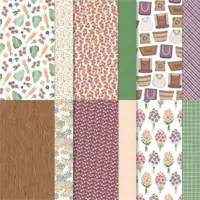
- Versatility: Water-based inks work on a variety of surfaces, including paper, cardstock, vellum, and even fabric. They’re also great for different crafting techniques, making them incredibly versatile.
- Ease of Use: These inks are beginner-friendly, forgiving, and easy to clean up. You don’t need specialized equipment or ventilation like you do with some other types of inks.
- Blendability: Water-based inks can be effortlessly blended to create beautiful gradients and backgrounds. This feature is especially handy for creating unique card backgrounds and scrapbook pages.
- Layering: You can layer multiple colors to achieve complex effects and depth in your projects. This allows for endless creative possibilities.
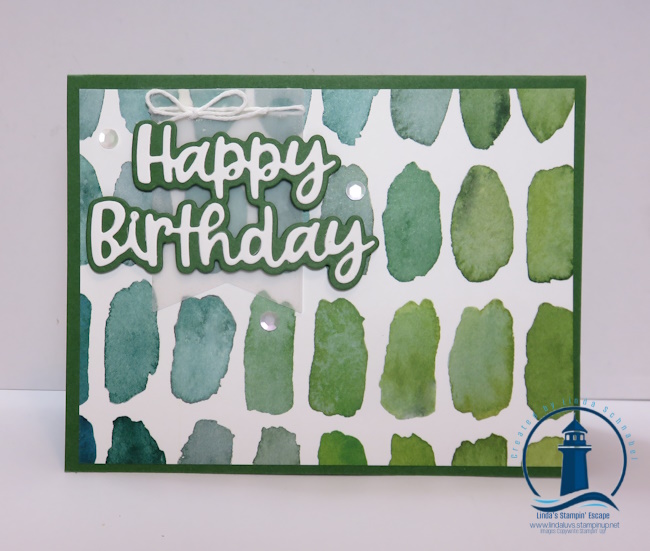
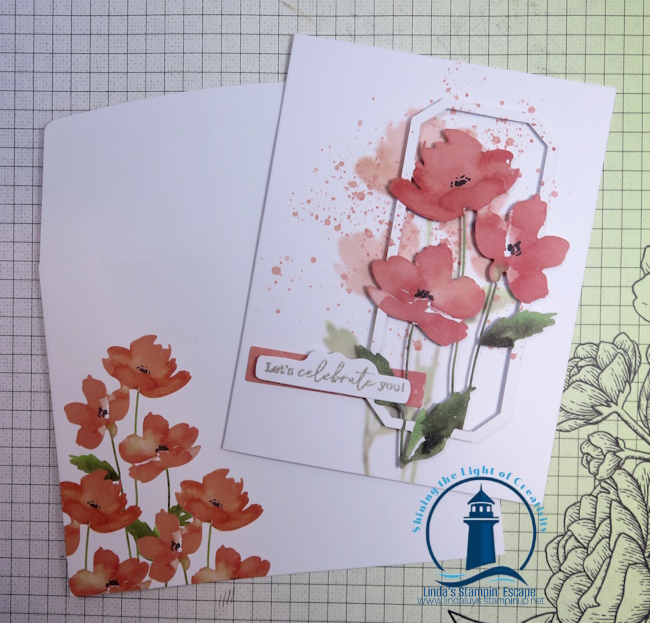
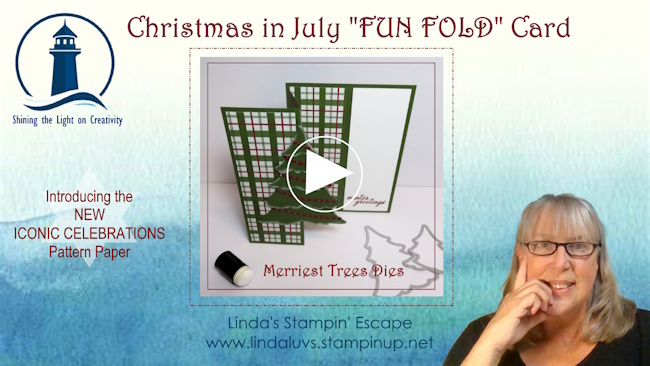
Today we’re going to start with the basics … Simple stamping with a hint of a fun technique called “Stamping Off”. You can use pre-folded cards or cut and fold your own from cardstock. My base is an A2 size card; 8-1/2″ x 5-1/2″ scored and folded at 4-1/4″. Decide on the card’s theme and the colors you want to use. This is where your creativity shines.

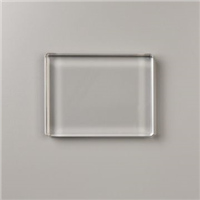
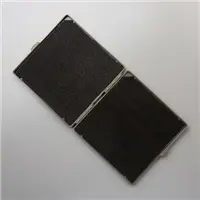
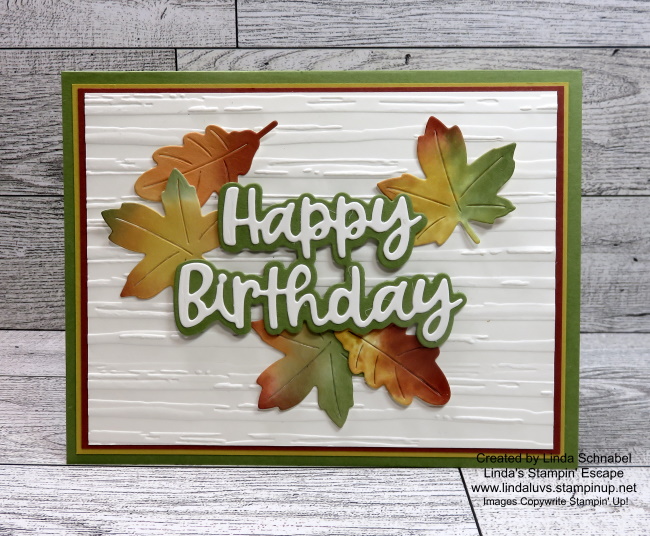
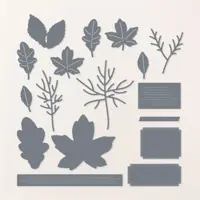
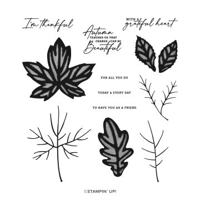
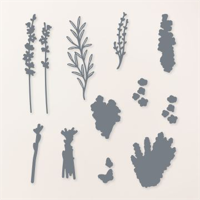
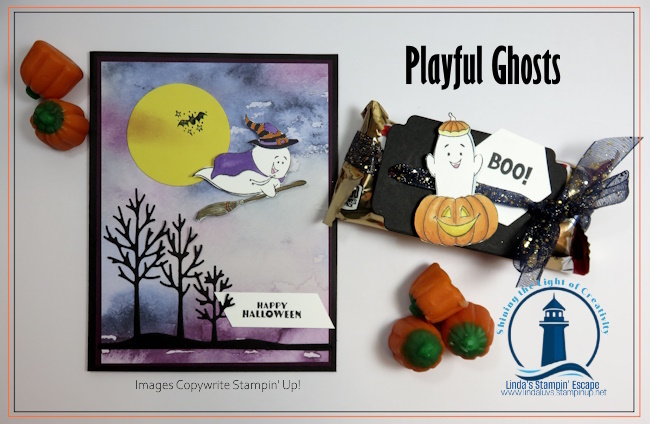
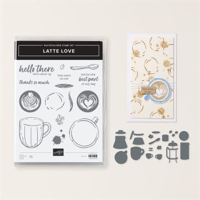
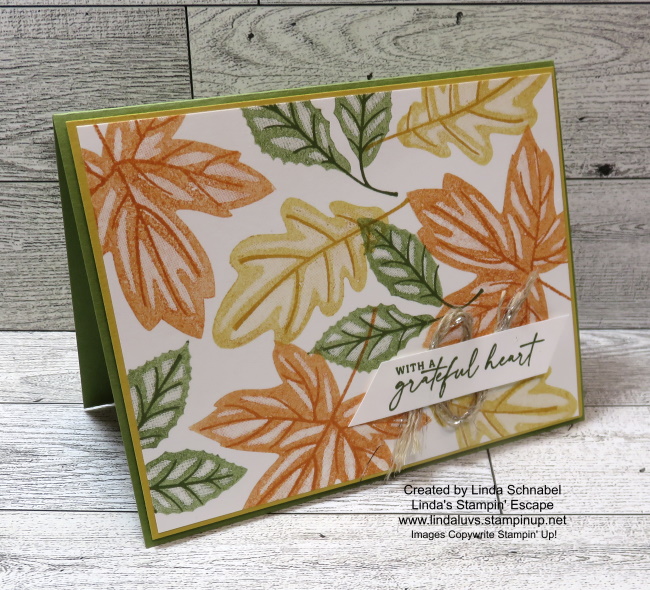
Today we are using the new Autumn Leaves Stamp Set along with the Crushed Curry, Old Olive and Pumpkin Pie water-based ink pads! The Autumn Leaves is a photopolymer stamp set so for best results I use the Stampin’ Pierce mat to stamp onto. (Use a scrap piece of paper over the top to keep it clean).
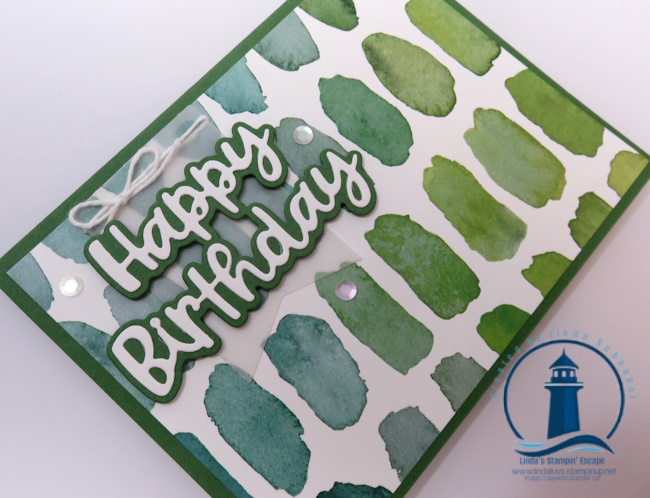
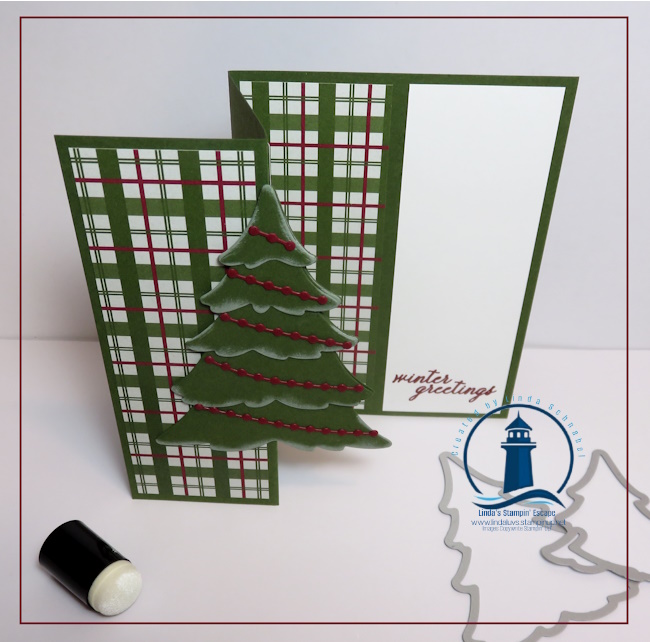
As for our technique to “stamp off” … you’ll ink up your image and then stamp it onto a scrap piece of paper before stamping it onto your cardstock. Position your inked stamp over the desired area on your card. Apply even pressure, pressing down firmly but not too hard. Hold the stamp in place for a moment to ensure the ink transfers. The veins for the leaves are inked up and then stamped directly over the stamped off leaf, giving it the look of dimension. It’s magical.
After use, clean your stamp with the Stampin’ Scrub or paper towel. I stay away from baby wipes, but if you use them, make sure they are alcohol, lotion and lint free… the last thing you want is to have on your stamps or ink pads is a foreign substance. This maintains the quality of your stamps.
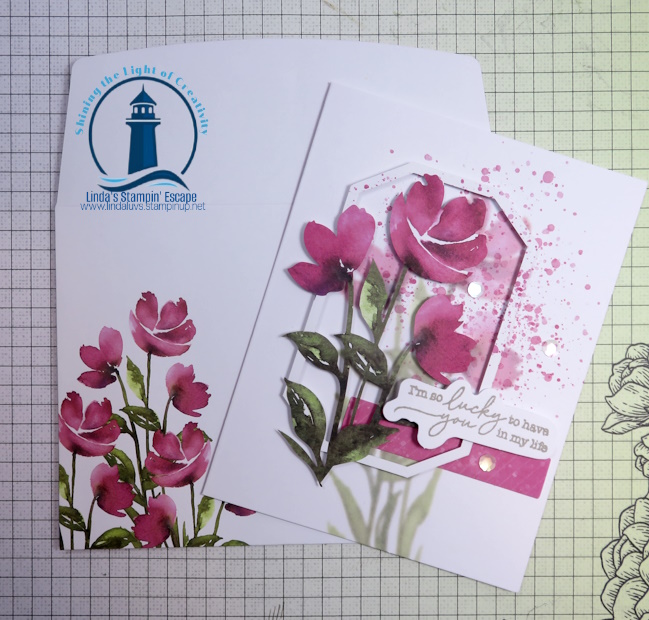
I stamped the greeting onto a scrap piece of white cardstock using the Old Olive ink then trimmed it down. I added some of the Threaded Twine behind it after breaking it apart by pulling out a few threads. I used Stampin’ Dimensionals to pop it up. This was all layered onto a piece of 4-1/4″ x 5-5/8″ Crushed Curry mat.
Stamping cards with water-based inks is a fun and rewarding creative hobby. With practice and these tips, you’ll feel like a master card maker in no time. Each card you create will be a work of art, made with love and care…. and that is why we stamp! So, gather your materials, unleash your imagination, and start stamping your way to heartfelt greetings and beautiful cards!
Thank you for joining me today.