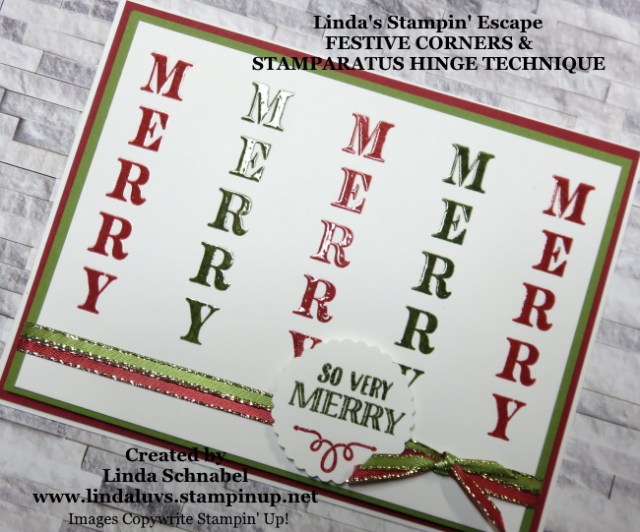
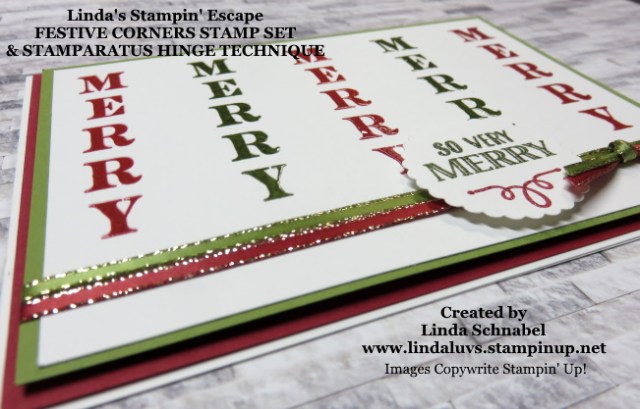
Hello Stampin’ Friends,
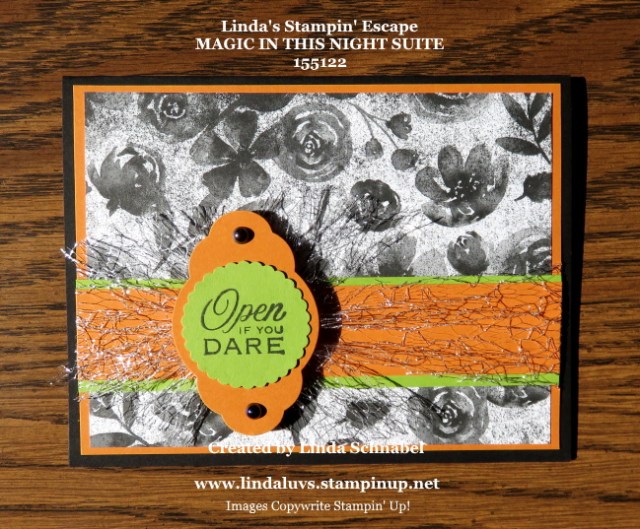
This morning I was looking around on Pinterest and noticed one of my cards from 2013 was still getting hits … Yes!! That is cool, makes me happy that my card inspires people. Here it is ….

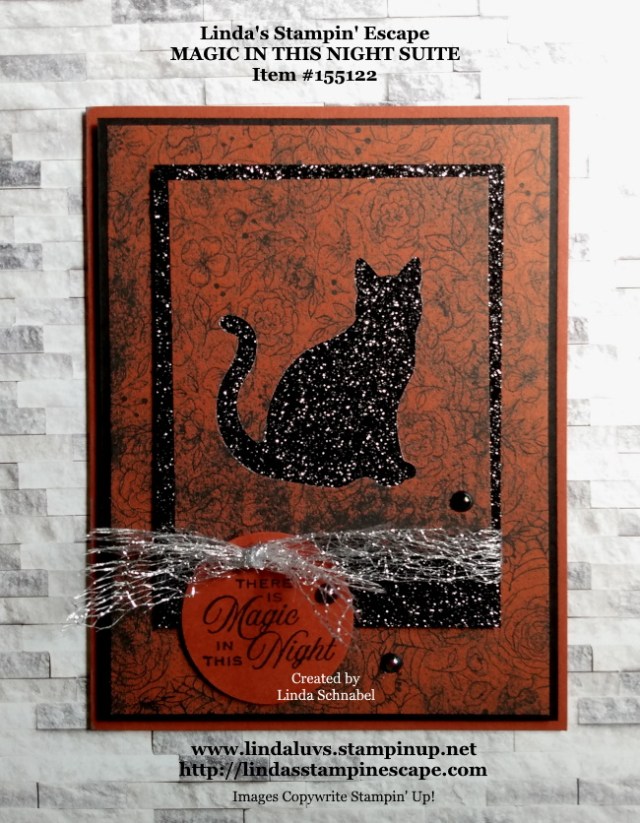
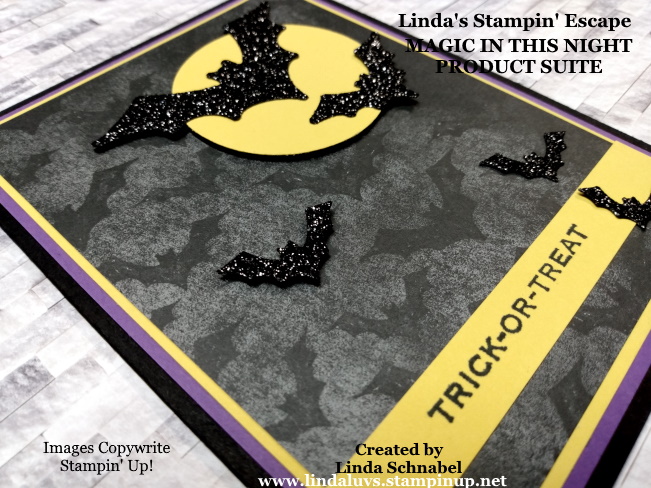
You can see the original post HERE. Today I have taken the same layout I used on the original card and updated it using the Magic in this Night Suite.

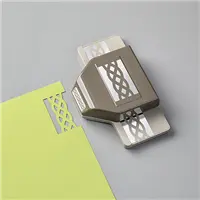
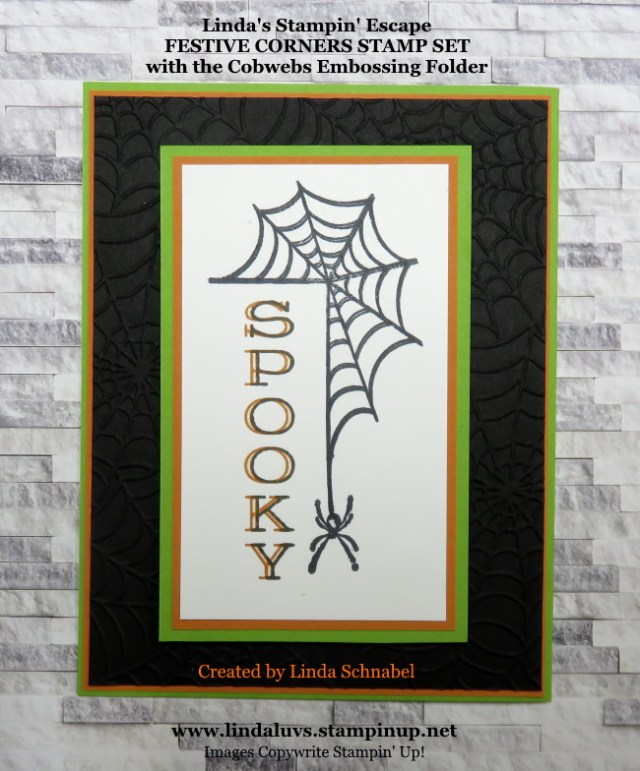
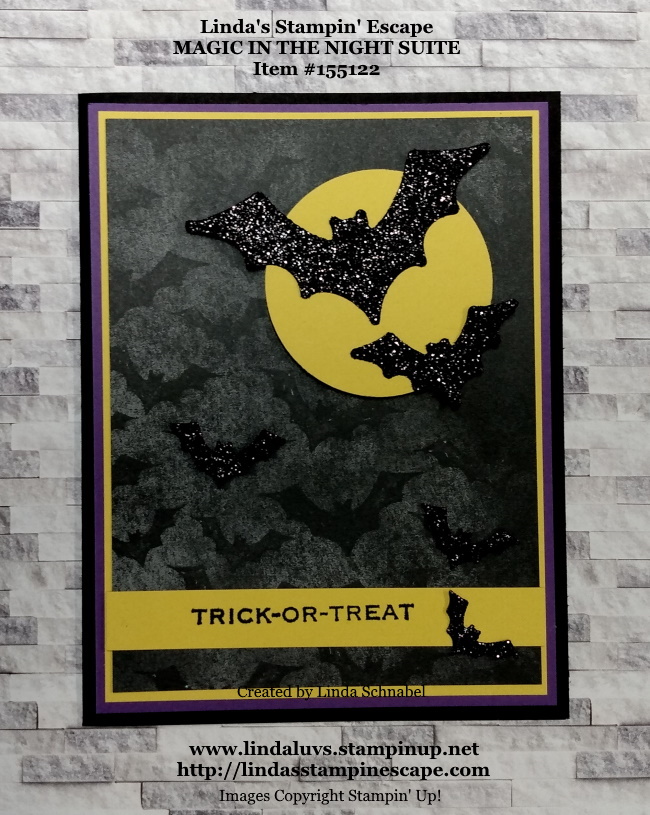
I chose 3 patterns from the Magic in this Night Designer Series paper creating my Halloween Banners …. One strip is 1″ … then 3/4″ and the last is 1/2″ wide. I used the Triple Banner punch to punch the ends … then I layered them as shown on the card.

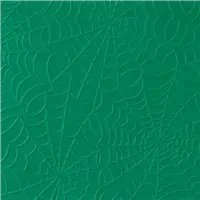
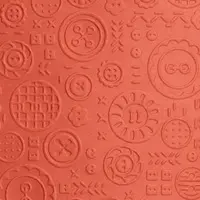
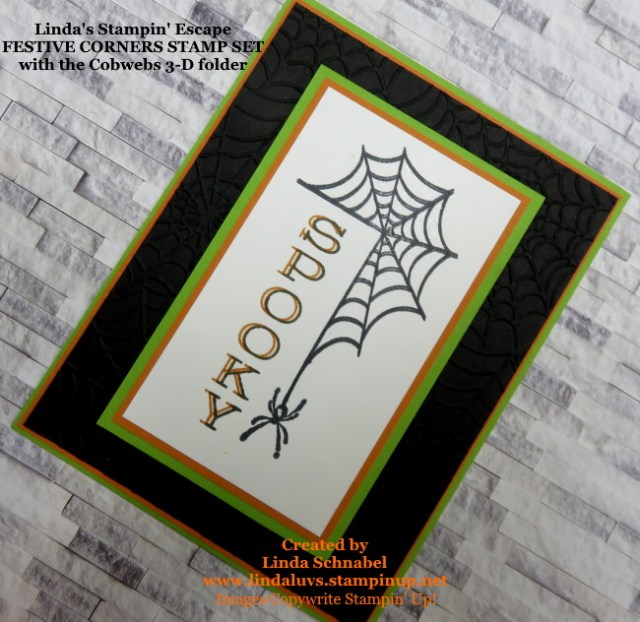
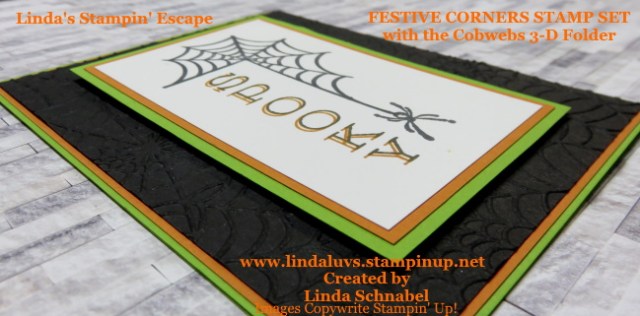
I started with a Basic Black base and then Cajun Craze which I ran through the NEW Stampin’ Cut & Die machine (man, does that work nice!!) using the Cobweb 3-D embossing folder. This was then layered onto a piece of Old Olive… just to add a pop of color.
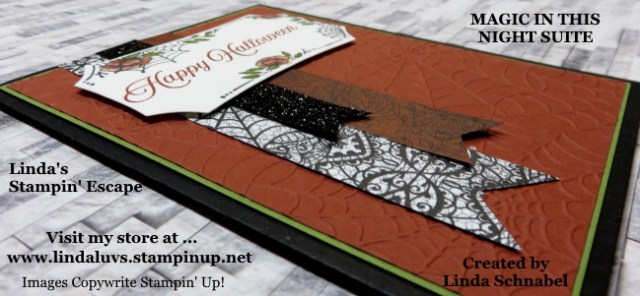
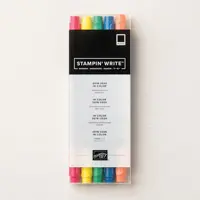
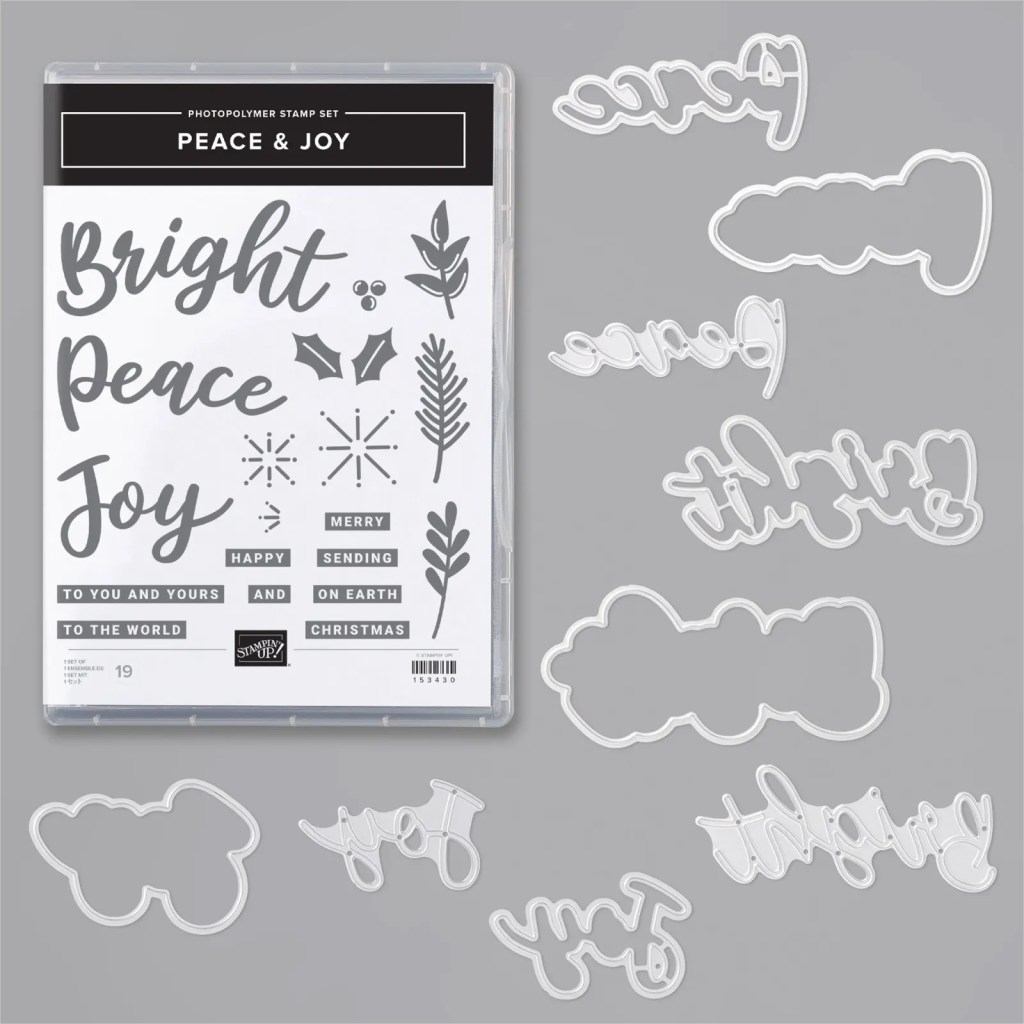
For my greeting, I chose the pretty frame from the Hallows Night Magic Stamp Set which I stamped with the Tuxedo Black Momento Ink and then colored with the Stampin’ Write markers. The “Happy Halloween” was stamped with Cajun Craze and the entire piece was popped up with the Stampin’ Dimensionals.
I must say … I love this Halloween suite, one of the prettiest I’ve ever seen! Did you ever think Halloween to be …. pretty?!
Thank you for hanging out and waiting for today’s post! Much appreciated.
Enjoy your day ~

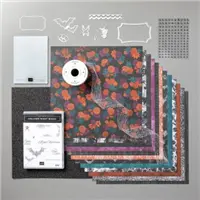
TODAY’S STAMPIN’ SUPPLY LIST … If you liked the products used in today’s projects, I have links for you below. Just click on the item you would like more information on, or to begin your shopping. It will take you directly to my website. Thank you ♥