Hello Stampin’ Friends ~
Last night on my Facebook LIVE we played with a gorgeous trio of products—the Amber Autumn Bundle, the Thoughtful Designs Specialty Paper, and the Spotlight on Nature Dies. I wanted to show you how just a handful of supplies can create two totally different looks, all while keeping that warm, earthy feel we love during this season.
Both of my cards feature a Crumb Cake card base—it’s the perfect neutral to let the warm tones and cozy details shine through, and paired with our Stampin’ Blends … from there, the magic begins!
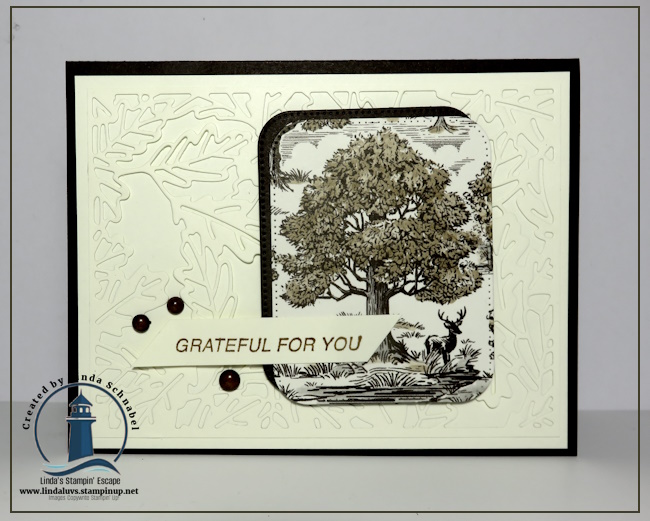
✨ Card One
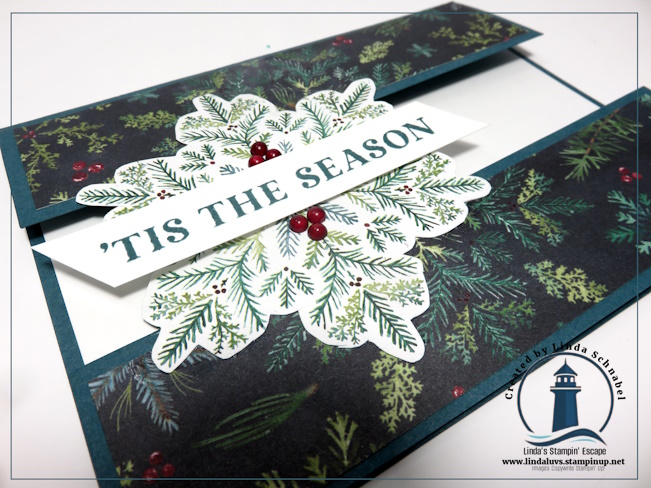
For the first design, I reached for a beautiful green pattern from the Thoughtful Designs Specialty Paper. I die-cut it using the Textured Notes Dies and layered it with Mossy Meadow cardstock for a rich, earthy backdrop. The greeting, stamped in Mossy Meadow, found its home on a circle from the Spotlight on Nature Dies. To finish it off, I added a cluster of leaves and acorns from the Amber Autumn Bundle—colored with Stampin’ Blends for extra depth and dimension.

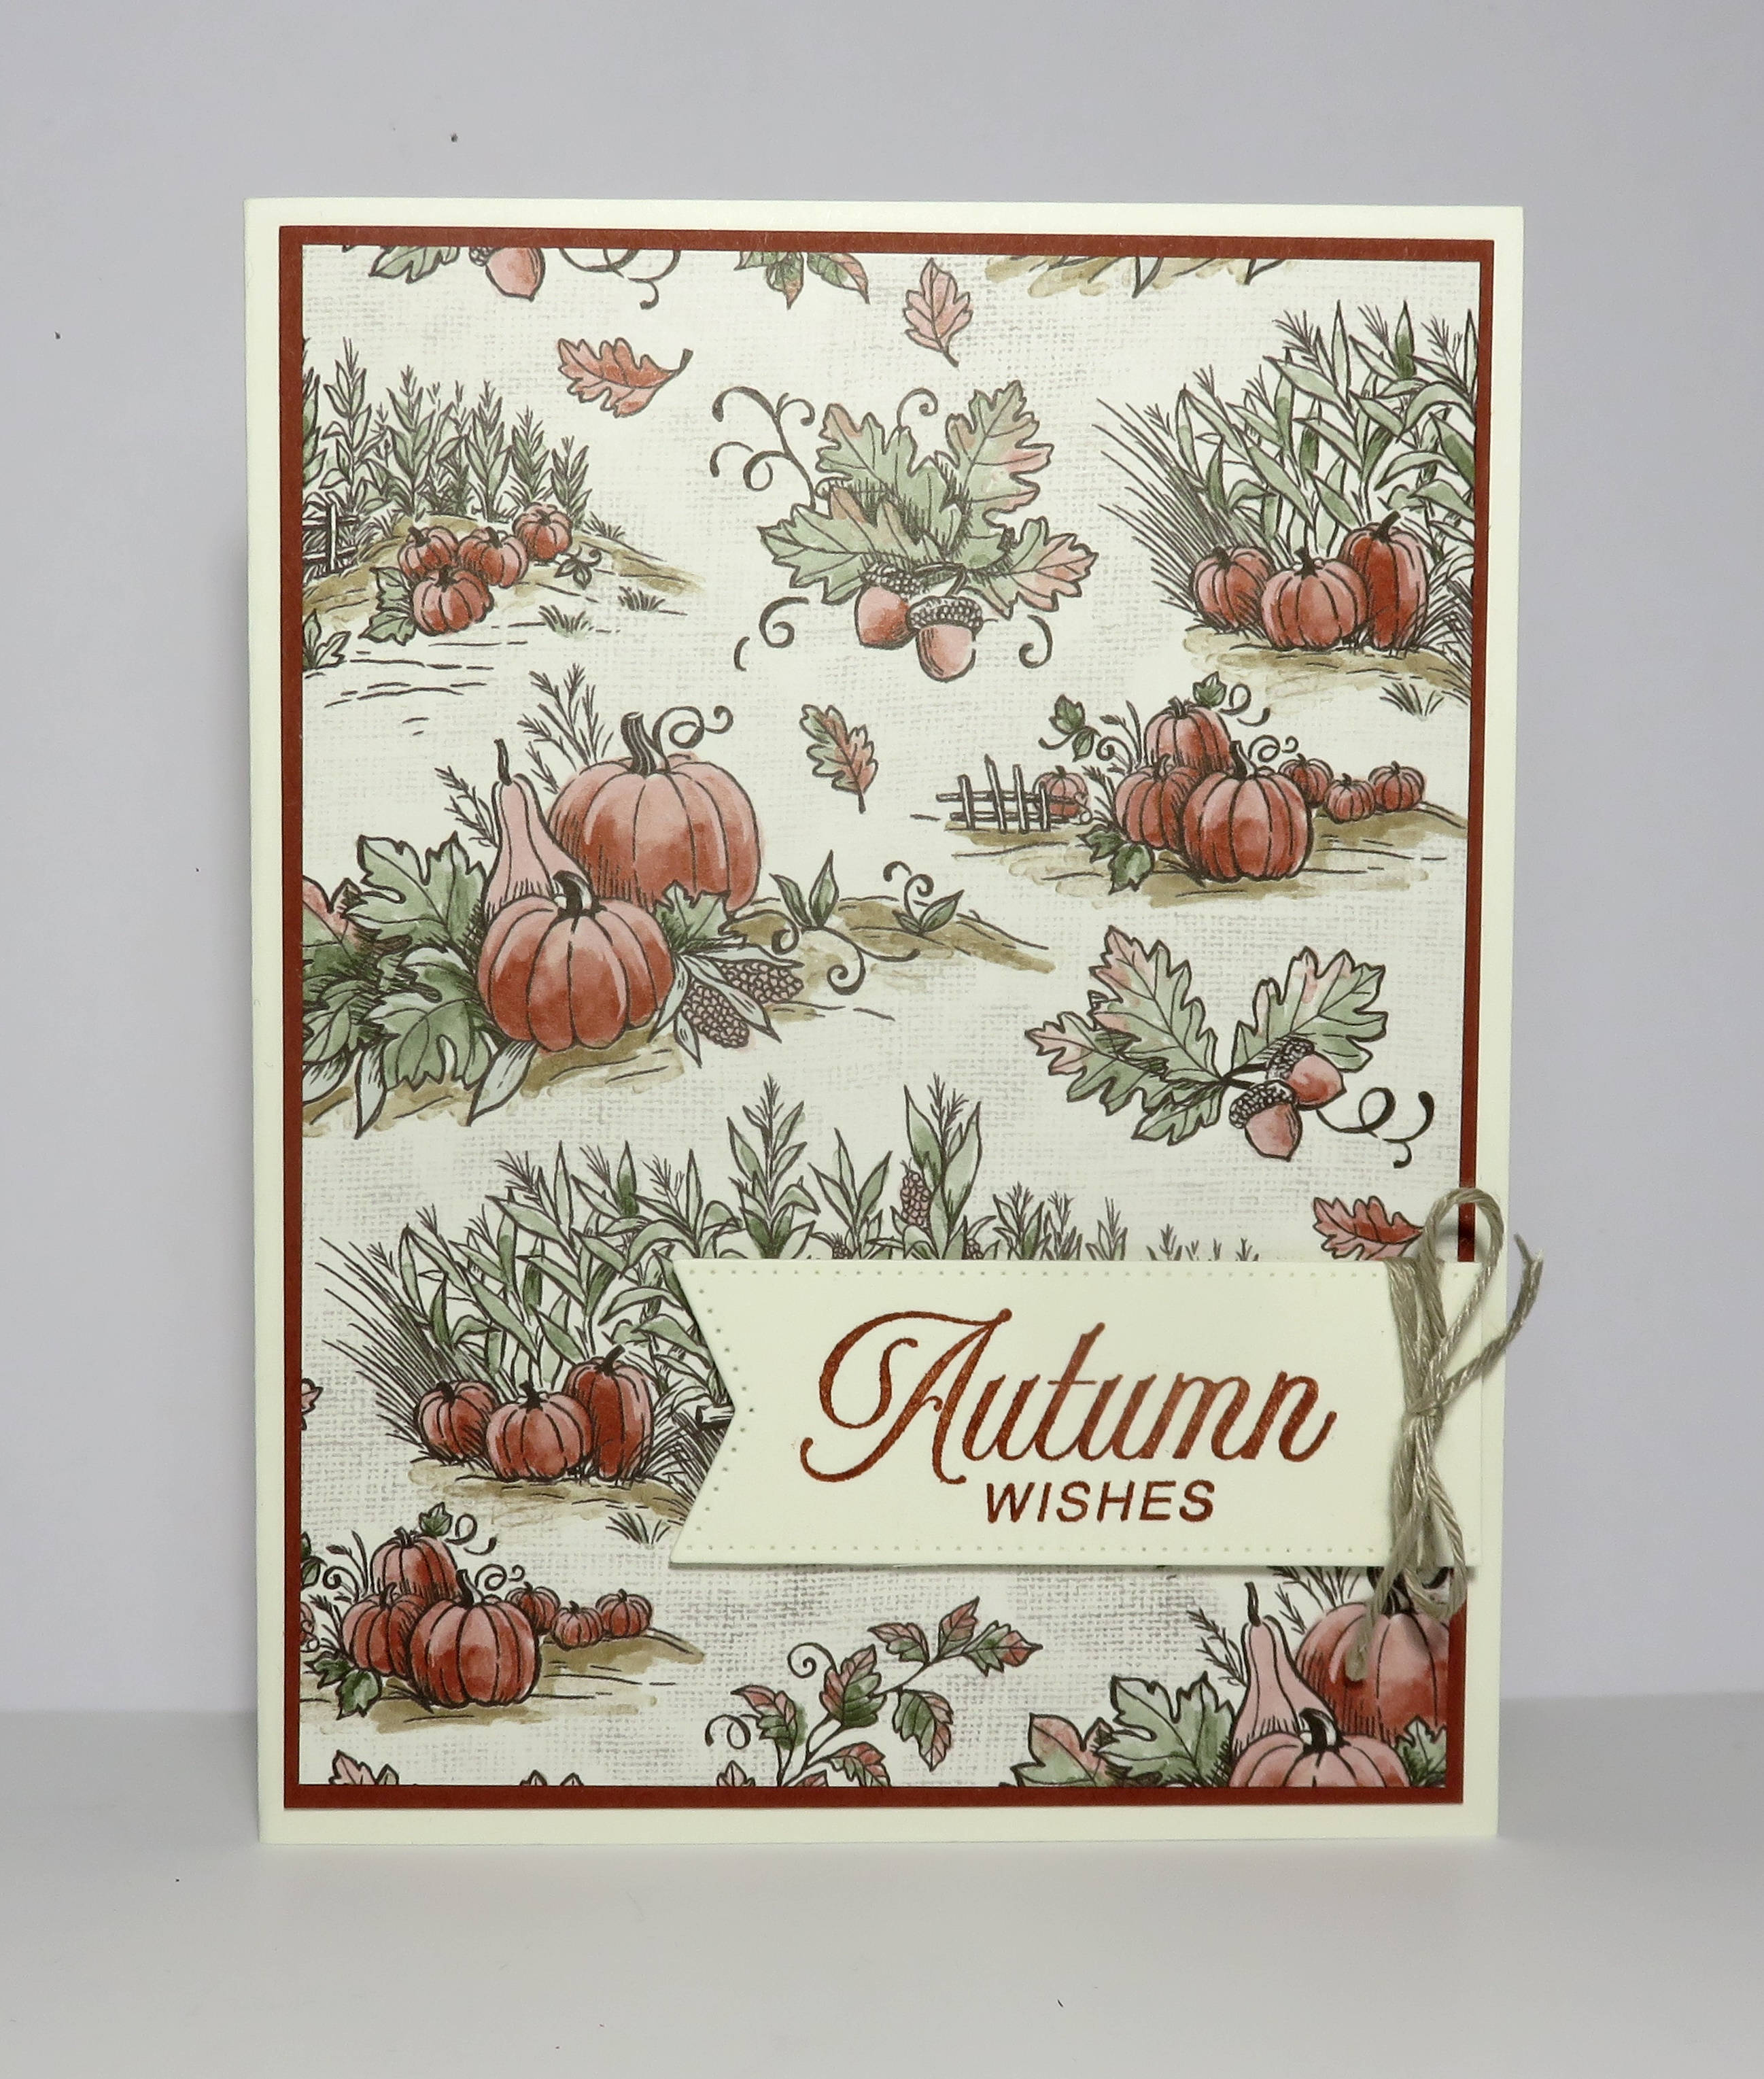
✨ Card Two
The second card showcases how you can use up those scraps—always a favorite tip of mine! I cut the Thoughtful Designs paper into 4” x 1” strips and arranged them for a striking background. This time, the star of the show is the pumpkin image from the Amber Autumn set, colored with Blends and seated on another die-cut circle from Spotlight on Nature. Simple, yet so warm and welcoming—it just feels like autumn on paper.

🌟 Why You’ll Love These Products
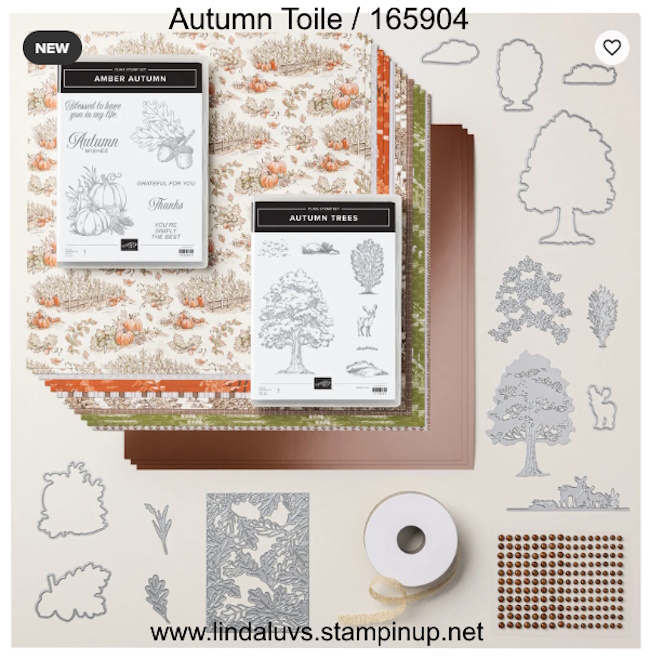
The Amber Autumn Bundle is a must-have for your stamp room—it’s perfect for creating cards, scrapbook pages, and gift packaging all season long. The images are versatile enough to carry you from late summer right into Thanksgiving. Pair it with the Spotlight on Nature Dies (a go-to for layering and greetings), and you’ll have endless design options.
And don’t wait too long on the Thoughtful Designs Specialty Paper—it’s currently on the Last Chance List and discounted! It’s one of those papers you’ll be glad you grabbed while you could, with its earthy tones and textures that pair beautifully with so many stamp sets.
💡 Tip: Don’t be afraid to pull out your scraps—sometimes those leftover pieces inspire the most creative layouts!
Happy Stamping, my friends! 🍂


Sale: $6.60
Price: $11.00