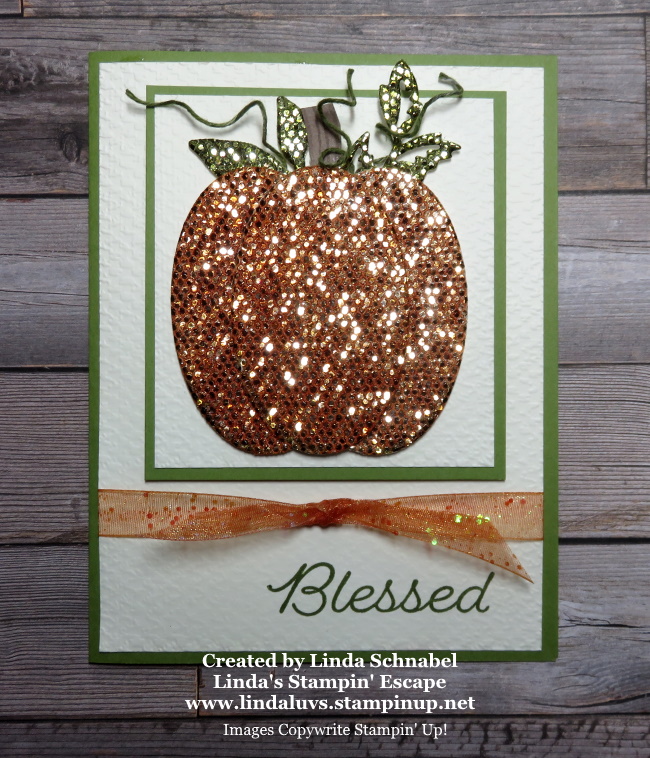
Hello Stampin’ Friends ~
Oh boy!! I made a big booo booo on my post yesterday. When I invited you to join me for my stamp clubs, I gave a wrong date … I do not host clubs on Sunday, it was supposed to be Saturday Morning. AND we’re meeting on Thursday Night not Wednesday!! YIKES!
Also … I was asked “What if I can’t make it to class” or “Live our of the Area?” Both great questions. I have my clubs set up with the ability to do “hands on” but if you do not live near me .. I have a PDF instructions for each card / project and a Private Stamp Club page that you could go to and view a video of the projects being made.

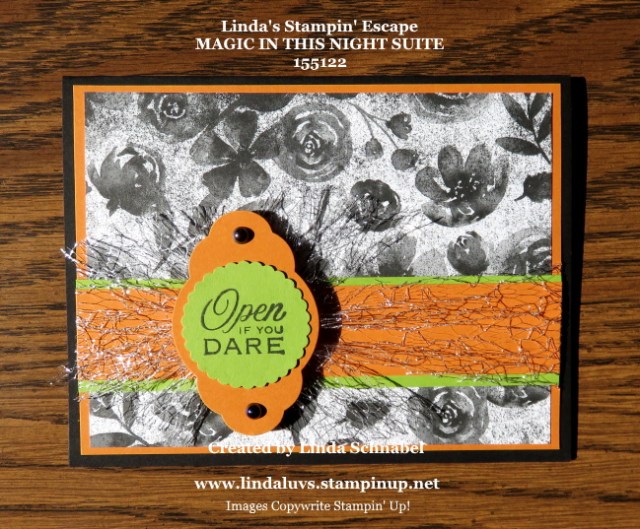
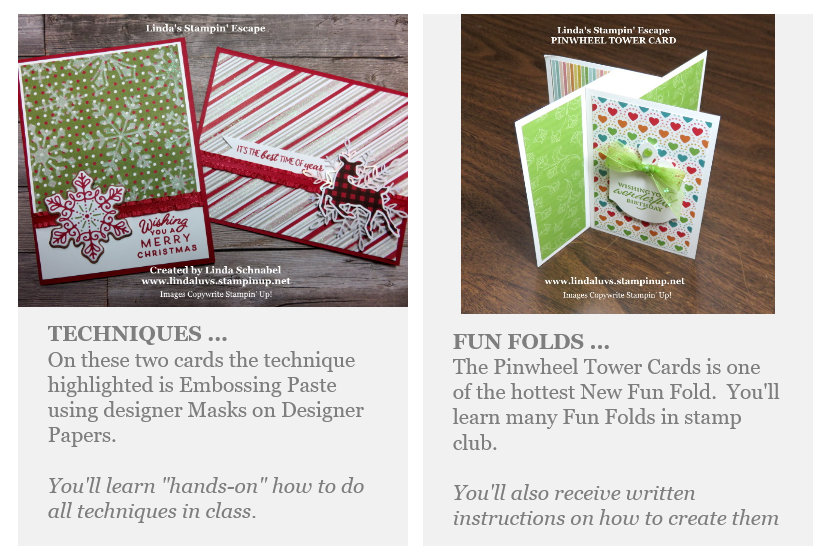
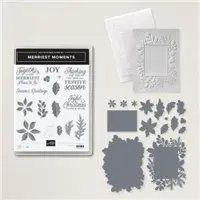
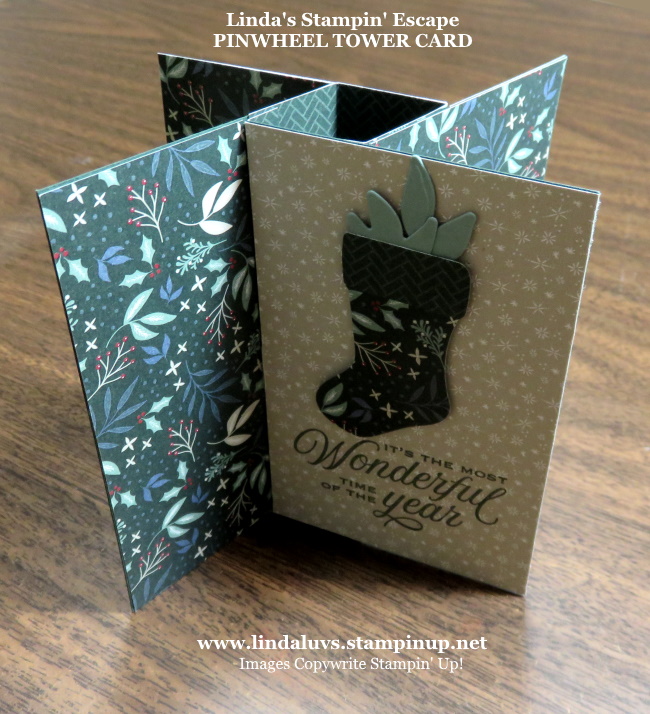
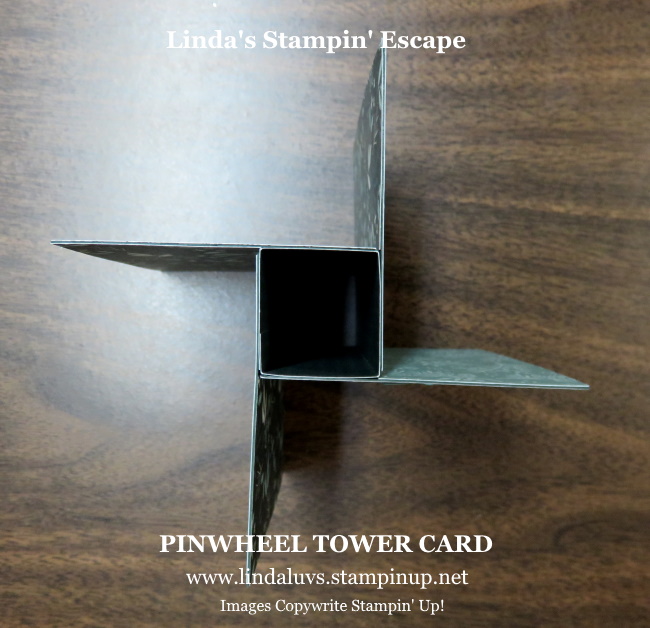
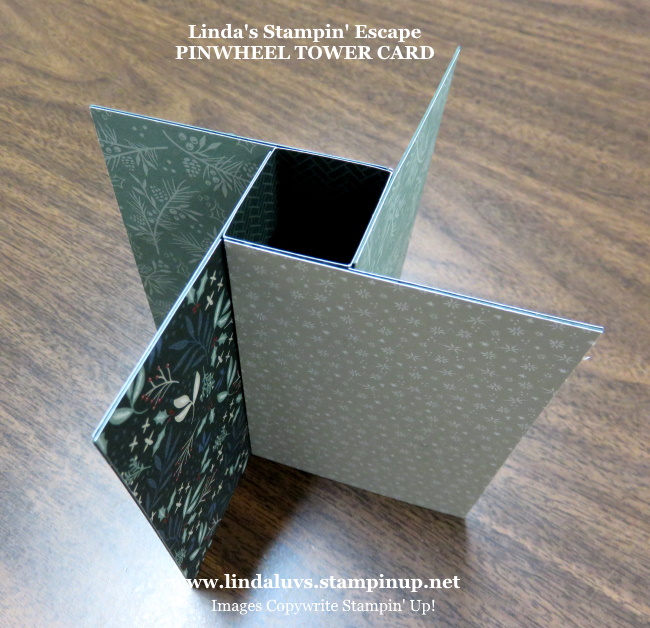
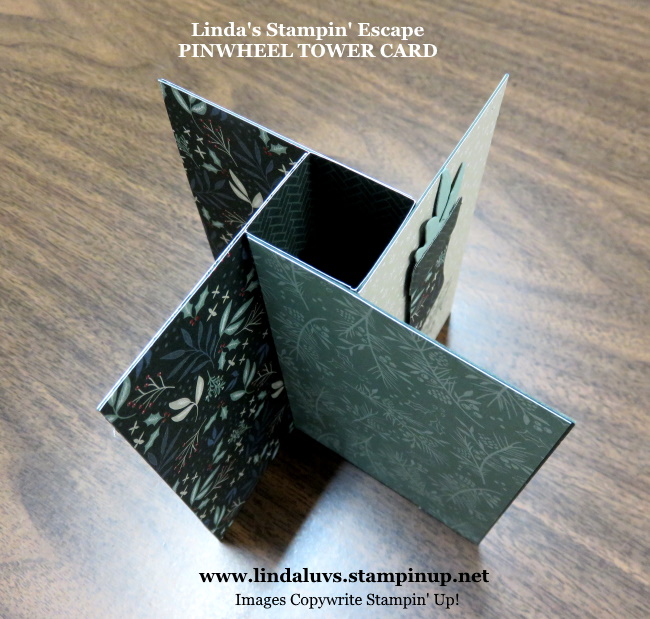
This years Stamp Clubs will be highlighting Techniques and Fun Folds …
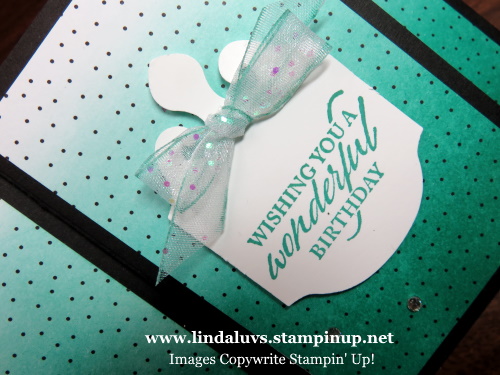
You’ll get “hands-on” instruction, using new products and accessories. We will create a minimum of 2 hand stamped projects during each class. We meet one night a month.
Join either the
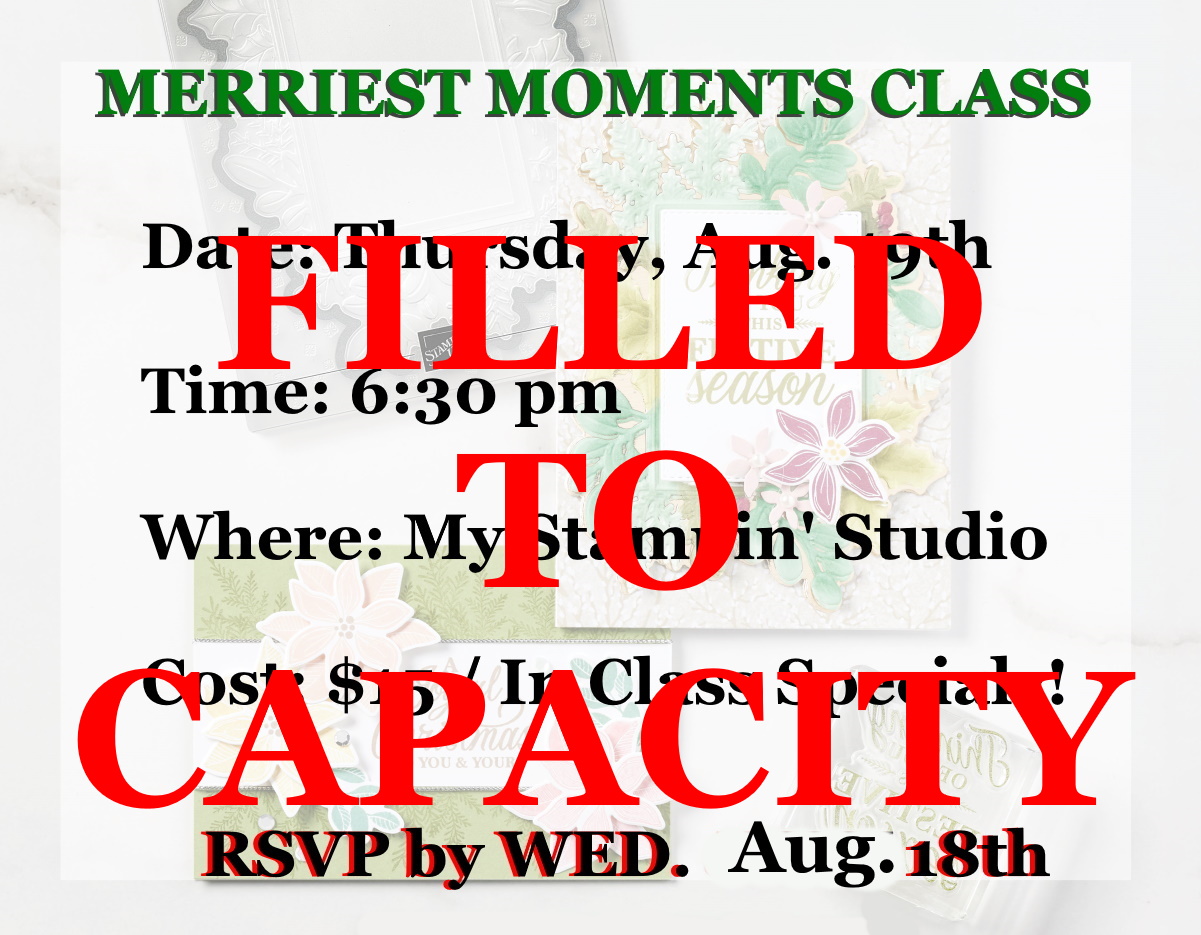
Thursday Night Club at 6:30 pm
or
Saturday Morning Club at 9:30 am
There is No COST for Stamp Club, however a $30 Minimum Order is required… You get what your ordered plus a minimum of 2 projects and instructions! * The minimum order allows each club member to receive HOSTESS BENEFITS for one month (more FREE stamping goodies)
We meet for 10 months – Sept. thru June taking a break for the summer! July & August off.
If you have a group of friends / family and would like to have a Private Stamp Night Contact me and we’ll set something up. You must have a minimum of 8 participants.

To Sign Up for the Stamp Club you can comment below and let me know which club you would like to join … Thursday Night or Saturday Morning.
Thanks so much for visiting me today. Enjoy your day ~


")
")
")

")


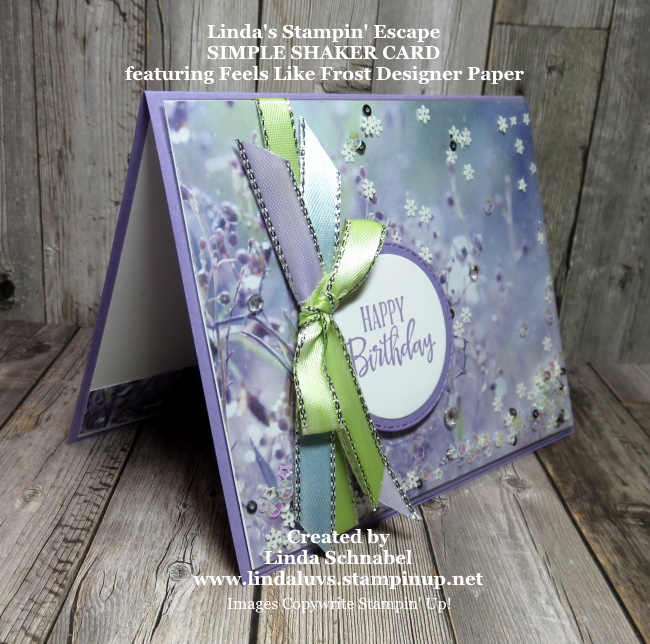
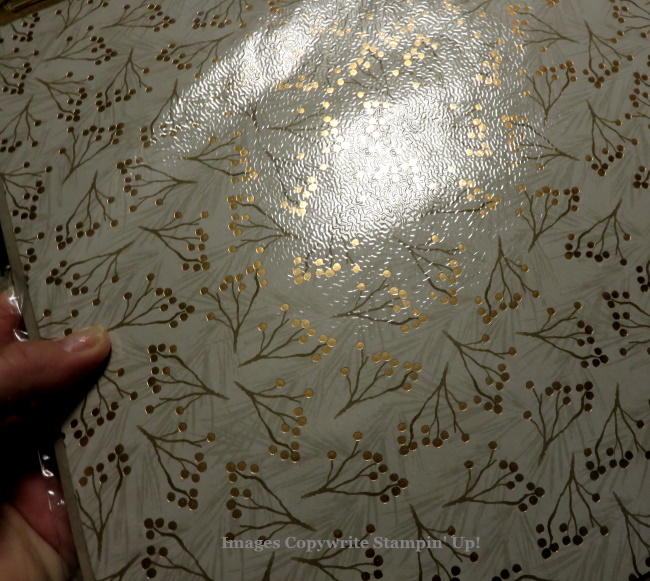
 Metallic Ribbon")