Hello Stampin’ Friends ~
Ready for some Friday Fun?? Last night I met with my Stamp Club and we were talking about “Pinterest” and I shared “what I thought” was my #1 “pinned” card … I was wrong, so I thought it would be cool to share my Top 3 with you today!! Let’s see if any of these are the ones YOU pinned!
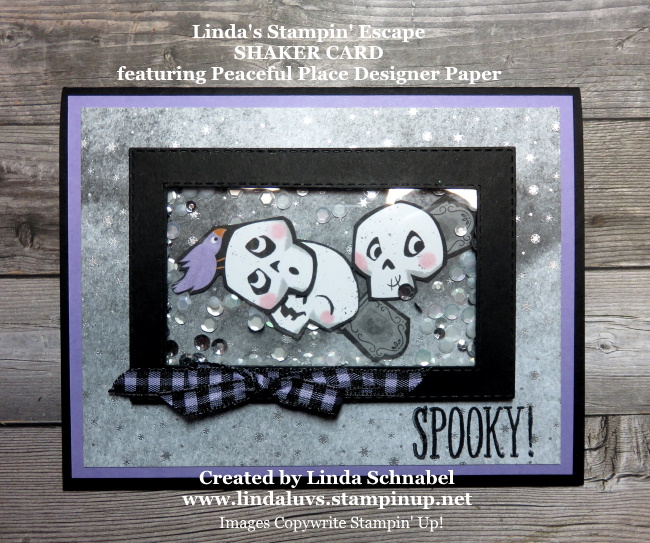
Card #3 ….
It is the Cute Halloween Designer Series paper from the Stampin’ Up! Aug. – Dec. Mini Catalog!

This card was featured on my Simply Sunday series of cards … and you can view the entire post by CLICKING HERE!
Card #2 ….
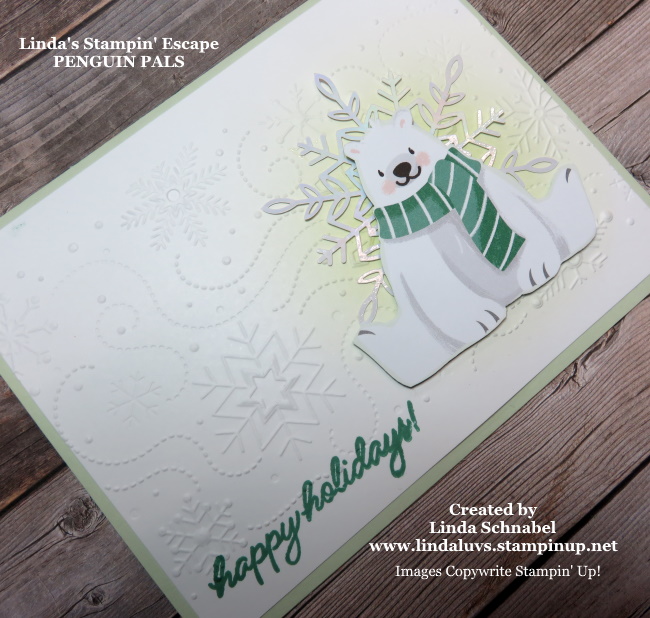
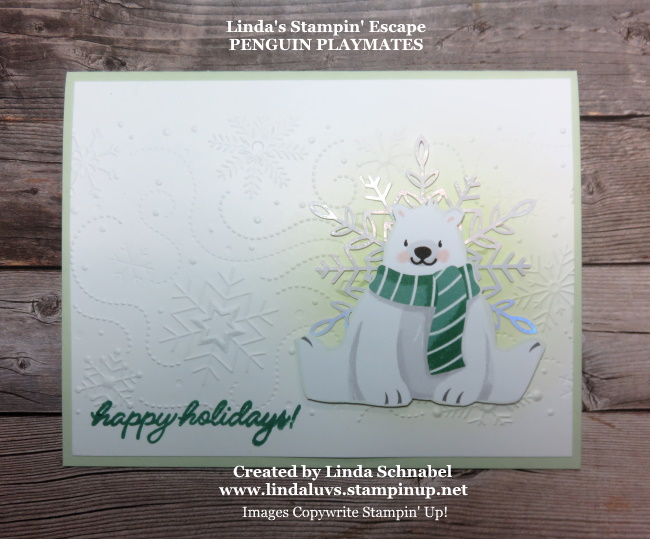
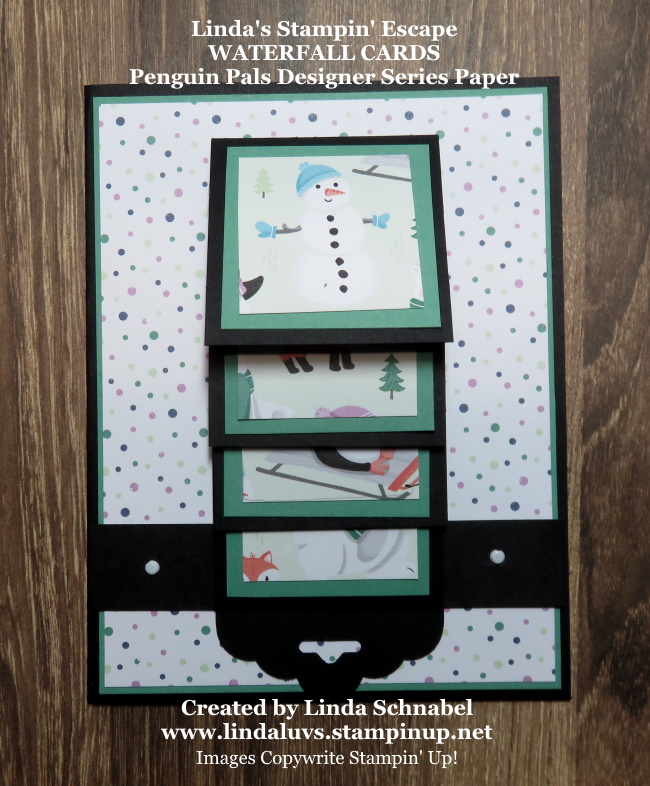
Well … this little cutie is going to look VERY familiar because it was just highlighted yesterday with the Penguin Playmates Designer Paper cards …

That Polar Bear is so cute and the card is so simple to make, (check out yesterday’s post for directions) it’s not a surprise this is in the Top 3, however … I thought it was the #1 Card!!
Hmmm … which one do you think it is?
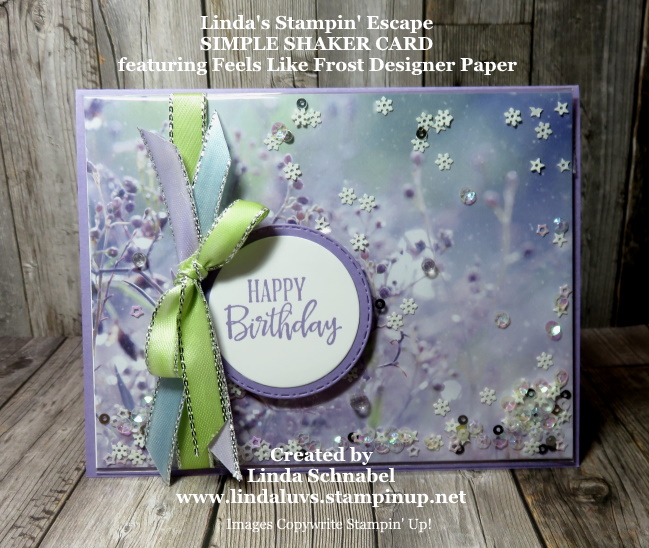
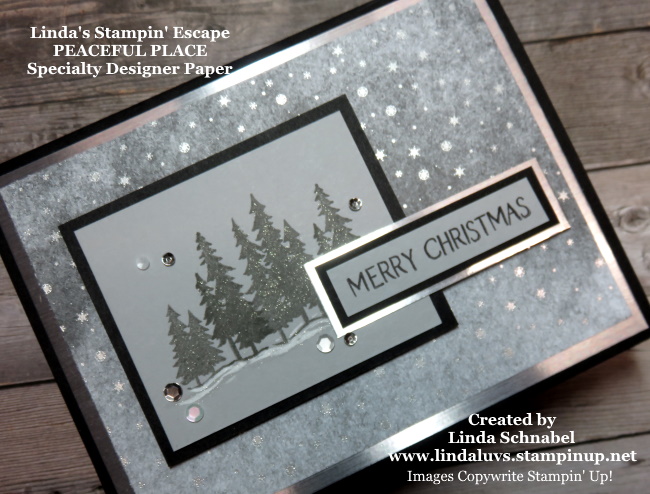
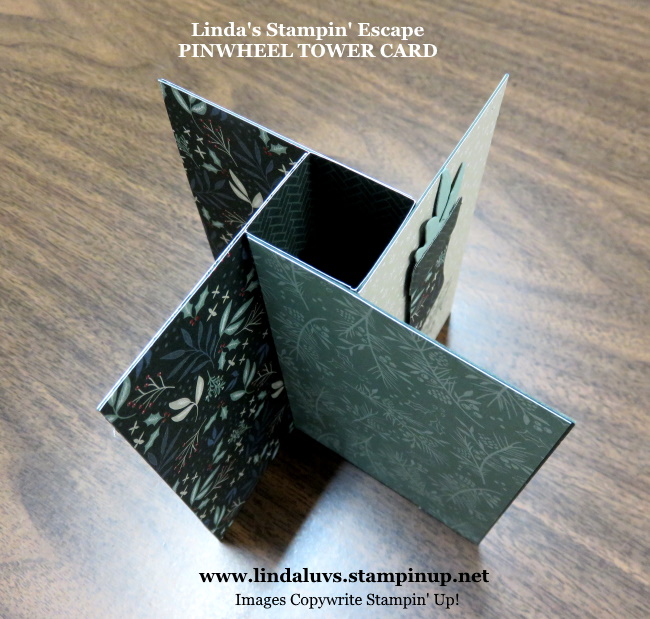
CARD #1
This card BLEW all the others away with over 13K hits! Not bad considering it hasn’t been out there that long! Are you ready to see it??
It is the “Tidings of Christmas” in Misty Moonlight

A Merry & Bright card for sure coming from our Tidings of Christmas suite … these stocking are are quite lovely and the pretty paper makes this a perfect card to send to all your friends and family. To see the original post / how it was made just CLICK HERE.
I’ve put a list of ingredients at the bottom of my post so you can shop for what you need to make these popular cards! And you still have a little time left to grab those Sale-a-bration Freebies! Instructions can be found by clicking the links by the picture.
I thank you for following my blog and checking in today.
Have a nice weekend ~
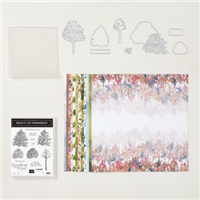
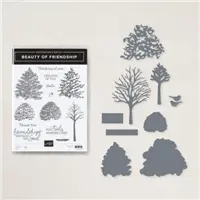
TODAY’S STAMPIN’ SUPPLY LIST … If you liked the products used in today’s projects, I have links for you below. Just click on the item you would like more information on, or to begin your shopping. It will take you directly to my website. Thank you ♥


")
")
")

")


 Metallic Ribbon")