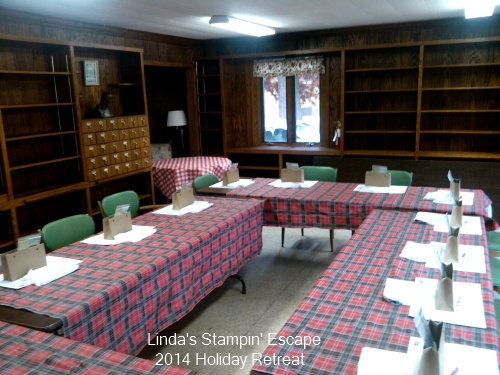
Hello Stampin’ Friends,
Hope you had a good week and that you have a better weekend planned.
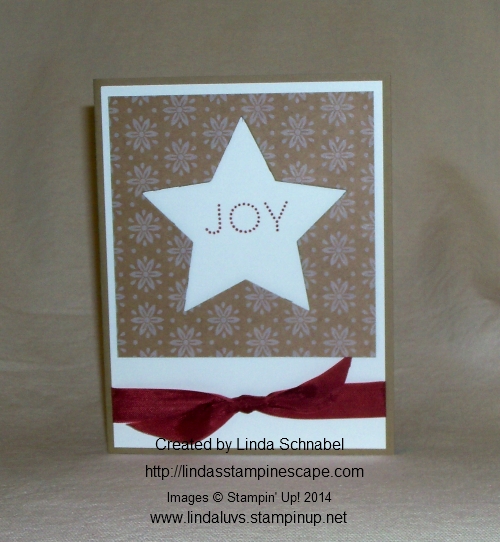
Today I’d like to share with you a card that calls for you to be joyful! I used the warm colors of Cherry Cobbler and Baked Brown Sugar. Hmmm… sounds yummy too!
I sponged the edges of the Brown Sugar to give it an aged look and then ran the “Perfect Polka Dot Folder” through my new Texture Boutique Machine. Wow … it works great!
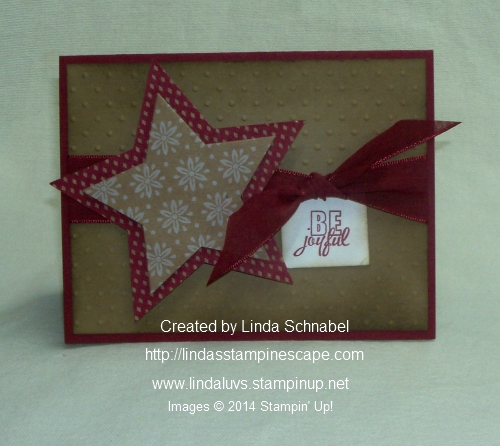
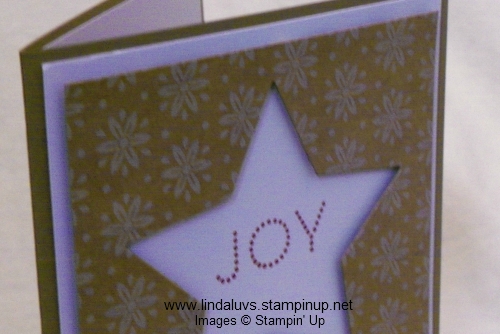
The stars were cut out using the Star Framelit dies, using the warm & lovely “Under the Tree’s” Designer Specialty Paper.
The Cherry Cobbler 1″ Sheer Linen Ribbon added the perfect touch to the card. It is not too heavy or think to tie a beautiful bow … it is really nice to work with.
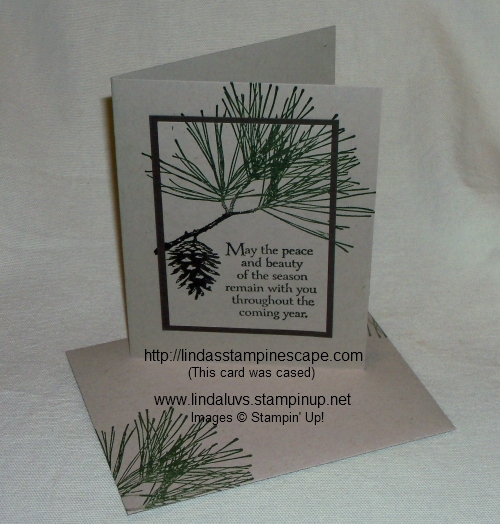
The “Be Joyful” came from the “Project Life Holiday Cheer” stamp set. I liked it soooo much, that I ordered two! LOL … yes, demonstrators do that too.
Just look at all the fun stamps this set has, and you can use it all year long!

Hmmm, I might just have do a “give-a-way” … I don’t need two. Keep your eyes peeled!

For more information on the products used in today’s card or to purchase … just click on the items I have listed below for you.
Have a wonderful and joyful weekend!

STAMPIN’ SUPPLY LIST …