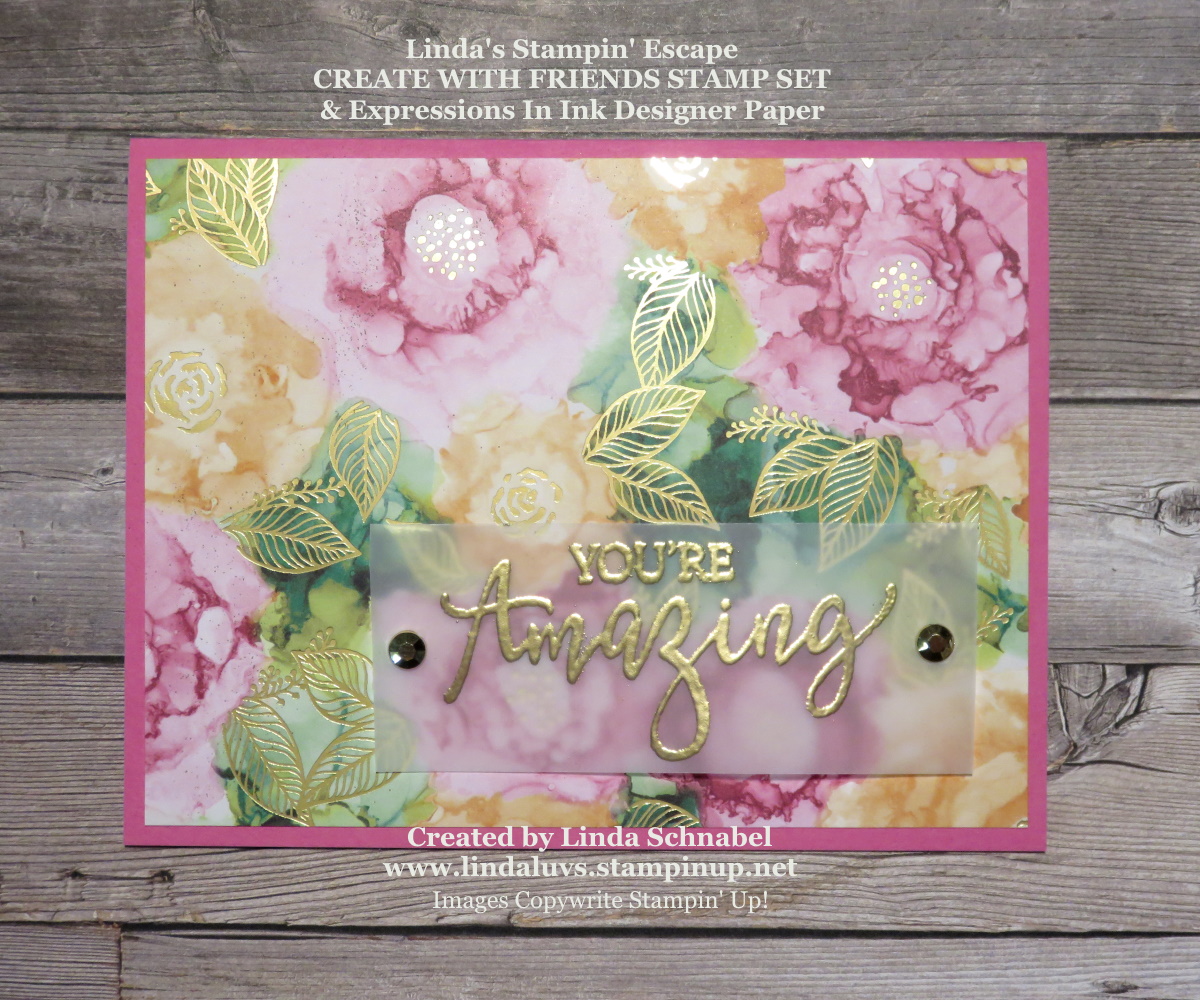
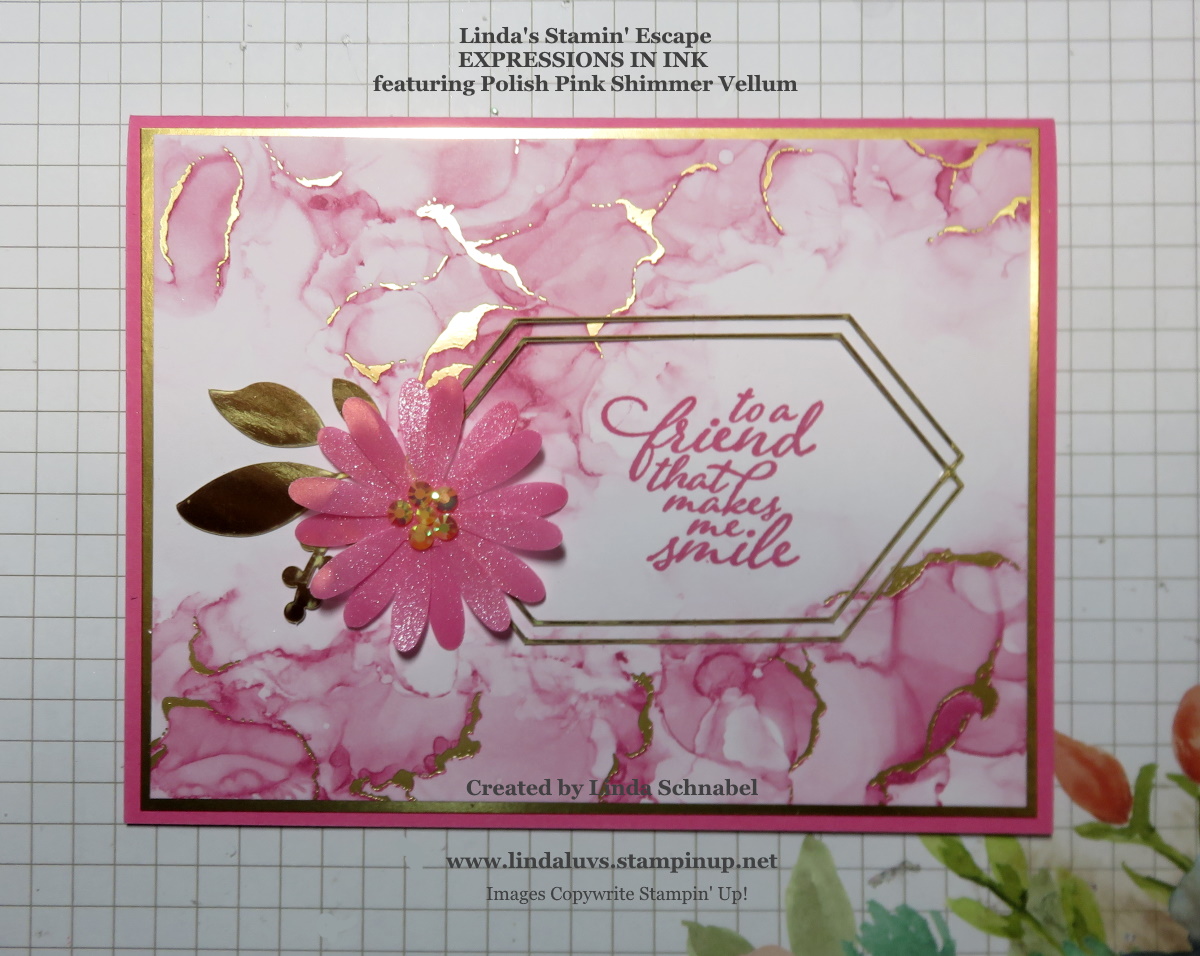
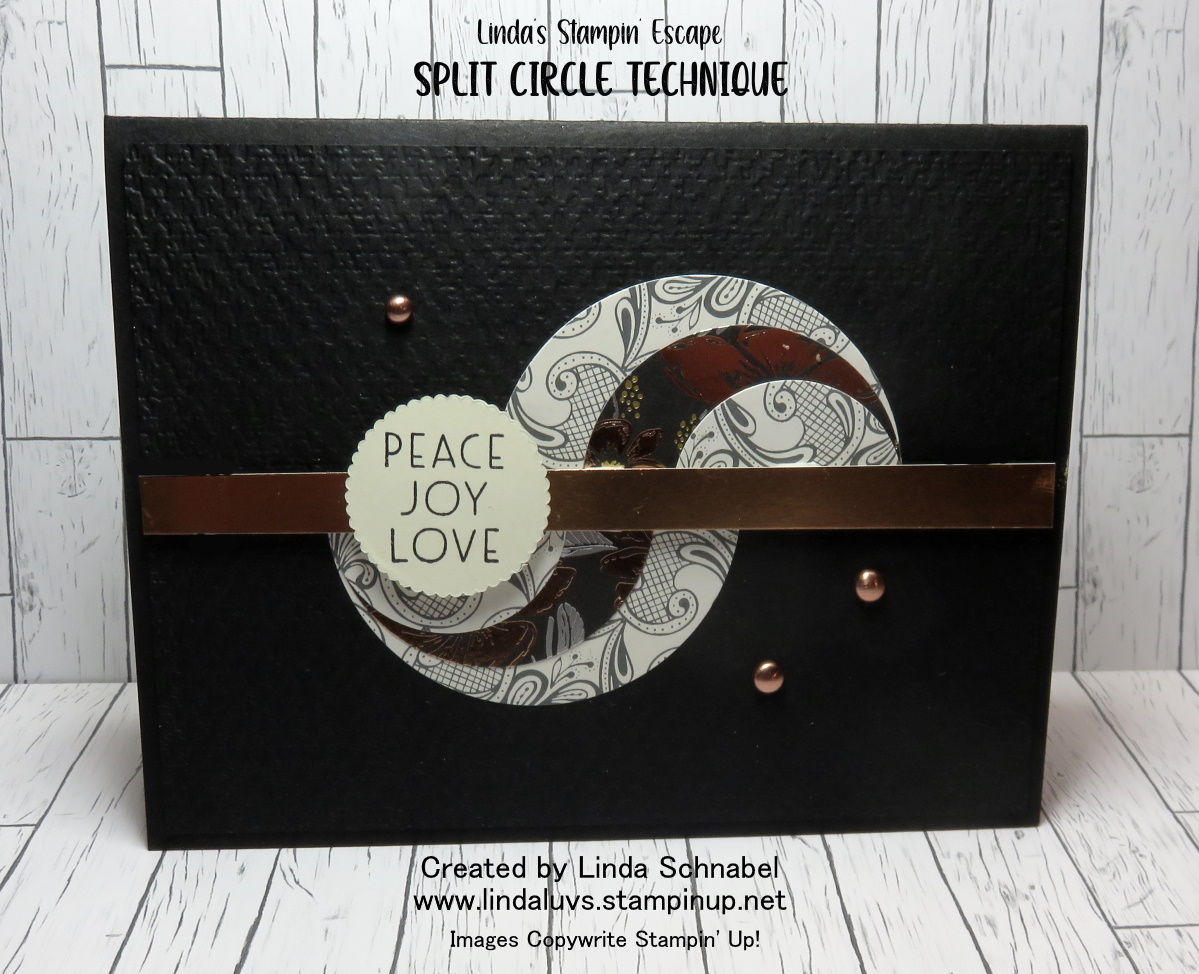
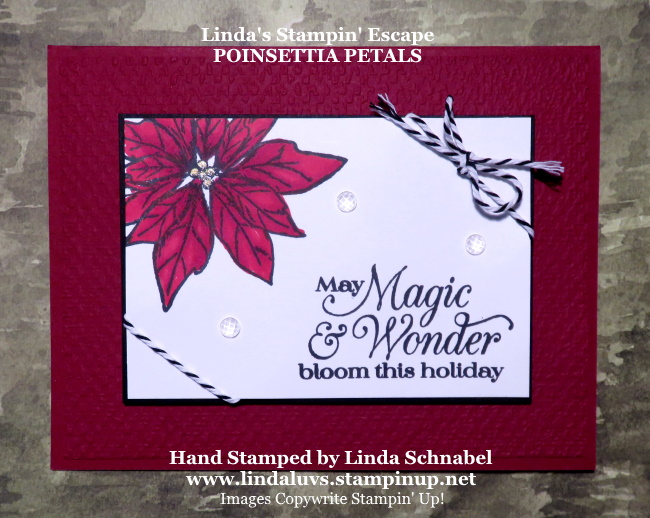
Hello Stampin’ Friends ~
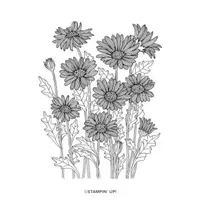
Today I’d like to share a cute stamp that I’ve wanted since the new Annual Catalog came out … and I got it for Christmas!! So the next few days, I will be sharing this with you and introducing you to a few more goodies from the Annual Catalog. Let me introduce you to Daisy Garden …
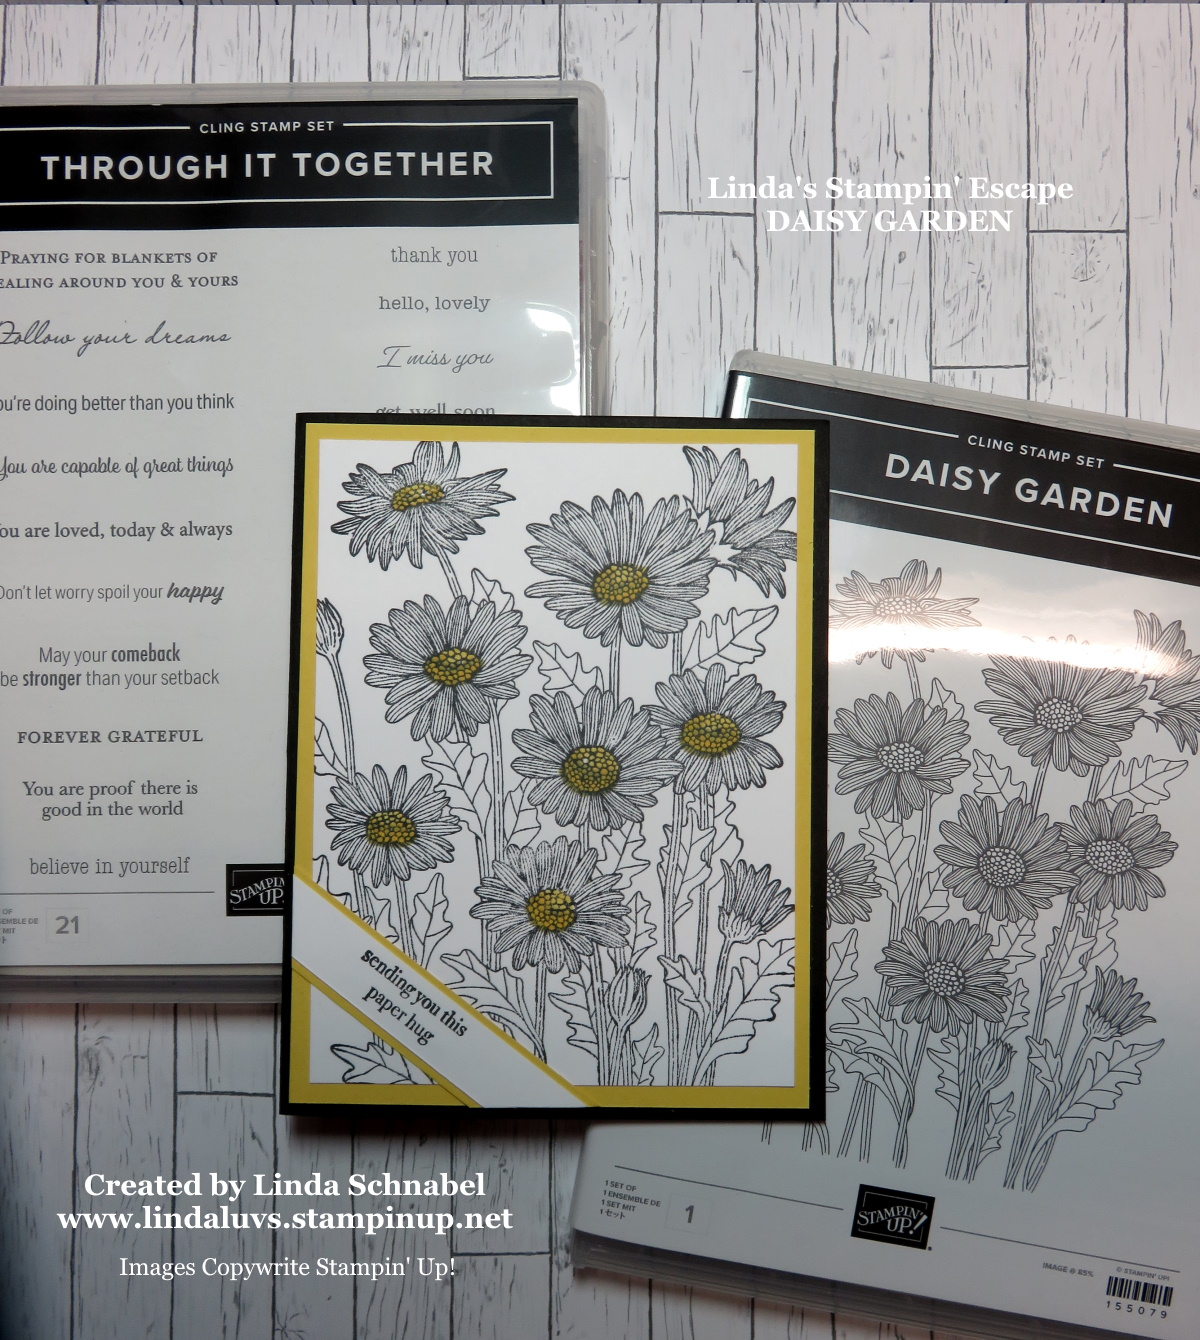
For the next few days I will be sharing cards from the Daisy Lane and the Through it Together stamp sets. You’ll see some easy layouts that will make this simple stamp set lots of fun and very versatile.
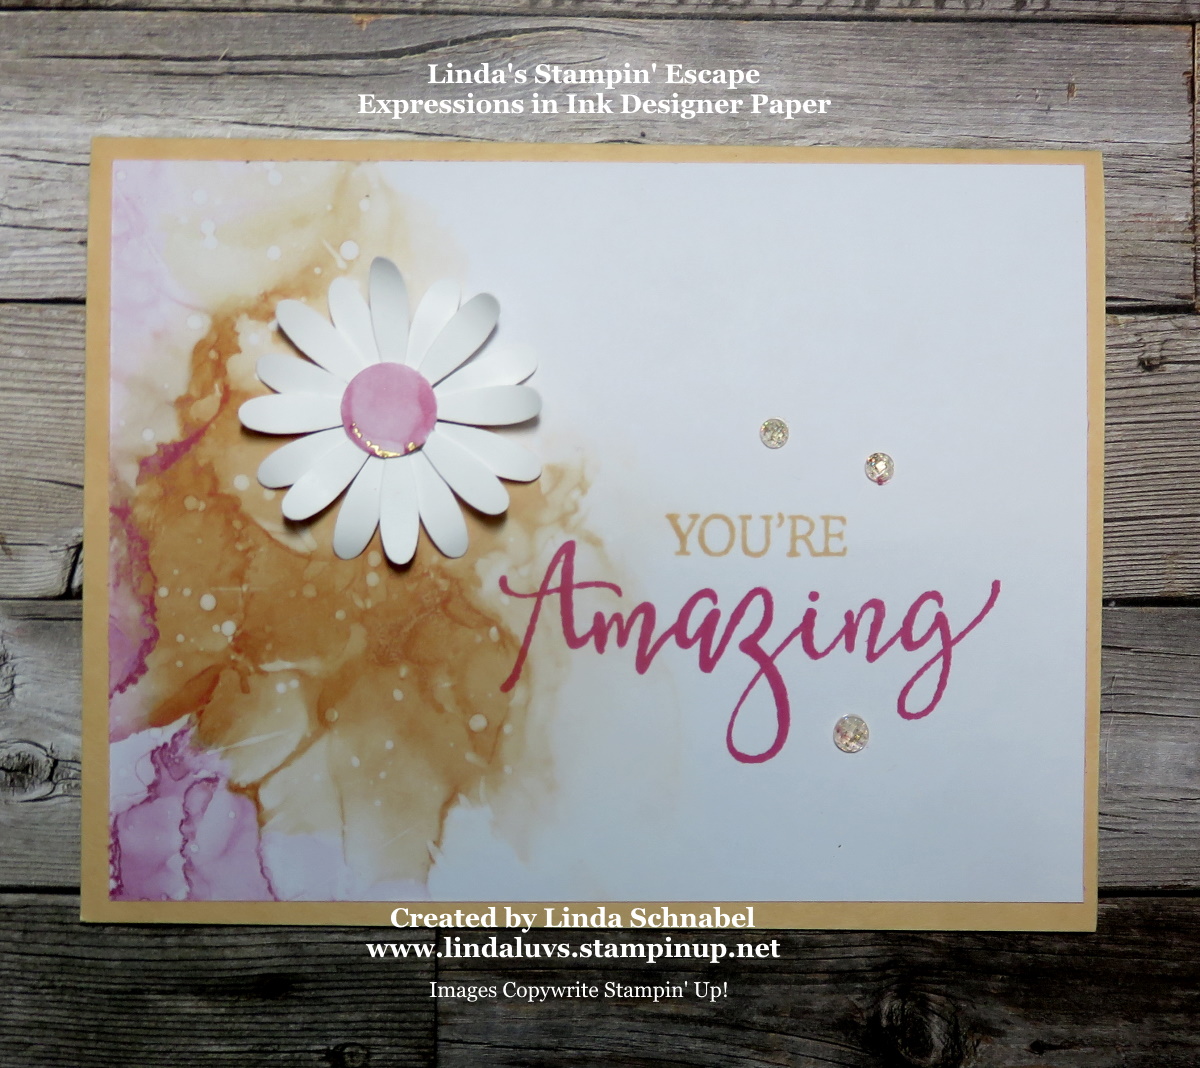
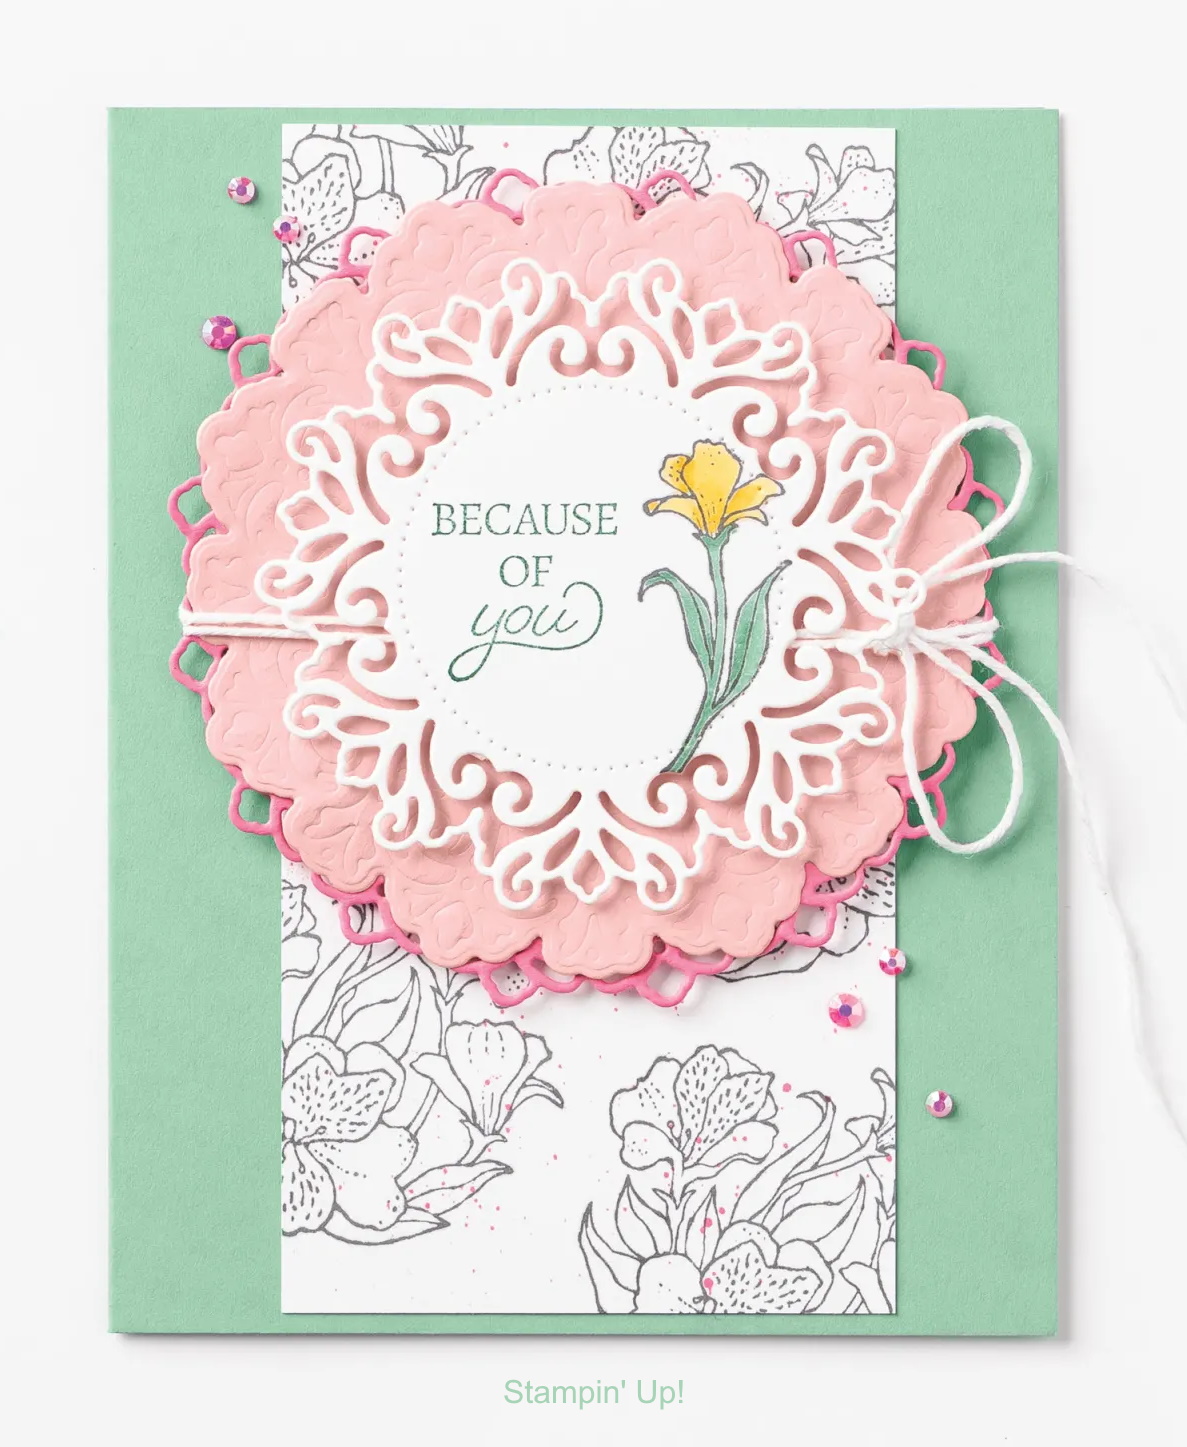
Today’s card is simply stamped in Black and highlighted with yellow centers in the daisies. I used the Tuxedo Black Momento Ink and the Stamparatus so I could get the perfect stamped image …

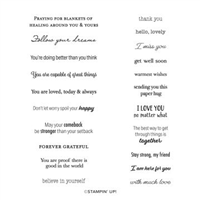
The minimal coloring actually makes the daisies pop and is great if you need a card in a hurry. I added the greeting at an angle to catch your attention and layered it to add more dimension to the card.

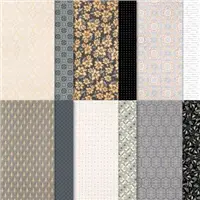
This fun layout can be done in any color but I picked daffodil delight to really attract attention to the card! You can replace it with a soft subtle color such as Fresh Freesia or how about Misty Moonlight… anything would work and look beautiful.
Thank you for joining me today. I hope you had a wonderful Christmas with friends and/or family.
Enjoy this beautiful day ~

TODAY’S STAMPIN’ SUPPLY LIST … If you liked the products used in today’s projects, I have links for you below. Just click on the item you would like more information on, or to begin your shopping. It will take you directly to my website. Thank you ♥