Hello Stampin’ Friends ~
So how was your weekend? Hope you got to do something you enjoy to do, whether it be gardening, stamping, or relaxing! I have been taking a class all week to hon my skills in presenting you the best way I can! Soooo ….
I thought I’d have some fun with you today. If you follow me on my Facebook page (click here) you know I like to post games, so today we are going to play a “This or That”. How this works is you will pick the card you like best … This one or That one! Then you will respond in the comment section below.
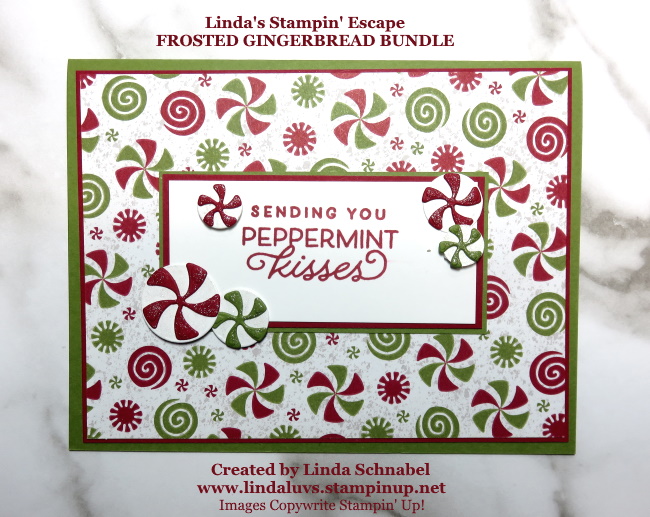
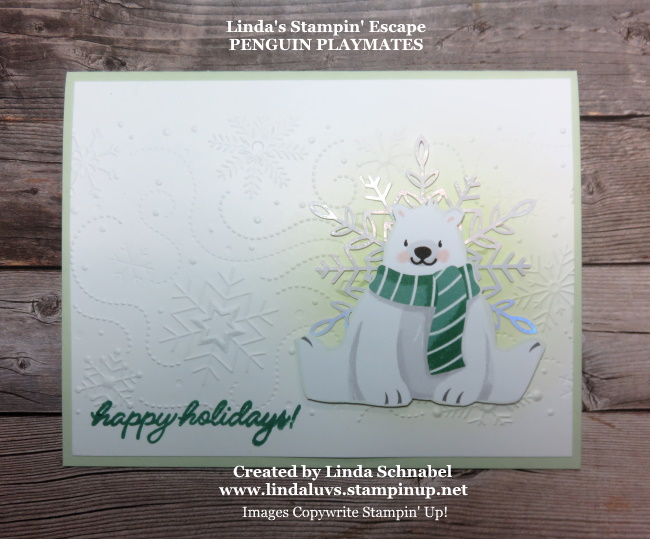
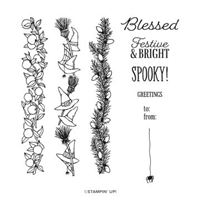
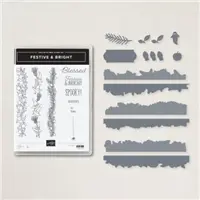
Now … our first card you saw last week, it comes from the Festive & Bright Bundle

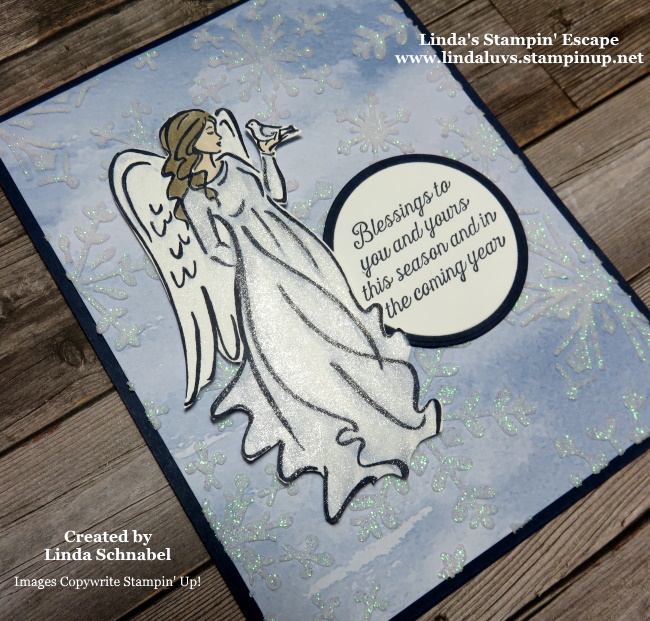
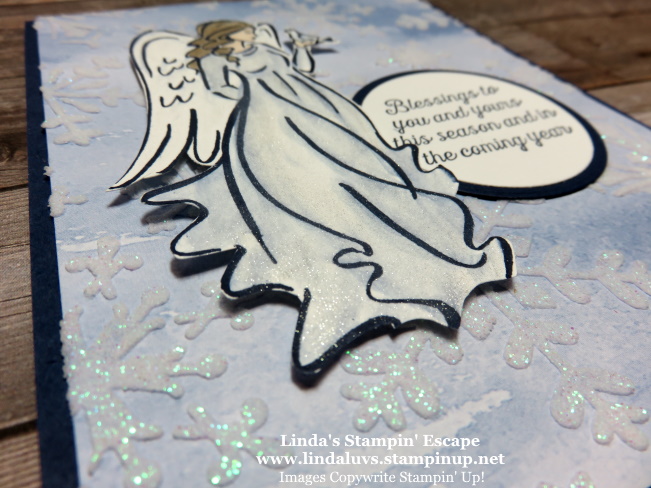
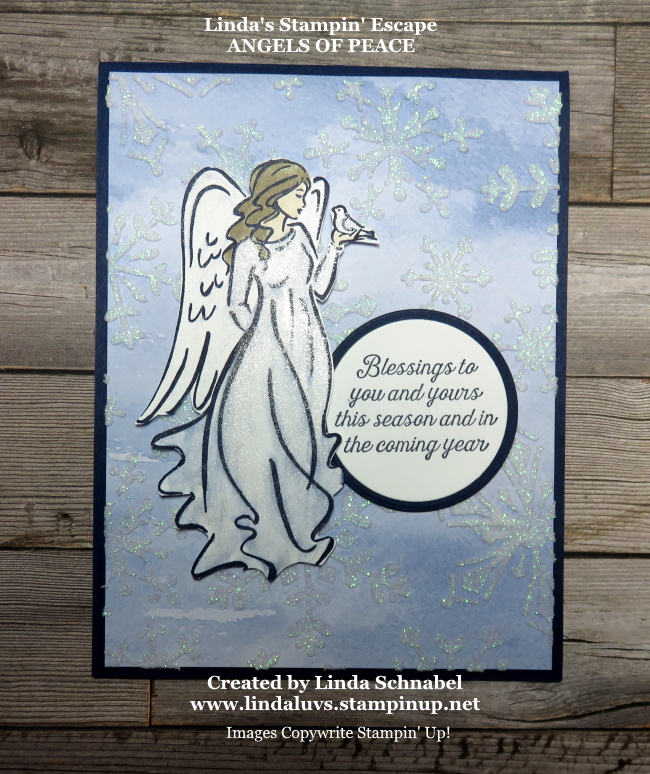
THIS … was created to showcase the “double” die to cut out the evergreen image and then to use the single die again to create a mirror image edge. It’s quite easy to use. The white you see to the edge is actually the inside of the card, and was stamped with the coordinating Festive & Bright stamp set.
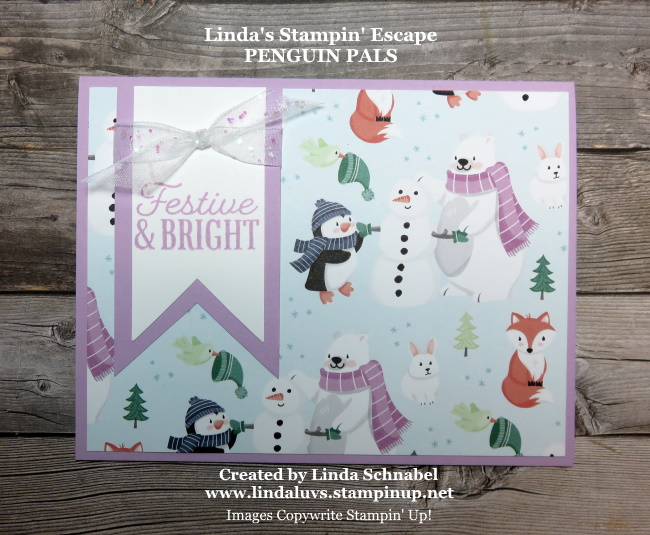
On both cards I wanted texture on my card so I used the Wintry 3-D embossing folder package, and chose the evergreen / pine pattern. Looks nice with the die cut piece.
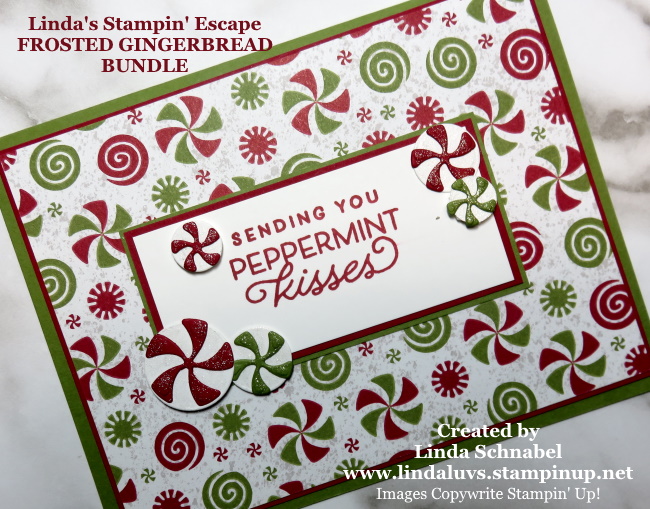
Now it’s time for “THAT” which takes the Wintry embossing folder to the next level. I’ve taken some craft ink and a dauber to highlight the pines ….
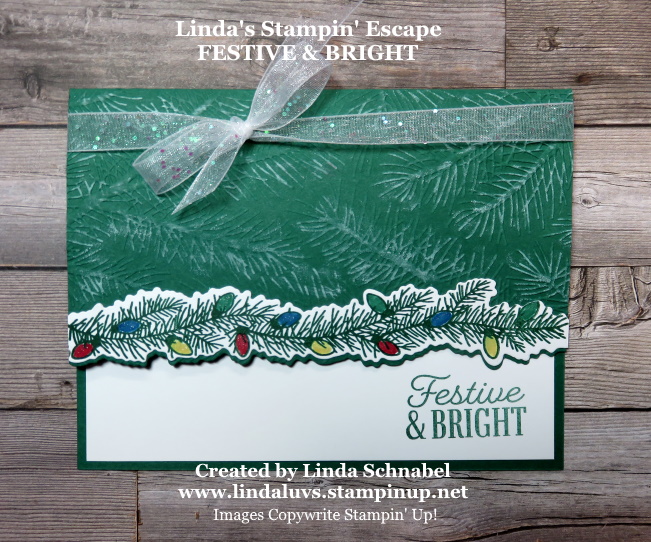
I wanted the embossed pines to stand out and to bring the white throughout the entire card. Does it work?
Which card do you prefer? THIS (With the plain embossed area)
Or … THAT (With the pines highlighted in white)
Just put your thoughts in the comment box below. I can’t wait to see which one you like best.
Thank you for checking out my blog today. Have a creative day ~

TODAY’S STAMPIN’ SUPPLY LIST … If you liked the products used in todays projects, I have links for you below. Just click on the item you would like more information on, or to begin your shopping. It will take you directly to my website. Thank you ♥


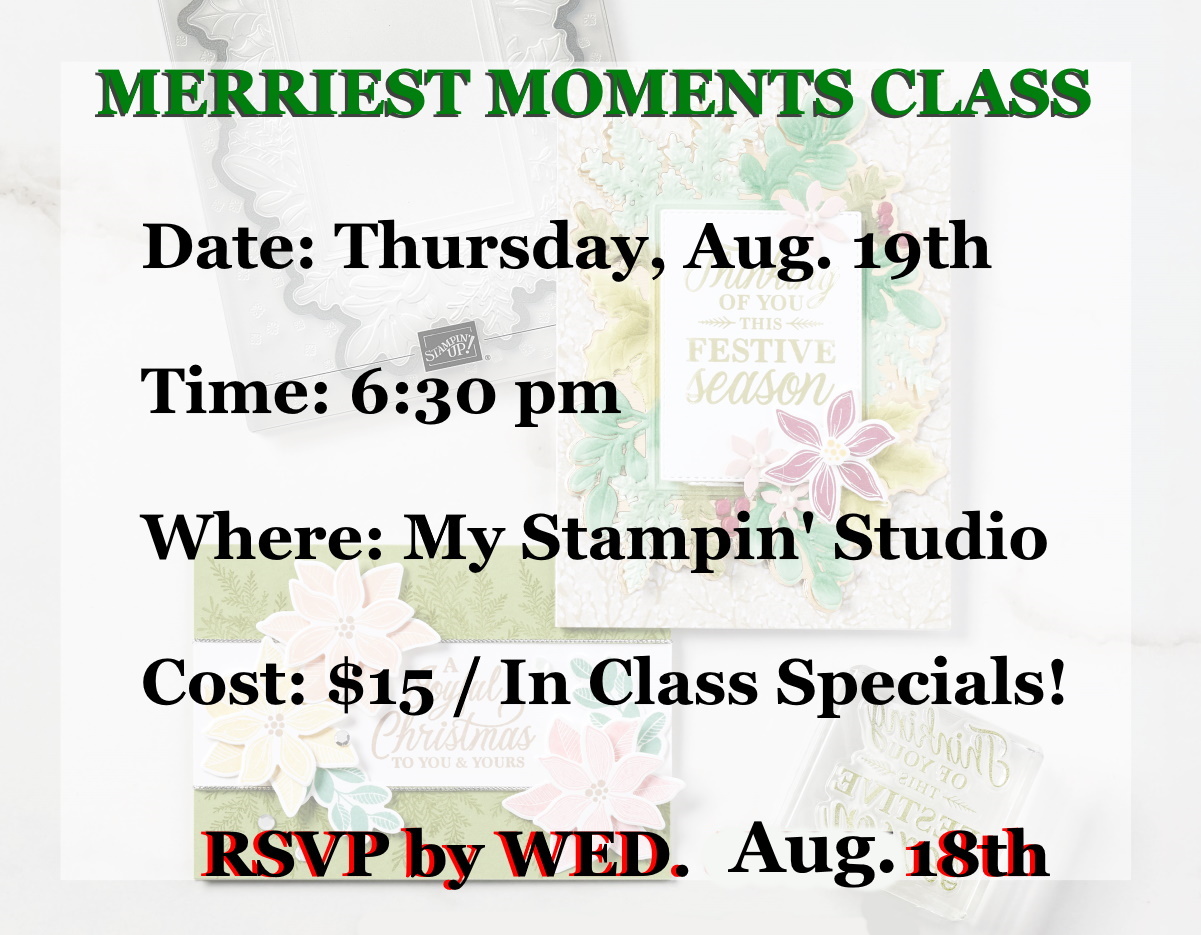
Looking for a creative night out … some time with friends? I’m hosting a class this Thursday … Contact me if interested or for information.