Alternative Treats that Wow!

Hello Stampin’ Friends ~

Today I have a new video for you and a new twist on a familiar product … Our Treat Bags.  I LOVE learning alternate ideas to use for our products!  It shows how versatile the product is and what a good investment we have made!

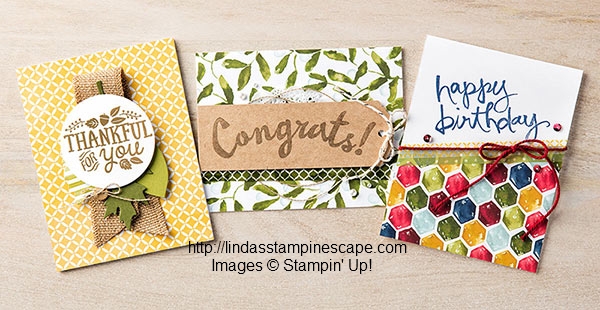
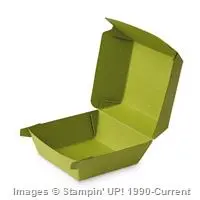
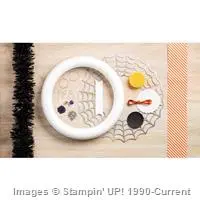
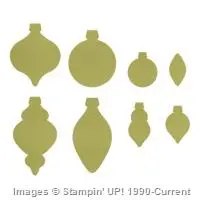
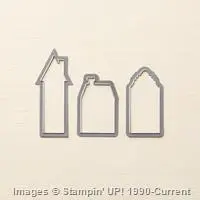
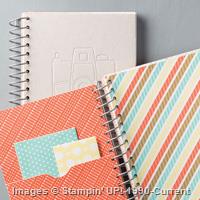
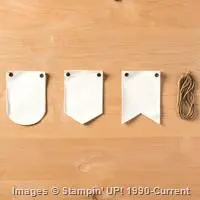
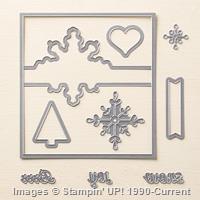
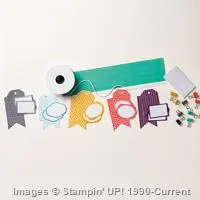
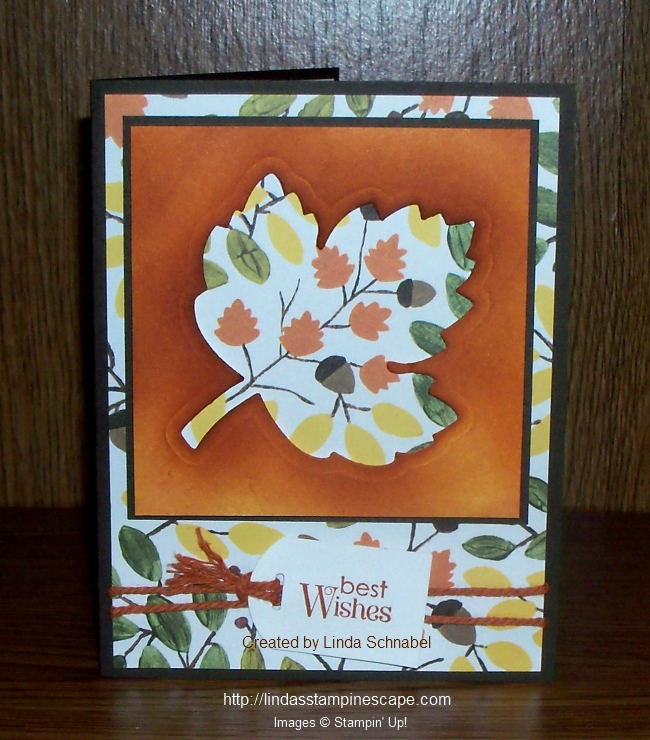
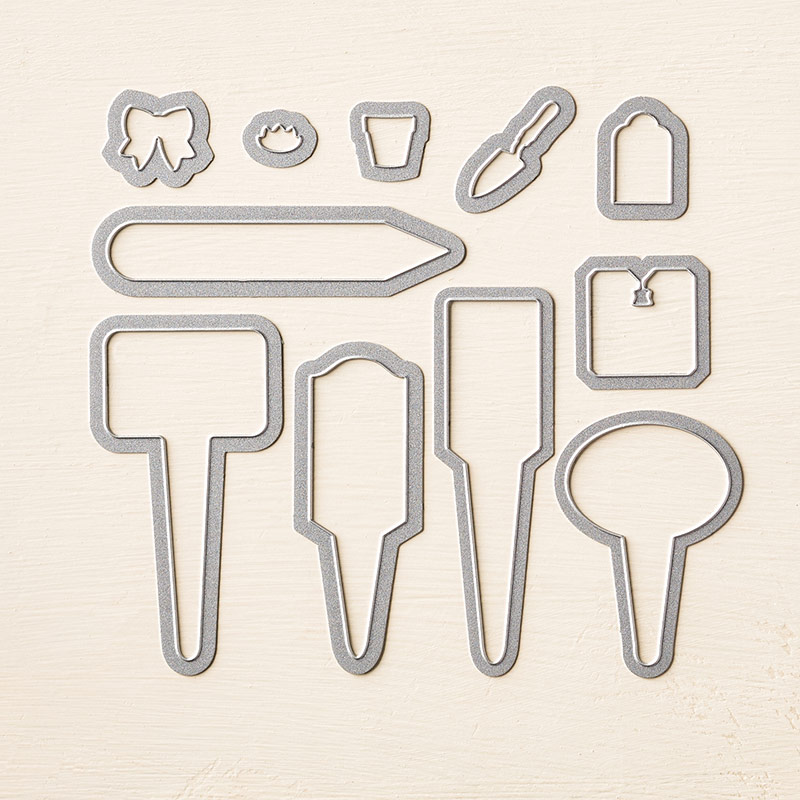
Here’s is a cute treat bag made with the Mini Treat Bag Thinlits Die & two of my designs:

     Treat Bag 2    000_2565   000_2550

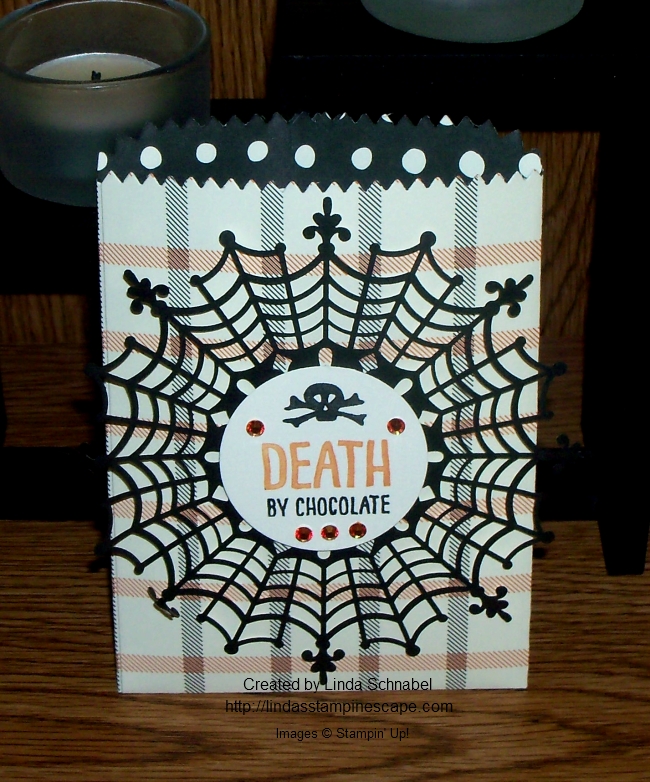
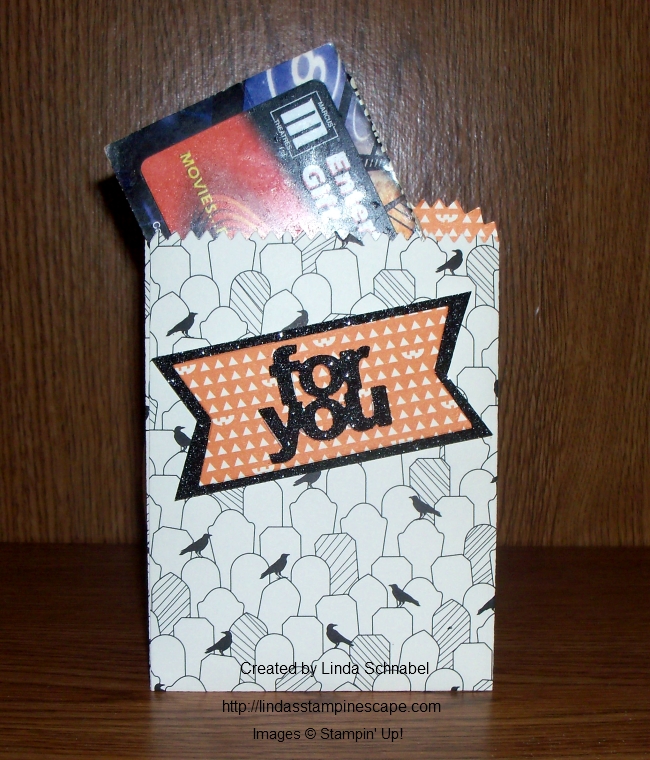
Here are a couple treat bags that are 1/2 the width…cute right?

Treat Bag

Sit back and watch this short video as it shows you exactly how to create the “MINI” Mini treat bags!

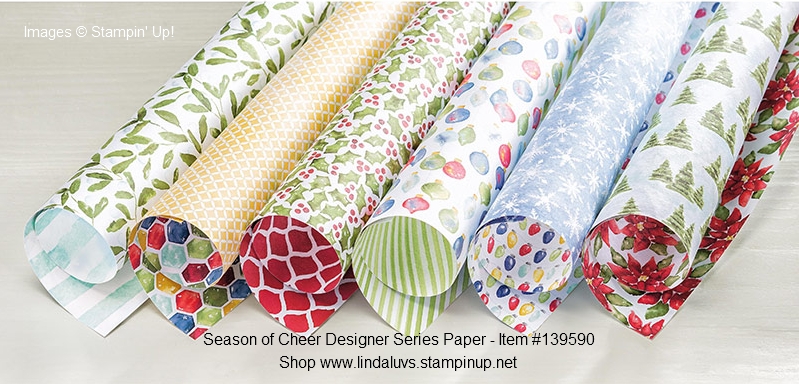
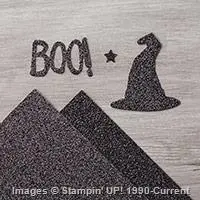
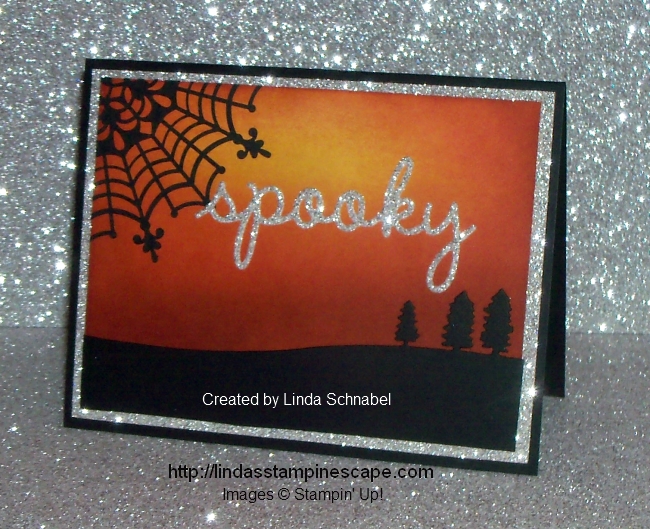
This is a GREAT product to have in your stamping supplies – it’s fabulous for all occasions! You saw my Halloween bags, now image … Christmas! How about Birthdays, Baby Showers, Thank You Gifts & more!

What would you make with yours? I’d love to know! Lets see how many different ideas we can come up with 🙂

Thank you for taking time out of your day to spend with me!

Have an awesome day!
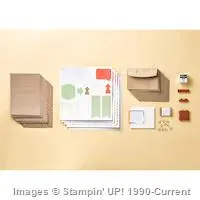
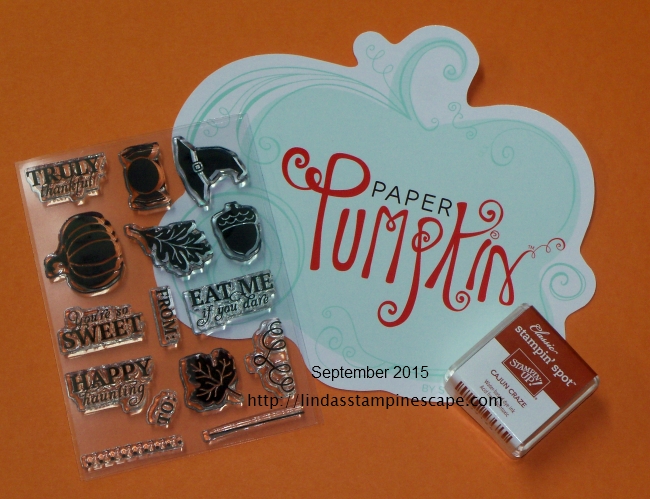
blog-closing-small

SUPPLY LIST …


All-Season Season of Cheer

Hello Stampin’ Friends ~

Just a quick post today to share with you some cute cards that Stampin’ Up! shared with us yesterday.

At first glance, our Season of Cheer Designer Series Paper, from the 2015 holiday catalog, may seem decisively Christmas. But if you take another look, there’s so much more you can do!

 139590G

Check out these three non-Christmas cards, all using the Season of Cheer Designer Series

Cards_SW_Oct0615

Thanks for stopping by ~

Have a wonderful day!

blog-closing-small

Weekly Deals …

Hello Stampin’ Friends ~

It’s Tuesday and every Tuesday Stampin’ Up! brings you amazing deals on select products. Because the products change each Tuesday, don’t wait to place your order, you won’t want to miss out on these deals.

CM100100B

Sale: $5.63

Price: $7.50

Sale: $3.38

Price: $4.50

Sale: $32.25

Price: $43.00

Sale: $3.75

Price: $5.00

Sale: $2.25

Price: $3.00

Sale: $3.75

Price: $5.00

Supply List

Built for Free Using: My Stampin Blog


You may also want to check out what’s on the Clearance Rack!

Look no further, it’s here  …

Sale: $9.59

Price: $15.95

Sale: $1.19

Price: $2.95

Sale: $14.99

Price: $24.95

Sale: $1.59

Price: $3.95

Sale: $3.19

Price: $7.95

Sale: $22.79

Price: $37.95

Sale: $7.99

Price: $19.95

Sale: $9.95

Price: $15.95

Sale: $1.19

Price: $2.95

Sale: $2.39

Price: $5.95

Sale: $2.39

Price: $5.95

Sale: $3.99

Price: $9.95

Sale: $19.79

Price: $32.95

Sale: $3.19

Price: $7.95

Sale: $14.99

Price: $29.95

Sale: $9.59

Price: $15.95

Sale: $10.19

Price: $16.95

Supply List

Built for Free Using: My Stampin Blog

Thank you for checking out what’s new this week ~

Have a great day!

blog-closing-small

Golden Christmas …

Hello Stampin’ Friends ~

I hope you had a wonderful weekend … they go so fast! I spend most of my weekend in my stampin’ studio finishing up my project for my upcoming holiday retreat, so I was in a bit of a Christmas mood!

My card for you today is not one of the retreat cards, but it will give you a glimspe of what they attendee’s can expect. I wanted to use all the wonderful “gold” products in our main catalog and holiday catalog.

000_2634

It all began with the “Winter Wonderland Designer Vellum Stack” … and I chose to use the stunning golden snowflakes!! I had the “Metallic Doilies” but have not used them much so decided to pair the two products together.

I needed something to hide my edge of the vellum and decided to use the new gold ribbon from the “Gold and White Glitter” ribbon … oh, it’s so pretty! To create the focal point of my card, I added the “Snowflake Elements” … they add a wonderful dimension to the card.

I knew I had the “Gold Foil Sheets” so I decided to mat my card front with it to tie the whole card together and use it for my greeting. I chose the “peace” from the “Christmas Greetings Thinlits Dies. I’m getting quite hooked on these!

I needed one more touch of bling (really!?) yes, so I added a rhinestone to the snowflake element but colored it gold first. You can use a Sharpie™ marker or if you still have our Blender pens … the yellow work too.

000_2637

I hope you enjoyed today’s card share, and that it inspires you to create your Christmas cards this year. I’d love to hear what you think, so feel free to leave a comment!

Thank you so much for joining me today! I’ll see you tomorrow with another set of Weekly Deals.

Have a “Peaceful” day ~

blog-closing-small

TODAY’S STAMPIN’ SUPPLY LIST … You may click on any item to learn more about it, or to begin shopping for your supplies.

000_2634


Simply Sunday: Autumn Smiles

Hello Stampin’ Friends ~

I hope you are enjoying your weekend! I am busy in my crafting room preparing for my upcoming Holiday Retreat … can’t wait!

Yesterday I shared with you a simple card layout using the Seasonal Snapshot 2015 Project Life Card Collection. Isn’t it amazing what you can do with a such a kit! Today I want to share a quick and easy card I created with the Accessory Pack!

000_2629

Look at all the fun and amazing accessories included in this packet! I really do need to get back to scrapbooking!! These kits make it so easy … but I keep sneaking it for my cards! lol

000_2630

I took the jack-o-lantern lazer cut wood piece (popped out the face to save for another card) and then sponged the Pumpkin Pie color onto it.  It’s so easy to dye these wood pieces with your ink and a sponge!

And what else would I back it with but the fabulous Black Shimmer Paper! Love it, Love it, Love it!!

WOW, how simple was that!! And … you have the coolest card on the block!! I finished off the inside with a strip of Washi Tape that is included in your Seasonal Snapshot 2015 Project Life Accessory Kit.

000_2632

I hope your Sunday brings you a smile as wide as my jack-o-lanterns face!

Thanks so much for stopping by!

blog-closing-small


Easy Breezy Card Layout …

Hello Stampin’ Friends,

Did you ever have one of those days when you needed a card but your creative self was … well, just not that into it?

Well, I’ll share a little secret of how I handle those days. I run for one of my “Project Life” kits! Seriously, they are great for quick and easy scrapbooking, but those cute sheets they have in there are awesome.

000_2623

Today I’m using the “Seasonal Snapshot 2015” Project Life by Stampin’ Up! It has all sorts of cute designs you can use. I picked the snowflakes just because my brain has been a bit overworked this week.

It was easy to embellish these cute snowflakes … I love the craft cardstock and decided to add red for a pop of color! My greeting is also in Real Red using the “Seasonal Frame” dies.

I thought it needed just a bit more so I used the Real Red Ribbon and created a simple bow…. that did the trick! It came together so easily once I picked out a design from the Project Life kit.

000_2626

Use this quick and easy layout with any of the designs in kits, why you can even use this simple layout with designer paper! The possibilities are endless.

Thanks for spending time with me today ~

I hope your day is a good one!

blog-closing-small

Seasonal Snapshot 2015 Project Life Card Collection by Stampin' Up!
Seasonal Snapshot 2015 Project Life Card Collection 139651
Price: $16.00

Tree Advent Calendar

Hello Stampin’ Friends ~

Sorry I’m a bit late today, I spent some time with my grandson AJ yesterday who turned 17! Wow, they grow up fast. On the other hand, I also spent time with my youngest granddaughter Lori … she’s just 4 months. It was a busy day!

While checking out the “Get Inspired” blog by Stampin’ Up! I ran across the cutest project for Christmas. It was created by Allison Okamitsu 2014–2015 Artisan Design Team. I just had to share this one with you ….

Tree Advent Calendar

Christmas will be here before you know it, my friends, and what better way to celebrate the days leading up to it than an advent calendar?!

1

Tiny Treat Boxes (item #135829) make an adorable advent tree. I’ve covered each of the boxes with patterns from the Home for Christmas Designer Series Paper (item #139592)—what fabulous nostalgic designs it has! And the Hello December 2015 Project Life Accessory Pack (item #139654) has some great stickers numbered 1–25 for each box lid. The boxes are the perfect size to hold a treat, love note, or coupon for each day of December until Christmas day.

2

You’ll want to assemble your tree in layers, with seven boxes on the bottom layer, followed by layers of six, five, four, three, and one. The box on the very top of the tree isn’t meant to be opened, but it sure looks lovely as a topper. Using hot glue, I also adhered a double bow with long, whimsical tails using two yards of Mossy Meadow 5/8″ Striped Cotton Ribbon (item #138419).

3

Whether you’re counting down until Christmas with little children at home, grown children at university, or your spouse, this Tree Advent Calendar will be a lovely addition to your holiday (or dorm room) décor!

Allison Okamitsu  2014–2015 Artisan Design Team

Don’t you think that is the most adorable? What a fun project to make with your kids!

Thank you for stopping by today, I’ll be back tomorrow with fun Halloween card!

Have a wonderful day ~

blog-closing-small

No Leftovers Here …

Hello Stampin’ Friends ~

Hope you enjoyed yesterday’s fall card and the fun “Reverse Masking” technique used to create it.

I had someone ask me … “What do you do with the left over items when you make a card?”  Well, she was speaking of the piece of paper that I used as a mask to create the leaf on yesterdays card.

Well … Let me show you!!

000_2621

I that the mask looked pretty after I got done sponging, so I added a bit more sponging and trimmed it down and came up with the 3-1/2″ x 3-1/2″ square. I used dimensionals to raise the leaf above the “Into the Woods” designer paper.

I trimmed off the designer paper and matted the front (leaf) piece to create more impact for my focal point. Without the Early Espresso mat behind the leaf, it just blended in to much. Now the designer on the card front works well with our focal (leaf) point.

The card front sits upon a Early Espresso base and is tied together with a bit of that left-over bakers twine from my September Paper Pumpkin.  I created a little tag with the Note Tag and Curvy Corner Trio Punches (I’ll show you step by step soon).

000_2617

The greeting on the tag comes from the stamp set “Teeny Tiny Wishes … still a staple in my stamp collection.

So … now you know what I do with some of my left-over paper, I use it!

Thank you so much for stopping by today ~

Hope your day is a good one!

blog-closing-small

TODAY’S STAMPIN’ SUPPLY LIST …


Simply Thankful …

Hello Stampin’ Friends ~

Hard to believe we are mid-week already! But that means we are closer to the weekend. It is so beautiful this time of year … the leaves are just starting to turn. I hope nature takes it’s time this fall so we can all enjoy the splendor.

Today’s card is a refection of this time of year … the beautiful fall colors, and a time to give thanks for all we have in our lives.

000_2613

I did the “Reverse Masking” technique for this card. I cut out my leaf image using the “Leaflets Framelits” Dies to create my mask and placed it onto my Very Vanilla cardstock.

I then sponged Crushed Curry, Pumpkin Pie and Cajun Craze into the leaf image. When I got the color consistency I wanted … I simply lifted off the mask and revealed the beautiful leaf! I love the dimension that this technique gives.

With our new HOSTESS stamp set “Six Sayings” …. I stamped the Thankful greeting onto my card in Cajun Craze (I think I need to re-ink my pad!) However, I loved the way it turned out. What a beautiful font!! You can find this Hostess stamp set in the back of the Holiday Catalog.

Grab a few friends and do a book or on-line show so you can get this set for yourself (Contact me at lindaluvs2stamp@aol.com) for more details.

I matted my card front with Cajun Craze and then popped it up onto more Very Vanilla.

000_2610

I took a left over piece of bakers twine from my September Paper Pumpkin kit and added the cute little bow to the leaf. I gave it added a bit more texture to the card.

A simple but stunning card. I’ve always loved this technique! Hope you enjoyed the card share today.

I am “Thankful” you stopped by to visit with me …

Have a beautiful day ~

blog-closing-small

TODAY’S STAMPIN’ SUPPLY LIST …


Weekly Deals …

Hello Stampin’ Friends ~

I’m here with the latest installment of Stampin’ Up! Weekly deals …

CM100100B


We hope you enjoy this week’s Weekly Deals!

127012G Floral Frames Collection Framelits Dies Item # 127012
Regular Price: $27.00
Discounted Price: $20.25
Crushed Curry Baker’s Twine Item # 134586
Regular Price: $3.00
Discounted Price: $2.25
Handpicked Framelits Dies Item # 137361
Regular Price: $25.00
Discounted Price: $18.75
Happy Heart Textured Impressions Embossing Folder Item # 137364
Regular Price: $7.50
Discounted Price: $5.63
Hearts Border Punch Item # 133784
Regular Price: $16.00
Discounted Price: $12.00
Gift Box Punch Board Item # 135863
Regular Price: $20.00
Discounted Price: $15.00
Envelope Punch Board Item # 133774
Regular Price: $20.00
Discounted Price: $15.00

Let me know if you need any help with ordering or have a question about one of the products… I’m here to help.

Thanks much for checking it out.

Have a great day!

blog-closing-small


Happy Scenes …

Hello Stampin’ Friends,

Today I’d like to share with you a post from the Stampin’ Up! Get Inspired blog. When their concept artists or staff writers share awesome cards & projects … I just have to share with you. So please note that the following information is from that blog post …

Window cards are trendy, they’re so much fun to make—and we have everything you need to create one yourself using products from our brand new holiday catalog!

1

2

The Happy Scenes Stamp Set (item # 139821) includes 16 photopolymer stamps with autumn/winter landscape images and sayings that are perfect for end-of-the-year holidays. Stamp a little landscape and enclose it in a window frame—which you can make using the Big Shot and our Hearth and Home Thinlits Dies (item # 139666). Instant cuteness! (I borrowed this card idea from p. 11 of the holiday catalog.)

DSCN1613

For the Halloween card I included the cat from the Festive Fireplace Stamp Set (item # 139754). He just seemed to fit!

And here’s some great news: when you purchase the Happy Scenes Stamp Set + Hearth and Home Thinlits as a bundle (item # 140853), you save fifteen percent!

Cindy B.

Sr. Staff Writer

Thank you Cindy for sharing your talents …

and Thank You so much for stopping by, I hope you enjoyed these cards as much as I did!

I will be back tomorrow with a new set of Weekly Deals!

Have a wonderful week ~

blog-closing-small


Simply Sunday in Olive …

Hello Stampin’ Friends ~

I think you will “fall” for today’s Simply Sunday card … I won’t need many words to describe this card and you won’t need much to make it!

000_2604

I began with the beautiful Old Olive plaid pattern of designer paper found in the Farmers Market package and used the Very Vanilla as my base and front of the card.

I cut out the “maple” leaf from the “Leaflets” Framelits Dies from a 4-3/4″ x 3-1/2″ piece of Very Vanilla cardstock. I then cut out the “grateful” from the “Seasonal Frame” Thinlits Dies out of Old Olive.

The Vanilla was popped up over the designer paper to create a beautiful dimensional look and the greeting was adhered directly to the vanilla with the Multipurpose liquid glue. Simple.

000_2606

I know I talked this past week about “less is more” and this is just another card to explain my statement.

Thank you for joining me this Sunday ~

I wish you a beautiful day.

blog-closing-small

TODAY’S STAMPIN’ SUPPLY LIST …


Sweet, Sweet Candy …

Hello Stampin’ Friends ~

Happy Weekend to you! Many of you know besides being a Stampin’ Up! demonstrator, a blogger, Mom of 3, grandma of 11 and great-grandma of one … I also manage the candy store in my hometown.

So, what do you think I thought of when I say that little candy stamp in this months Paper Pumpkin kit?

Yep … a sweet but simple card featuring the candy! I used it to create the background …

000_2600

I wanted plenty of color so I chose the Daffodil Delight, Crisp Cucumber, Watermelon Wonder and Wisteria Wonder and stamped that little candy stamp all over!

Then I chose the “You’re So Sweet” as my greeting and stamped it in Watermelon… that is when I decided to create a banner to highlight the greeting. For a bit more pop of color I added the Daffodil Delight and Crisp Cucumber behind it. (Subliminal message: Green and Gold)

The entire card front was matted with the Watermelon Wonder to make the greeting stand out and then that was layered onto the Whisper White background.

000_2602

Cute & fun card for any occasion … birthday, sweet sixteen or just because!

Thank you for joining me today ~

I hope your day is filled with fun and lots of color!

blog-closing-small

TODAY’S STAMPIN’ SUPPLY LIST …


Are You Afraid of the Dark?

Hello Stampin’ Friends ~

Today I’m going to take you to a “spooky” place … the dark side! I showed my Stampin’ Technique club this month a neat way of sponging a background on a colored piece of cardstock …

We began with the So Saffron cardstock and started sponging with the Crushed Curry. I like the way the Curry bring depth to the yellow tones. Next we blending in Tangerine Tango and finally blended our edge in Cajun Craze. It creates a bit of a haunting effect … don’t you think?

000_2595

Now that I had my background complete I wanted to add something new … I’ve been dying to get my hands on the “Sleigh Ride” Edgelits Dies (but why wait till Christmas!)

I used the “trees” die and added it to my background … yes, I liked the look. Hmmm … what next, the Spider Web Doily of course! Yes … I liked that too!

Yes, it’s a bit on the dark side, but I figured even Halloween likes to shine, so I matted my background with the silver glimmer paper and added my “Spooky” greeting also from the silver greeting. You can find “spooky” in with the Seasonal Frame thinlits dies.

000_2594

It’s a bit unique yes, but I liked the way the glimmer paper lighted it all up. A little Hocus Pocus I would say!

Thank you so much for “dropping” in.

I hope you have a fabulous Friday!

blog-closing-small

TODAY’S STAMPIN’ SUPPLY LIST …


Truly Grateful for Autumn …

Hello Stampin’ Friends ~

Yesterday marked the first day of autumn … my favorite season. I love the colors, the warm days and cool night, sweaters, caramel apples and the smell of the leaves. Yup, I love it all.

Today I promised an alternative idea for your Paper Pumpkin kit. Just a little reminder of the stamp set that comes with the kit …

000_2584

I had so many ideas popping into my head with this stamp set. I will share one today, another at a later date, but the rest are reserved for my Paper Pumpkin subscribers … their treat for choosing me as their Paper Pumpkin demonstrator.

You may join my Paper Pumpkin Pals … HERE. Plus, you’ll be helping out Breast Cancer and the same time you treat yourself to Paper Pumpkin.

In honor of the season, I chose the leaves and did the Rock -n- Roll technique – that is why some are two different colors …

000_2588

The Rock-n-Roll technique is very simple … Ink up your image in the lighter of the two colors, and then simply roll the very edges of the image into the darker color ink. Since these were so very small, I just kind of tapped the very edge onto the ink pad instead of “rolling” the image around.

I thought of adding a texture to the background but I really loved the simplicity of this card … it speaks volumes. Sometimes less is more.

000_2590

Hope you enjoyed today’s alternative project … stop back tomorrow, I have some more “spooky” for you! My sister teases me that not everyone loves Halloween as much as I do .. I know, some of you like it more!! lol

Thank you for sharing a part of your day with me, see you tomorrow!

blog-closing-small